Last Updated on July 27, 2026 by Daniel Globe
A hiking backpack should feel secure, balanced, and easy to move with—not like a load hanging from your shoulders. The right fit starts with matching the pack to your torso length and hip size, then adjusting the suspension in the correct order. A few minutes of fitting before a hike can make a noticeable difference in comfort once you are on the trail.
Quick Answer
To fit a hiking backpack, first match the pack to your torso length and hip circumference. Load it, loosen the straps, center the hip belt over the top of your hip bones, then tighten the shoulder straps, load lifters, and sternum strap in that order. The pack should feel stable without pinching or restricting breathing.
Key Takeaways
- Torso length—not overall height—is the key measurement for choosing the correct backpack size.
- The hip belt should be centered over the top of your hip bones so your hips carry most of the load.
- Adjust in this order: hip belt, shoulder straps, load lifters if present, then sternum strap.
- Pack dense, heavy items close to your back and near the middle of the pack to keep the load stable.
- Recheck the fit during the hike and loosen or tighten straps in small increments when pressure points develop.
At a Glance
| Time Required | About 10–15 minutes for measuring and initial adjustment |
| Difficulty | Easy |
| Tools Needed | Flexible tape measure, a mirror or helper, and about 15 lb of test weight or your normal trail load |
| Cost | $0 if you already have the backpack and a tape measure |
Disclosure: As an Amazon Associate I earn from qualifying purchases. Some links on this page are affiliate links, at no extra cost to you.
Choose the Right Size and Style of Hiking Backpack
Pack capacity and pack fit are two different decisions. Capacity tells you how much gear the backpack can hold; torso and hip sizing determine whether that load sits correctly on your body. For day hiking, current REI guidance places most daypacks in a broad range of about 5 to 40 liters, with 21 to 35 liters being a common sweet spot for full-day hiking. For backpacking, a common starting point is roughly 30 to 50 liters for a weekend and 50 to 80 liters for a multiday trip. Your season, water needs, equipment size, and personal packing style can shift those numbers.
Frame type matters too. A frameless pack can be light and compact for lighter loads, while an internal-frame backpack usually gives more structure and load transfer for heavier gear. Choose a model based on what you carry most often rather than buying by volume alone.
Different brands and models also use different harness shapes, torso ranges, hip belts, and shoulder-strap contours. Some companies offer women’s, men’s, unisex, youth, or extended-fit versions. Treat those labels as starting points, not guarantees. Your torso measurement, hip circumference, shoulder wrap, and comfort with a loaded pack matter more than the label.
Note: Try a backpack with weight inside it. An empty pack can feel fine even when the torso length, hip belt, or harness is wrong for the load you will actually carry.
Measure Your Torso Length and Hip Circumference
A common fitting mistake is sizing a backpack by overall height. According to REI’s backpack fitting guide, torso length is measured from the C7 vertebra at the base of your neck to an imaginary horizontal line across the top of your hip bones, or iliac crest.
How to Measure Torso Length
- Tilt your head forward and feel for the bony bump where your neck meets your shoulders. This is the C7 vertebra.
- Place your hands on the top of your hip bones with your thumbs pointing toward your spine.
- Imagine a horizontal line connecting your thumbs across your lower back.
- Stand upright and have another person measure from the C7 vertebra straight down the spine to that imaginary line.
- Compare that number with the torso-size range listed for the exact backpack model. Size ranges vary by brand and model.
How to Measure Hip Circumference
Wrap a flexible tape measure around the top of your hip bones at the iliac crest. This is usually a little higher than the waistband of your pants. Check that measurement against the hip-belt range for the pack. If the belt bottoms out before becoming snug, or the padded sections do not wrap far enough around your hips, a different belt or pack size may fit better.
Pro Tip: If you fall between two torso sizes, try both with weight in the pack. Manufacturer size charts are a starting point; the better size is the one that gives smooth shoulder-strap contact and a properly positioned hip belt.
Step-by-Step: How to Fit a Hiking Backpack
Before adjusting the pack, put about 15 lb of weight inside or use a load close to what you normally carry. Loosen the hip belt, shoulder straps, load lifters, and sternum strap. If the backpack has an adjustable torso system, set it to your measured torso length before fine-tuning the other straps.
- Center the hip belt. Put on the pack and position the padded hip belt over the top of your hip bones. Tighten it until it is secure without pinching.
- Tighten the shoulder straps. Pull the straps down and back until they wrap closely around your shoulders. They should stabilize the pack, not carry most of its weight.
- Adjust the load lifters. If your pack has them, tighten them gently so the upper pack moves closer to your body. On many framed packs they sit at roughly a 30- to 60-degree angle, with about 45 degrees being common.
- Set the sternum strap. Position it at a comfortable height, generally about 1 to 2 inches below the collarbones. Tighten only enough to keep the shoulder straps comfortably positioned.
- Walk around. Climb stairs, bend, and move your arms. The pack should stay close to your body without bouncing, pinching, or restricting breathing.
- Fine-tune. If the hip belt rides up or down, the shoulder straps gap, or the load lifters sit at an extreme angle, recheck torso length before trying to solve the problem by overtightening straps.
Warning: Do not hoist a heavy backpack by yanking on one shoulder strap. Use the pack’s haul loop, lift with your legs, rest the pack on a thigh, and then slide into the shoulder straps. This gives you more control and reduces stress on the harness.
Properly Adjust the Hip Belt for Weight Distribution and Support
| Hip-belt adjustment | What it should do |
| Center the padding over the iliac crest | Places the load on the hips instead of hanging it from the shoulders |
| Tighten evenly until snug | Keeps the pack stable without uncomfortable pinching |
| Check belt angle and padding coverage | Helps the belt follow your body shape and maintain secure contact |
The hip belt is the main load-transfer point on a framed hiking or backpacking pack. It should hug the top of your hip bones rather than sit down around the soft waist area. Osprey’s current fitting instructions describe centering the belt over the hip bone so the padding sits partly above and partly below it. The exact shape varies by pack and body, but the belt should feel secure while still allowing normal breathing and leg movement.
If the belt slides down when the pack is loaded, first check whether it is tight enough and whether the padding actually matches your hip circumference. If it rides too high or you cannot get the shoulder harness to wrap correctly, recheck the torso setting. An adjustable belt angle can improve comfort on some packs, but it cannot compensate for a pack that is fundamentally the wrong size.
Adjust the Shoulder Straps, Load Lifters, and Sternum Strap
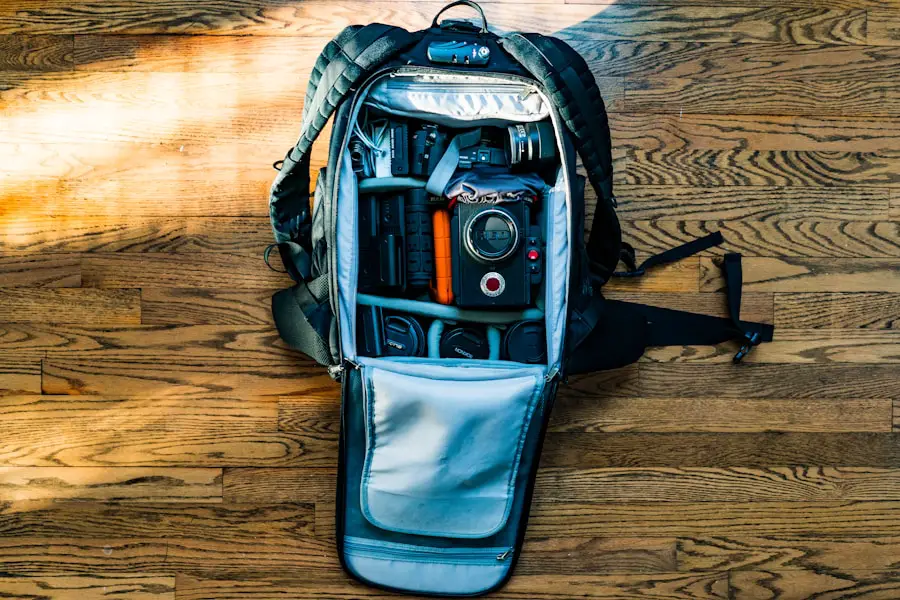
Once the hip belt is carrying the load, tighten the shoulder straps by pulling down and back. They should follow the curve of your shoulders without gaps or hard pressure points. REI advises that shoulder straps should not carry significant weight when the hip belt and torso length are set correctly.
Check where the shoulder harness connects to the pack. REI’s fitting guidance says the shoulder-strap anchor points are commonly about 1 to 2 inches below the top of the shoulders. Osprey uses a similar fit check at the harness yoke, which should sit about 1 to 2 inches below the C7 vertebra on its applicable packs. Because suspension designs vary, use the manufacturer’s fit guide for the exact model.
Load Lifters
Load lifters are the small straps running from the top of the shoulder harness to the upper pack. Not every backpack has them. When present, they help bring the upper load closer to your body and can improve stability. Osprey lists a normal load-lifter angle of roughly 30 to 60 degrees on its fitting system, while many fit guides use about 45 degrees as a common target. Do not crank them tight enough to lift the shoulder straps away from your shoulders.
Sternum Strap
The sternum strap keeps the shoulder straps in a comfortable position and can reduce side-to-side movement. Slide it to a comfortable height—usually around 1 to 2 inches below the collarbones—then tighten it just enough to stabilize the harness. If it pulls your shoulder straps inward, compresses your chest, or makes breathing feel restricted, loosen it.
Ensure Proper Load Distribution and Balance
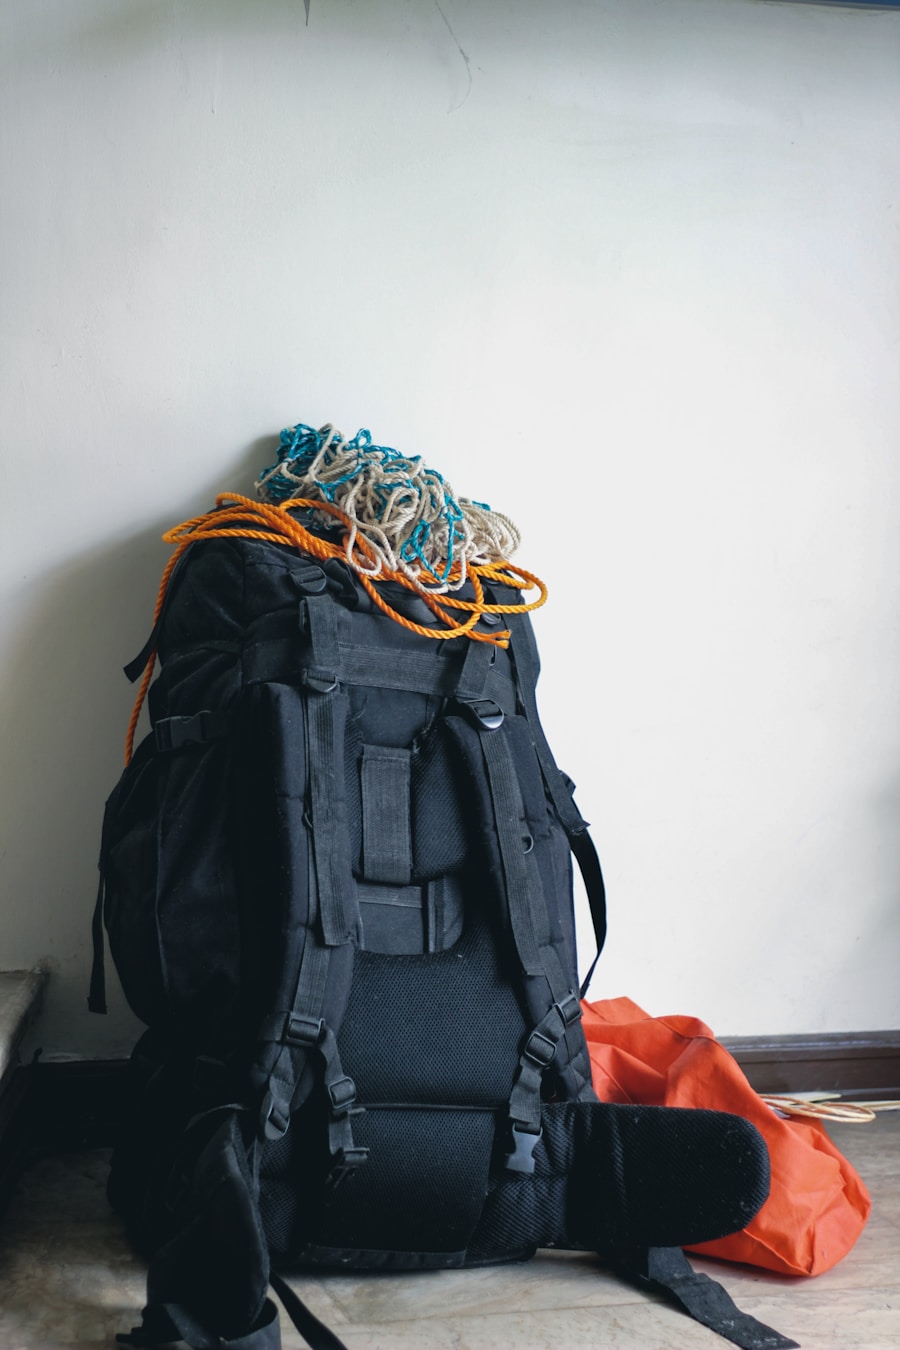
A good fit can still feel poor if the backpack is packed badly. Place dense, heavy items in the core of the pack and close to your back so the center of gravity stays near your body. REI recommends putting bulky, light items near the bottom, dense gear in the core, and trail-access items toward the top or in pockets.
Keep left-to-right weight balanced. Fill empty spaces around hard items with clothing or other soft gear so the contents cannot shift. Tighten compression straps after packing to reduce movement. Avoid placing hard or sharp objects directly against your back, where they can create pressure points.
As food and water are used during the day, the balance can change. Repack if the load starts pulling to one side, sagging backward, or feeling noticeably different from the start of the hike.
A well-loaded pack should feel balanced on your hips and should not sway noticeably as you walk.
Check the Fit Throughout Your Hike
Backpack fit is dynamic. Clothing layers compress, your body warms up, and the load becomes lighter as you drink water or eat food. Small strap changes during the hike are normal.
At rest stops, check the hip belt first, then the shoulder straps, load lifters, and sternum strap. Loosen or tighten one area at a time so you can tell which change helped. Taking the pack off during longer breaks also gives your shoulders and back a chance to rest.
Pay attention to repeated pressure points. A little strap tension is normal, but persistent pinching, numbness, tingling, or a pack that constantly slides or bounces is a sign that something needs to change. If repeated strap adjustments do not solve the problem, reassess torso length, hip-belt size, load placement, or the pack model itself.
Common Hiking Backpack Fit Problems and Fixes
The Hip Belt Keeps Sliding Down
Confirm that the belt is centered over the iliac crest and tightened evenly. If the buckle reaches the end of its adjustment range before the belt becomes snug, you may need a smaller hip belt or a different pack size.
The Shoulder Straps Dig In
Check the hip belt first. If too much weight is hanging from the shoulders, tighten and reposition the hip belt, then reset the shoulder straps. Also confirm that the torso length is not too long or too short.
There Is a Gap Above the Shoulders
A visible gap can indicate that the torso setting or pack size is wrong. Recheck your torso measurement and the manufacturer’s harness-position guidance before tightening other straps further.
The Pack Pulls Backward
Move dense items closer to your back, tighten the compression straps, and gently snug the load lifters if your pack has them. A pack that is overloaded or too large for the amount of gear inside can also feel unstable.
The Sternum Strap Feels Restrictive
Loosen it and move it slightly up or down. Its job is to stabilize the shoulder straps, not squeeze the chest.
Maintain a Proper Fit and Protect the Backpack
Inspect buckles, webbing, stitching, zippers, frame parts, and adjustment hardware from time to time. A slipping buckle or damaged strap can make a once-comfortable pack difficult to fit correctly.
Clean the backpack according to the manufacturer’s care instructions. Do not assume it is machine washable. Gregory specifically advises against putting its backpacks in a washing machine or dryer, and other major pack makers publish similar restrictions for many models. Spot cleaning or gentle hand washing with the recommended soap is often safer, but the exact method depends on the materials and coatings used in your pack.
Let the pack dry completely before storage. Keep it in a cool, dry, ventilated place rather than leaving it damp or exposed to heat and strong sunlight for long periods. Before the next trip, load the pack again and recheck the torso setting and straps, especially if someone else has used it or you changed your typical gear load.
If you’re planning a hiking trip, you’ll want to make sure you have the right gear, including a properly fitted hiking backpack. For broader campsite planning, the site’s 5 Must-Have Portable Camping Stoves for Your Spring 2025 Adventures roundup covers another piece of outdoor equipment. Backpack fit, however, should be handled independently because comfort depends on your measurements, the pack suspension, and the load you carry.
Frequently Asked Questions
Why is fitting a hiking backpack important?
A proper fit keeps the load close to your body, transfers weight to the hips, and limits unwanted pack movement. That usually improves comfort and stability on longer or rougher hikes.
How do I measure torso length for a hiking backpack?
Measure from the C7 vertebra at the base of your neck down the spine to an imaginary horizontal line across the top of your hip bones. Use that number with the size chart for the exact backpack model.
What features matter most when fitting a hiking backpack?
Focus on torso length, hip-belt size and position, shoulder-strap wrap, load lifters if present, and sternum-strap position. The pack should also be tested with weight inside it.
How should the hip belt of a hiking backpack fit?
The padded belt should wrap securely around the top of your hip bones, or iliac crest. It should be snug enough to support the load without pinching, slipping, or limiting normal movement.
How tight should the shoulder straps be?
Tighten them until they wrap closely around your shoulders and keep the pack near your body. They should not dig in or carry most of the pack weight when the hip belt is fitted correctly.
What angle should backpack load lifters be?
The exact angle depends on the pack design. Osprey lists roughly 30 to 60 degrees for its fitting system, and about 45 degrees is a common rule of thumb on framed packs. Follow the instructions for your model.
How do I know if a hiking backpack fits properly?
The hip belt stays in place, the shoulder straps follow your shoulders without gaps, the load sits close to your back, and the pack does not sway or create persistent pressure points when you walk.
Should I readjust my backpack during a hike?
Yes. Small adjustments are normal as clothing compresses and the load changes. Recheck the hip belt and straps when the pack begins to feel different, then make one small change at a time.
Can I wash a hiking backpack in a washing machine?
Do not assume so. Several major manufacturers advise against machine washing because agitation can damage fabric coatings, padding, or hardware. Follow the care label or the manufacturer’s instructions for your specific pack.
Sources
- REI Co-op — How to Size and Fit a Backpack — torso measurement, hip-belt placement, shoulder straps, load lifters, sternum strap, and on-trail adjustments.
- Osprey — Backpack Size Chart & Sizing Guide — pack-fitting sequence, hip-belt position, harness checks, and load-lifter angle.
- REI Co-op — How to Choose Daypacks — current daypack capacity ranges and fit considerations.
- REI Co-op — How to Pack and Hoist a Backpack — load placement, compression, balance, and safe hoisting technique.
- Gregory — Care and Cleaning — backpack cleaning and machine-washing restrictions.