
Last Updated on September 10, 2026 by Daniel Globe
Hiking blisters can turn a good day on the trail into a painful walk back to the car. Most are easier to prevent than to treat. The best strategy is to control the factors that increase repeated shear on your skin: poor shoe fit, heel or toe movement, damp socks, pressure points, wrinkles, and miles of repeated steps. A few minutes of preparation before a hike—and stopping as soon as you notice a hot spot—can make a major difference.
Quick Answer
To prevent blisters while hiking, wear hiking shoes or boots that fit securely without squeezing your toes, choose moisture-wicking wool or synthetic socks, keep your feet as dry as practical, break in stiffer footwear before long trips, adjust lacing to control heel movement, and stop immediately to protect any hot spot before it becomes a blister.
Key Takeaways
- Start with hiking footwear that fits your foot shape and stays secure without pinching your toes or creating pressure points.
- Use moisture-wicking wool or synthetic socks and carry a dry spare pair on longer hikes.
- Do not rely on “breaking in” a shoe that is fundamentally the wrong size or shape.
- Treat a hot spot as an early warning: stop, dry the area, remove wrinkles or debris, and protect it before continuing.
- Carry moleskin, blister dressings or tape, a clean bandage, and spare socks in your hiking first-aid kit.
At a Glance
| Time Required | About 5–10 minutes before the hike, plus immediate attention to any hot spots on the trail |
| Difficulty | Easy |
| Tools Needed | Well-fitting hiking footwear, moisture-wicking socks, spare socks, moleskin or blister dressing, tape, and a basic first-aid kit |
| Cost | Varies by what you already own; basic blister supplies are inexpensive compared with replacing poorly fitting footwear |
Disclosure: As an Amazon Associate I earn from qualifying purchases. Some links on this page are affiliate links, at no extra cost to you.
Choose Hiking Footwear That Fits
Select footwear for the activity and terrain rather than choosing a shoe only because it feels soft in the store. Running shoes are designed primarily for running, while hiking shoes and boots may provide different levels of traction, protection, stiffness, and support for uneven terrain. The right choice depends on your route, pack weight, weather, surface, and personal preference.
Fit matters even more than the label on the shoe. Shoes that are too tight can create pressure around the toes, heel, forefoot, or bunions. Shoes that are too loose can allow excess movement. Both situations can contribute to the repeated skin stress that eventually produces a blister.
A useful hiking-footwear check is to make sure you can wiggle your toes and have roughly a thumb’s width of room in front of your longest toe. REI’s hiking-footwear fitting guidance uses this as one practical length check. Width and overall volume matter too, so a shoe can be long enough and still fit badly.
Try hiking footwear with the socks you intend to wear. Walk on an incline or stairs if possible. Your heel should remain reasonably secure, and your toes should not strike the front when you walk downhill. Feet can also swell during long periods of walking, so a fit that is already tight before a hike is unlikely to improve after several miles.
Pro Tip: Test new hiking footwear on short walks that include hills. A shoe that feels fine on flat pavement can reveal heel slip, toe pressure, or rubbing as soon as you climb and descend.
Socks Matter
Socks are part of your footwear system, not an afterthought. The American Academy of Dermatology recommends nylon or moisture-wicking socks for people trying to prevent foot blisters. The National Park Service also recommends wool or synthetic moisture-wicking socks for longer hikes.
Merino wool and many synthetic blends move moisture more effectively than ordinary cotton and dry faster after becoming damp. Cotton can hold moisture against the foot, so it is usually a poor choice for long, sweaty hikes. That does not mean cotton automatically causes a blister; fit, repeated movement, heat, pressure, distance, and moisture all interact.
Pay attention to sock thickness as well. A thick sock can add cushioning but may make a close-fitting shoe too tight. A very thin sock may create extra space in a high-volume shoe. Socks should fit smoothly without bunching, sliding, or forming wrinkles under the heel or forefoot.
Hikers who repeatedly blister may also experiment with a thin liner sock under a hiking sock or another two-layer sock system. The goal is to manage moisture and movement without making the shoe cramped. Stop using a combination that creates extra pressure.
Break in New Shoes Gradually
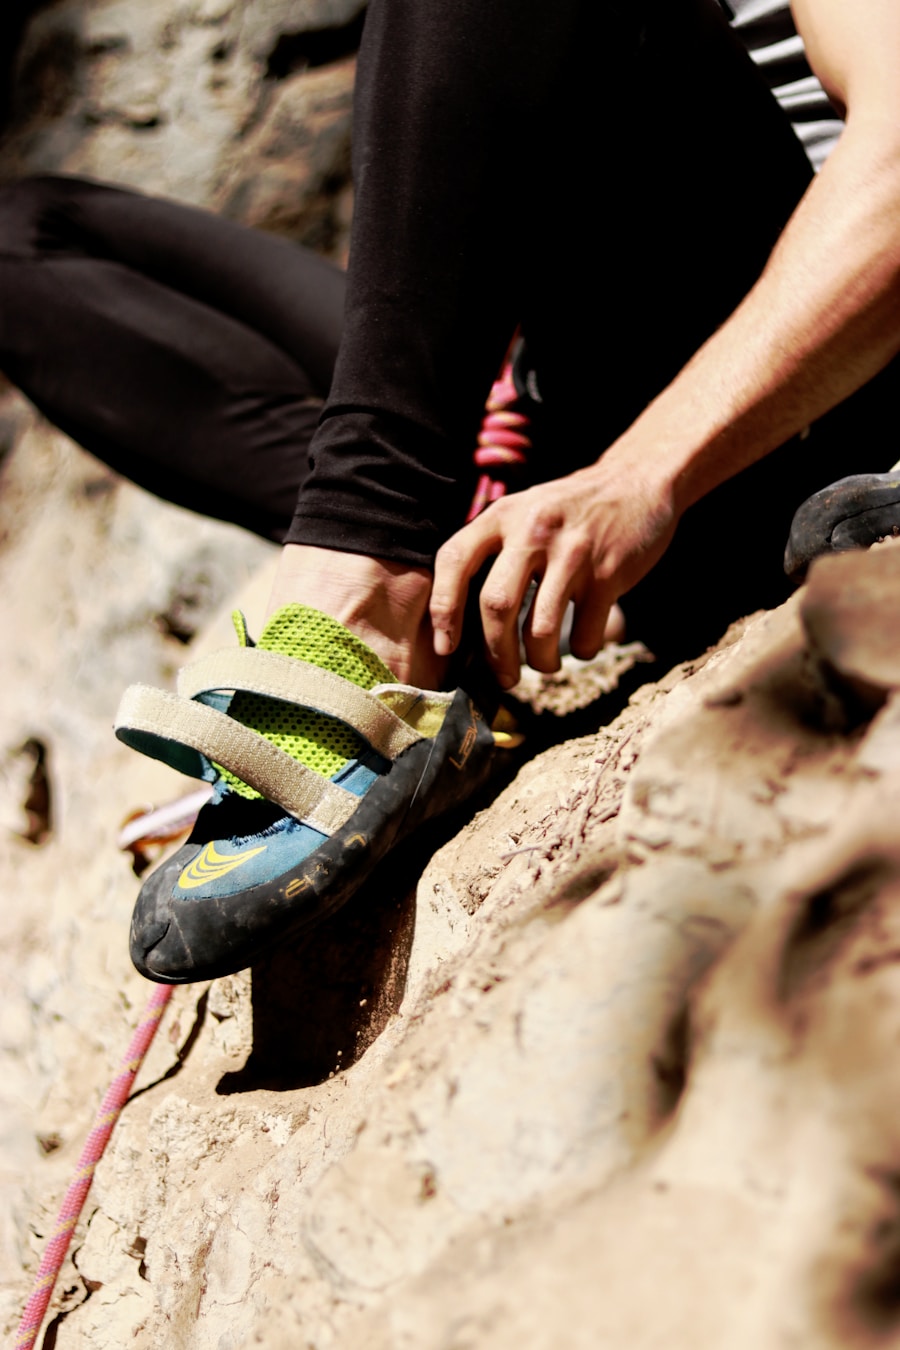
New footwear should not make its first serious appearance on your longest hike of the year. The NHS advises wearing new shoes for short periods until they are comfortable, and hiking-footwear specialists make the same recommendation for stiffer hiking and backpacking boots.
Start around the house, then take a short walk. Add hills, longer distances, and your normal daypack gradually. This gives you time to discover pressure points while you are still close to home.
Leather and heavily structured backpacking boots may change more with use than lightweight synthetic trail shoes. However, “breaking in” should never mean enduring repeated pain until a bad shoe somehow becomes suitable. A boot that crushes your toes, creates major heel movement, or does not match your foot width or volume may simply be the wrong model.
If a leather shoe fits appropriately but has one localized pressure point, a footwear specialist or professional cobbler may sometimes be able to help. Persistent rubbing after several test walks is a reason to reconsider the footwear before committing to a long hike.
Keep Your Feet Dry
Moisture is not the only cause of blisters, but damp skin can make foot problems harder to manage. The CDC recommends keeping feet clean and dry and changing socks regularly as part of good foot hygiene. Dry feet also help discourage athlete’s foot and other fungal problems.
| Moisture Problem | What to Do |
| Socks soaked with sweat | Change into a dry pair when practical and let the wet pair dry on your pack. |
| Feet wet after a stream crossing | Stop when safe, dry your feet, remove grit, and put on dry socks if you have them. |
| Rainy or muddy trail | Choose footwear appropriate for the conditions, but remember that waterproof footwear can still become damp inside from sweat or water entering from above. |
| Sand, dirt, or debris inside the shoe | Stop and remove it instead of walking until it becomes painful. |
Foot powder can be useful for some hikers who struggle with damp feet. Evidence for antiperspirants is less straightforward. Older hiking research found that a strong aluminum-chloride preparation reduced blister incidence among hikers who used it consistently, but skin irritation was common. Another controlled study did not find a blister-prevention benefit. Treat antiperspirant as an optional strategy rather than a guaranteed solution, and stop using it if your skin becomes irritated.
Treat Hot Spots Before They Become Blisters
The best time to deal with a hiking blister is before the blister exists. A warm, tender, stinging, or rubbing spot is your signal to stop.
A “hot spot” is an area that begins to feel unusually warm, tender, irritated, or painful during repetitive walking. Do not wait until the next viewpoint or rest stop if the sensation is getting worse.
- Stop walking when it is safe. Continuing for another mile can turn mild irritation into a fluid-filled blister.
- Remove your shoe and sock. Look for grit, a wrinkle, a seam, damp fabric, or another obvious source of pressure.
- Let the skin dry. Put on dry socks if the current pair is wet.
- Protect the irritated area. Securely applied moleskin, a soft blister bandage, or suitable tape can help protect a known problem spot.
- Adjust the cause. Re-lace the shoe, smooth the sock, remove debris, or change footwear if that is practical.
- Recheck it soon. If pain continues or the dressing shifts, stop again instead of trying to walk through the problem.
Use Moleskin or Blister Pads Correctly
Moleskin and blister dressings are useful tools, but placement matters. The American Academy of Dermatology recommends soft bandages such as adhesive moleskin for problem areas prone to chafing.
For an early hot spot with intact skin, secure protection over the area before friction causes more damage. For an existing blister in a pressure area, padding can be cut into a donut shape so the blister sits in the open center rather than directly under additional pressure. Mayo Clinic describes this approach with moleskin for high-friction areas.
Hydrocolloid blister dressings are another option and can provide cushioning and protection. Follow the product directions, especially on sweaty or dirty skin where adhesion can be difficult.
Carry enough supplies for more than one problem area. A small blister kit can include moleskin or padding, blister dressings, tape, clean gauze or a nonstick dressing, spare socks, and whatever basic wound-cleaning supplies are already in your first-aid kit.
What to Do If a Blister Forms
If a blister has already formed, reduce the pressure and friction that caused it. An intact blister roof helps protect the raw skin underneath, so avoid deliberately popping a small, manageable blister simply because it contains fluid. The Mayo Clinic and the American Academy of Dermatology both recommend protecting intact blisters and keeping the area covered.
- For an intact blister: Keep it clean, cushion the surrounding area, cover it with an appropriate dressing, and reduce the activity or footwear pressure that caused it.
- If the blister breaks on its own: Gently clean it with soap and water, leave the protective skin in place when possible, and cover it with a clean nonstick dressing.
- For a very large or painful blister: Medical guidance may be appropriate, particularly if safely continuing the hike is difficult.
- Watch for infection: Increasing warmth, spreading redness or discoloration, pus, worsening swelling, or increasing pain needs medical attention.
Warning: Be especially cautious with any blister, cut, or sore if you have diabetes, poor circulation, reduced sensation in your feet, a condition that affects healing, or a history of serious foot infections. Seek professional medical advice rather than relying only on trail self-treatment.
Practice Proper Foot Care
Healthy skin and nails make it easier to spot problems before a hike. Check your feet regularly for cuts, cracks, blisters, irritated skin, unusual swelling, or fungal symptoms. The CDC recommends daily foot washing, complete drying, regular sock changes, and checking the feet for sores and other problems.
Keep toenails at a sensible length. The American Academy of Dermatology recommends trimming toenails straight across, which can reduce the chance of an ingrown toenail. Nails that are too long may also strike the front of a shoe on descents.
Dry or cracked skin can become uncomfortable, so moisturize dry areas such as the heels when needed. Avoid putting a heavy layer of moisturizer between the toes immediately before hiking, where excess dampness may be undesirable.
Do not aggressively remove calluses or tough skin just before a big hike. If a callus is painful, cracked, unusually thick, or repeatedly developing a blister underneath it, a podiatrist or other qualified clinician can assess the underlying pressure problem.
Adjust Your Lacing
Lacing can fine-tune a shoe that already fits correctly. It cannot turn a shoe that is too short, narrow, wide, or high-volume into the right model.
If your heel moves excessively, a heel-lock technique or surgeon’s knot can help hold tension around the ankle and reduce movement. REI’s hiking-boot guidance recommends a surgeon’s-knot technique for controlling heel slip. Tighten the upper portion enough to secure the heel without causing numbness, tingling, or painful pressure.
If the top of your foot feels compressed, “window” or “box” lacing can leave a gap over the pressure point while keeping the rest of the shoe secure. If your toes are repeatedly hitting the front, loosening the toe area may provide temporary relief, but repeated toe impact usually means the footwear fit needs to be reassessed.
Check your lacing again after the first part of the hike. Laces can loosen, footwear can settle, and feet may swell as the day goes on.
Pack Smart for Long Hikes
Foot comfort is easier to protect when the right supplies are already in your pack. The National Park Service’s Hike Smart guidance recommends proper walking footwear, wool or synthetic moisture-wicking socks, an extra pair of socks for longer hikes, and moleskin for blisters.
A practical hiking blister kit can include:
- Moleskin or other soft padding
- Blister dressings or suitable medical tape
- Clean gauze or nonstick wound dressings
- A spare pair of moisture-wicking socks
- Basic wound-cleaning supplies
- Your normal trail first-aid supplies
Plan rest stops on long days, especially if your feet tend to run hot or sweaty. During a break, loosen your footwear, inspect any questionable area, smooth your socks, and change into a dry pair when needed.
Waterproof footwear can be useful in wet conditions, but no shoe eliminates moisture completely. Sweat can still accumulate inside, and water can enter over the collar. What matters is noticing when your feet become wet and taking action before dampness combines with pressure and repeated movement.
Hiking poles may help with balance or comfort on some terrain, but they should not be treated as a primary blister-prevention method. Shoe fit, socks, moisture management, and early hot-spot care matter more directly.
If you’re also organizing small travel items for a trip, this article about a scarf with a hidden pocket for travel covers another packing option. Keep blister supplies in an easy-to-reach part of your pack so you do not have to unpack everything when a hot spot develops.
The core strategy is simple: start with footwear that fits, match the socks to both your feet and the shoes, keep moisture under control, and respond to discomfort early. Blisters become much harder to manage after you have walked several miles on damaged skin, so stopping for a few minutes at the first warning sign is usually worth it.
Love travel? Join Our Facebook Community For More Tips.
Frequently Asked Questions
What are blisters and why do they occur while hiking?
A friction blister is a fluid-filled skin injury caused by repeated shear stress within the skin. Hiking creates thousands of repeated steps, so poor fit, movement inside the shoe, pressure points, damp skin, sock wrinkles, and long distances can combine to produce a blister.
How can I prevent blisters while hiking?
Wear hiking footwear that fits securely without pinching, use smooth moisture-wicking socks, break in stiffer footwear on shorter walks, keep your feet and socks reasonably dry, remove grit or wrinkles promptly, and protect known hot spots before they progress.
Are there specific lacing techniques that can reduce blister problems?
Yes. A heel-lock or surgeon’s-knot technique can help control heel movement, while window lacing can reduce pressure over the top of the foot. Lacing adjustments only fine-tune a proper fit; they cannot correct a shoe that is the wrong size or shape.
What should I do if I feel a hot spot while hiking?
Stop as soon as it is safe. Remove the shoe and sock, check for grit or wrinkles, dry the area, change wet socks if possible, and protect the spot with moleskin, a blister dressing, or suitable tape. Then correct the lacing or pressure problem before continuing.
Should I pop a hiking blister?
A small intact blister is usually best protected rather than deliberately popped because the overlying skin helps shield the tissue underneath. If a blister bursts, gently clean it, leave the skin covering in place when practical, protect it with a clean nonstick dressing, and watch for infection. Large, very painful, recurrent, or infected blisters may need medical care.
What else should I carry to prevent hiking blisters?
Carry spare moisture-wicking socks, moleskin or blister padding, blister dressings or tape, clean wound dressings, and your normal first-aid supplies. Hiking poles may help with balance or comfort, but they do not replace proper shoe fit, sock choice, moisture control, and early hot-spot treatment.
Sources
- American Academy of Dermatology — How to Prevent and Treat Blisters — footwear fit, moisture-wicking socks, moleskin, hot spots, blister protection, and infection warning signs.
- Mayo Clinic — Blisters: First Aid — moleskin padding, intact-blister protection, wound care, and medical red flags.
- Centers for Disease Control and Prevention — Foot Hygiene — keeping feet clean and dry, changing socks, and routine foot inspection.
- National Park Service — Hike Smart — appropriate hiking footwear, moisture-wicking socks, spare socks, and moleskin.
- Journal of Athletic Training / PubMed — Friction Blisters of the Feet: A Critical Assessment of Current Prevention Strategies — modern blister mechanism and evidence behind prevention strategies.
