

Last Updated on July 29, 2026 by Mason Reed
A polycro groundsheet is a light, low-cost way to protect a tent floor from grit, damp ground, and small puncture hazards. The key is not simply cutting a rectangle: the finished sheet must follow the tent floor’s shape, stay fully inside its perimeter, and be handled gently because thin plastic film can tear once a cut or puncture starts.
Quick Answer
Measure the tent floor, transfer its shape to the polycro, and cut the sheet slightly inside the floor perimeter so no plastic sticks out to collect rain. Use scissors or a utility knife on a protected surface, weigh the film down, and patch small tears with tape. Clean and dry it before storage.
Key Takeaways
- Measure the actual tent floor or use the manufacturer’s floor dimensions; do not rely only on the tent’s person-capacity label.
- Cut the groundsheet slightly smaller than the tent floor so rain cannot collect between the two layers.
- Remember that mil and millimeter are different units; 1 mil equals 0.0254 mm.
- Polycro film does not fray like woven fabric, but cuts and punctures can grow into tears, so reinforce damaged spots with tape.
- Store the sheet clean, dry, and loosely folded or rolled, and replace it when damage can no longer be patched reliably.
At a Glance
| Time Required | About 15–30 minutes |
| Difficulty | Easy |
| Tools Needed | Tape measure, marker or painter’s tape, straightedge, scissors or utility knife, cutting mat or scrap cardboard, and clean weights |
| Cost | Usually about $10–$20, depending on sheet size, thickness, and brand |
Disclosure: As an Amazon Associate I earn from qualifying purchases. Some links on this page are affiliate links, at no extra cost to you.
Understanding Polycro Groundsheet Material
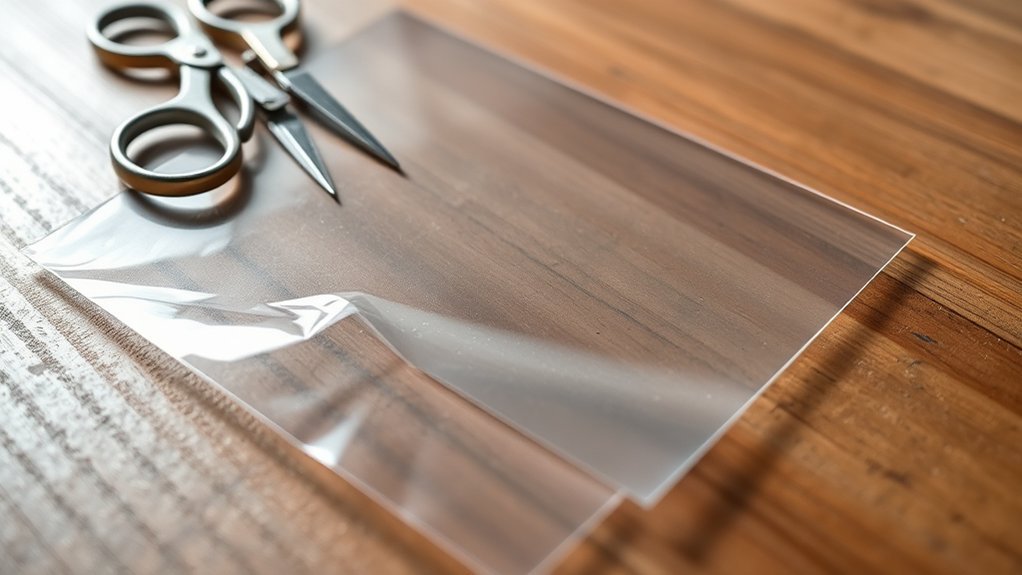
Polycro—also written as polycryo—is thin polyolefin film commonly used by lightweight backpackers as a tent footprint or as a moisture barrier under a floorless shelter. It is waterproof as an intact sheet, packs small, and can be trimmed with ordinary cutting tools. It is lighter than many woven footprints, but it is also more vulnerable to cuts, edge tears, and wind during setup.
Do not assume every product has the same thickness or finished weight. For example, Mountain Laurel Designs lists its polycro ground cloth at about 1 mil thick, while Gossamer Gear’s current product uses a different biobased polyolefin material and lists a 72-by-96-inch sheet at 5.9 ounces. Check the current product label before comparing options.
Note: A mil is one-thousandth of an inch, not one millimeter. According to the National Institute of Standards and Technology, 1 mil equals exactly 0.0254 mm. A 1 mm sheet would be about 39 mil thick and far heavier than typical ultralight groundsheet film.
When Polycro Is a Good Choice
- Ultralight backpacking: You want basic floor protection with little added bulk.
- Soft or moderately abrasive campsites: The surface is established, level, and cleared of loose sharp debris.
- Floorless shelters: You need a clean moisture barrier beneath a sleeping pad and quilt.
- Occasional camping: Low cost matters more than maximum service life.
When to Choose a Tougher Footprint
Use a model-specific nylon or polyester footprint, Tyvek-type sheet, or another tougher ground cloth when you regularly camp on coarse gravel, sharp rock, desert thorn, or other highly abrasive surfaces. A groundsheet reduces wear, but it does not make a poor campsite safe or turn a damaged tent floor into a waterproof one.
Measuring Your Tent Footprint
For the best fit, measure the tent floor rather than the rainfly, vestibule, or advertised sleeping capacity. If the floor tapers, record the length plus the width at the head and foot. A rectangular measurement will leave excess plastic beneath a tapered tent.
A homemade footprint should sit entirely beneath the tent floor. Any exposed edge can catch rain and direct water under the tent.
Two Reliable Measuring Methods
- Use the manufacturer’s floor plan: Find the official length and head/foot widths, then draw that shape on the film.
- Trace the pitched tent: Pitch the tent on a clean, dry surface, slide the uncut sheet beneath it, and mark just inside the floor edge. Remove the tent before cutting.
Plan to keep the finished groundsheet slightly inside the floor perimeter. REI recommends a footprint that is slightly smaller than the tent so water does not pool between the layers. A practical starting point is to mark about 1–2 inches inside the floor edge, then test the fit and trim more if needed.
Pro Tip: Mark the head end with a small piece of bright tape before you pack the sheet. That simple orientation marker makes setup faster and prevents repeated turning in windy weather.
Tools Needed for Cutting
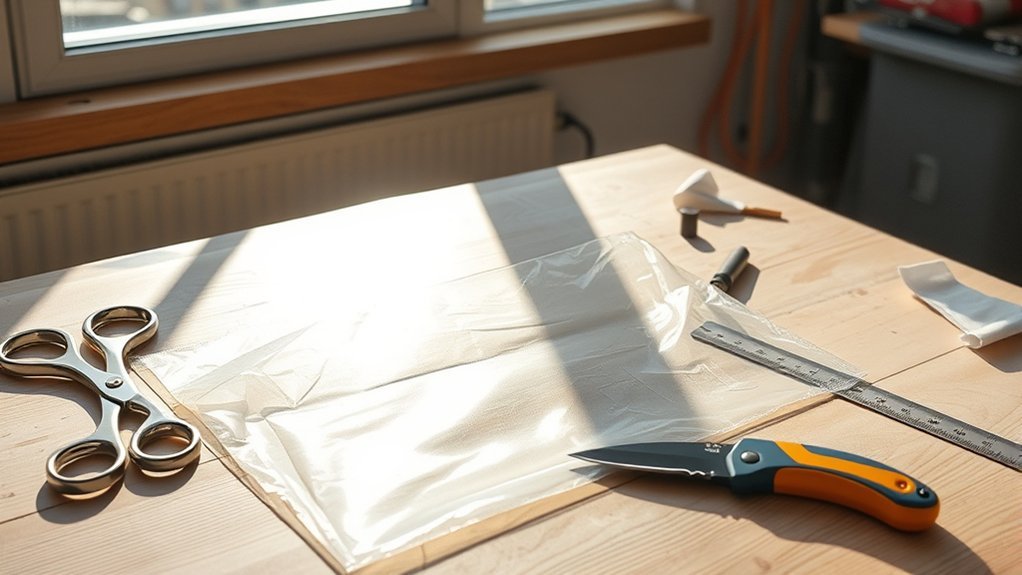
Gather everything before unfolding the film. Thin polycro attracts static, sticks to itself, and moves easily in a breeze, so an organized work area prevents inaccurate cuts.
Essential Cutting Tools
- Tape measure or ruler: Confirms the tent floor dimensions and finished cut.
- Washable marker or painter’s tape: Creates a visible cut line without relying on guesswork.
- Long straightedge: Guides straight cuts.
- Sharp scissors: Usually the simplest and safest option for thin film.
- Utility knife: Useful for long straight cuts when paired with a cutting mat or thick scrap cardboard.
- Clean weights: Water bottles, smooth books, or cans hold the film without puncturing it.
- Repair tape: Duct tape or compatible outdoor repair tape can patch small cuts and reinforce a marked corner.
Safety Equipment and Work-Surface Requirements
Work on a clean, flat surface with good lighting. If you use a utility knife, place a cutting mat or thick scrap cardboard underneath so the blade cannot damage a floor, table, or campsite fixture. Keep your free hand out of the cutting path, use only enough blade exposure to cut the film, and retract the blade as soon as you finish.
Warning: Always cut away from your body and keep fingers behind the blade. The Canadian Centre for Occupational Health and Safety recommends using a sharp, appropriate tool and planning for the path a blade may take if it slips.
How to Cut a Polycro Groundsheet Precisely
Complete the work indoors or on a calm, dry day. The process is simple, but accuracy matters because an oversized edge can collect water and an undersized sheet may leave high-wear parts of the tent floor exposed.
Step 1: Unfold and Relax the Film
Open the polycro carefully instead of snapping or shaking it. Spread it on the work surface and smooth it with open hands. If it has strong packaging creases, let it sit flat for a few minutes.
Step 2: Measure and Mark the Cut Lines
Transfer the tent floor’s length and widths to the sheet. For a tapered floor, connect the head and foot measurements with straight lines. Measure twice, and confirm that all marked edges will sit inside the tent floor.
Step 3: Weight the Sheet
Place smooth weights several inches away from each cutting line. Use enough weight to stop movement without stretching the film. Do not use sharp rocks, tent stakes, or objects with rough bottoms.
Step 4: Make the Main Cuts
Use long, controlled scissor strokes, or run a utility knife along a straightedge on a protected surface. Avoid repeated short, jagged cuts because notches can become tear-starting points.
Step 5: Round and Trim the Edges
Remove narrow tails, sharp inside corners, and visible nicks. Slightly rounded outside corners are less likely to snag during packing. Polycro is a film, so it does not fray like woven fabric; the goal is to remove notches that could spread into tears.
Step 6: Test the Fit
Pitch the tent over the finished sheet or place the tent body on top of it. Walk around the perimeter and confirm that no groundsheet edge extends beyond the floor. Trim any exposed area before the first trip.
Step 7: Mark the Orientation
Add a small tape tab at the head end or one corner. Keep the tab compact so it does not add a stiff edge that catches on other gear.
Wind Resistance Strategies While Cutting
- Work indoors, in a garage, or on the sheltered side of a building.
- Cut one section at a time and move the weights as you progress.
- Keep unused film folded or rolled instead of allowing the full sheet to flap.
- Ask a helper to hold the far side with open hands if the sheet still shifts.
- Stop if gusts make the blade or material difficult to control.
Managing Wind During Setup and Use
Wind remains a problem after cutting because a finished polycro footprint weighs very little. At camp, keep the folded sheet under control until the tent is ready. Unfold only part of it, place the tent body or another smooth item on top, then open the remaining sections. Once the tent is pitched, the floor holds the groundsheet in place.
Avoid staking bare polycro unless the product was designed with reinforced tie-outs. A stake through unreinforced film can create a tear. In strong wind, place smooth temporary weights near the corners and remove them after the tent is secured.
Why Neat Edges Matter
Clean edges improve fit, handling, and service life. A smooth cut is less likely to snag, and a correctly sized perimeter stays hidden beneath the tent.
- Reduces tear starters: Removing nicks and jagged cuts lowers the chance that a small flaw will spread.
- Improves rain management: A tucked-in edge is less likely to collect runoff beneath the floor.
- Simplifies packing: A consistent shape folds or rolls more evenly.
- Makes inspection easier: New damage is easier to spot on a clean perimeter.
Using Tape for Repair and Reinforcement
Tape can extend the life of a polycro sheet, but it should be used for a specific purpose rather than wrapped around every edge. Full edge taping adds weight, stiffness, and bulk, and it does not solve poor fit.
Marking the Head End
Use a small, bright tape tab to identify the head end or a distinctive corner. Press it onto clean, dry film and round the tape’s corners so they are less likely to peel.
Patching Punctures and Small Tears
- Clean dirt and moisture from the damaged area.
- Lay the sheet flat and bring the torn edges together without overlapping them.
- Apply a patch that extends beyond the damage on every side.
- For a stressed area, patch both sides and press firmly.
- Round the patch corners to reduce peeling.
Replace the groundsheet when a tear continues to grow, several patches make it bulky, or damage leaves a large part of the tent floor exposed. There is no reliable “every two trips” replacement rule; condition and campsite abrasion matter more than trip count.
Folding vs. Rolling for Storage
Both methods work. Folding is compact and convenient, while rolling creates fewer sharp fold lines but takes more space. The best method is the one that lets you pack the sheet without crushing it against stakes, cookware, or other hard-edged gear.
- Before storage: Shake off loose debris gently, wipe away mud if needed, and let the sheet dry completely.
- For compact packing: Fold loosely along broad sections rather than pressing hard creases into the film.
- For fewer crease lines: Roll the sheet around a soft item or form a loose roll.
- In your backpack: Keep it in an exterior pocket or separate bag when damp so moisture and dirt do not spread to sleep gear.
- At home: Store it in a cool, dry place away from sharp tools, heat, and direct sunlight.
Weight Considerations for Backpacking
Finished weight depends on the material, thickness, and cut dimensions, so a single number cannot describe every polycro groundsheet. Current commercial examples vary. Mountain Laurel Designs lists a 60-by-96-inch sheet at 2.4 ounces, while the current Gossamer Gear sheet is larger and heavier at 5.9 ounces because its present material and specification differ.
For an ultralight setup, trim only after confirming the fit. Saving a fraction of an ounce is not useful if the cut leaves a high-wear corner uncovered. Weigh the finished sheet on a kitchen scale and record the actual number in your gear list instead of relying on an unrelated product claim.
Preparing the Groundsheet for Outdoor Conditions
A footprint works best on a well-chosen campsite. Use established sites or durable surfaces, and remove only loose sticks, cones, or stones that could puncture the film. Do not dig, trench, scrape vegetation, or remodel a natural site. Leave No Trace recommends camping on durable surfaces and protecting waterside areas.
- Before each trip: Hold the dry sheet up to light and look for pinholes, cuts, and lifting tape.
- At the campsite: Place the groundsheet on level ground and confirm every edge is under the tent floor.
- During rain: Check that runoff is not reaching an exposed corner.
- After use: Dry both sides before long-term storage.
Note: A groundsheet protects against abrasion and ground moisture, but it is not a substitute for a sound tent floor, correct seam sealing, good drainage, or an appropriate campsite.
Common Mistakes and Troubleshooting
Water Is Collecting Under the Tent
The footprint is probably exposed beyond the tent floor or the tent is pitched in a drainage path. Tuck or trim the sheet inside the perimeter and move to higher, better-drained ground when necessary. REI’s tent-setup guidance also recommends keeping homemade footprints smaller than the floor.
The Groundsheet Keeps Blowing Away
Keep it folded until the tent is ready, unfold it under the tent body, and use smooth temporary weights. Do not punch stakes through bare film.
The Sheet Slides During Setup
Make sure the surface is reasonably level and the groundsheet is not larger than the floor. Once the tent is pitched and occupied, normal floor pressure usually limits movement. Avoid adding silicone or adhesive treatments unless the groundsheet or tent manufacturer confirms compatibility.
A Small Cut Is Growing
Stop using the damaged area under a high-pressure point. Clean and dry it, align the edges, and patch both sides. Replace the sheet if the tear keeps spreading.
The Film Sticks to Itself
Separate the layers slowly from a corner. A small tape tab can give you a grip point. Do not pull hard or snap the sheet open.
Frequently Asked Questions
Can I use scissors instead of a utility knife?
Yes. Sharp scissors are often easier to control on thin polycro and do not require a cutting mat. Use long, smooth cuts and trim away any notches. A utility knife is useful for long straight lines when you have a straightedge and protected work surface.
How much smaller should a polycro footprint be?
It should be slightly smaller than the tent floor and fully hidden when the tent is pitched. Marking about 1–2 inches inside the floor perimeter is a useful starting point, but tapered floors and rounded corners may need additional trimming.
How do I prevent my groundsheet from slipping?
Use a correctly sized sheet on level ground, place the tent directly over it, and avoid leaving excess film outside the floor. During setup, temporary smooth weights can hold the corners. Do not apply coatings or punch stake holes unless the manufacturer confirms the method is safe.
What are the best conditions for cutting polycro?
Cut it indoors or on a calm, dry day. Use a clean, flat, well-lit surface and secure the film with smooth weights. Avoid wet, dirty, or windy conditions that can hide the cut line or move the material toward the blade.
How often should I replace a polycro groundsheet?
Replace it based on condition, not a fixed number of trips. Small pinholes and short tears may be repairable. Replace the sheet when tears keep spreading, patches become bulky, or the film no longer covers and protects the tent floor reliably.
Can I use a polycro groundsheet for other purposes?
It can serve as a clean gear-sorting surface, a small vestibule mat, or a moisture barrier beneath a sleeping pad in a floorless shelter. Do not depend on it as a load-bearing tarp, emergency shelter, or heat-reflective blanket unless the product is specifically designed and rated for that use.
Does polycro make a tent waterproof?
No. It helps protect the floor from abrasion, dirt, and ground moisture, but leaks can still come through damaged floor coatings, seams, doors, or rainfly problems. Repair the tent itself when waterproofing has failed.
Conclusion
A useful polycro groundsheet comes from careful sizing, smooth cuts, and realistic expectations. Measure the actual tent floor, keep the finished sheet slightly inside the perimeter, control the film while cutting, and patch small damage before it spreads. Store it clean and dry, then inspect it before each trip. These steps protect the tent floor without adding unnecessary bulk or creating a place for rainwater to collect.
Sources
- REI Co-op: What Is a Tent Footprint? — footprint purpose, sizing, and water-pooling guidance
- REI Co-op: How to Set Up a Tent — homemade footprint fit and campsite setup guidance
- Mountain Laurel Designs: UL Ground Cloth — current polycro material, thickness, size, weight, and repair information
- Gossamer Gear: Polycryo Tent Footprint — current product material, dimensions, and weight
- NIST Handbook 133, Appendix E — exact mil-to-millimeter conversion
- CCOHS: Working Safely With Sharp Blades or Edges — safe cutting practices

