
Last Updated on July 27, 2026 by Daniel Globe
Properly tying hiking boots is less about pulling every lace as tight as possible and more about controlling tension in the right places. A good setup holds your heel securely, leaves your toes room to move, avoids painful pressure across the instep, and keeps the knot from loosening while you walk. The best lacing pattern also depends on your boot, foot shape, and the terrain ahead.
Quick Answer
To tie hiking boots, seat your heel at the back of the boot, snug the laces evenly from the toe upward, keep the forefoot comfortable, secure the instep to limit heel movement, and finish with a firm bow or double knot. Use a heel lock, window lacing, or toe-relief pattern when a specific fit problem appears.
Key Takeaways
- Hiking boots should feel secure but not painfully tight; your toes should still have room to wiggle.
- Start with even crisscross lacing, then adjust individual zones instead of tightening the entire boot equally.
- A heel lock or surgeon’s knot can reduce excessive heel movement, especially on descents.
- Window lacing can relieve pressure over the top of the foot, while toe-relief lacing can temporarily reduce toe-box pressure.
- Lacing can improve fit, but it cannot correct boots that are fundamentally too short, narrow, wide, or high-volume.
- Stop and adjust your boots as soon as you feel a hot spot, numbness, pinching, or unusual heel movement.
At a Glance
| Time Required | About 3–5 minutes |
| Difficulty | Easy |
| Tools Needed | Properly fitting hiking boots and the hiking socks you plan to wear |
| Cost | $0 if your boots and laces are already in good condition |
Disclosure: As an Amazon Associate I earn from qualifying purchases. Some links on this page are affiliate links, at no extra cost to you.
How to Tie Hiking Boots Step by Step
Before changing the lacing pattern, make sure the boot itself fits. Current REI hiking-footwear guidance recommends a fit that is snug everywhere but tight nowhere, with enough room to wiggle your toes. Wearing the same socks you use on the trail also gives you a more realistic fit.
- Put on your hiking socks. Smooth out wrinkles or bunching before your foot goes into the boot.
- Seat your heel. Slide your foot into the boot and tap the heel lightly against the ground so your heel settles into the heel cup.
- Loosen and reset the laces. Rather than pulling only at the top, remove slack progressively from the lowest eyelets upward.
- Snug the forefoot gently. The lower section should hold the foot without squeezing the toes or the widest part of your forefoot.
- Secure the instep. Add slightly firmer tension where your foot begins to curve toward the ankle. This zone is important for controlling excessive forward-and-back movement.
- Set the upper laces. Lace through the remaining hooks or eyelets with firm but comfortable tension. Your ankle should still move naturally.
- Tie a secure bow. Use your normal bow, and add a double knot if your laces regularly work loose. Keep lace loops short enough that they will not drag or catch on vegetation.
- Stand and test the fit. Flex your ankles, walk several steps, and use an incline if available. Your heel should stay reasonably settled while your toes remain comfortable.
Pro Tip: Do not try to create all the tension by yanking on the top of the laces. Work from the bottom upward. That distributes pressure more evenly and makes it easier to create separate forefoot and ankle zones.
Warning: Loosen your boots immediately if you develop numbness, tingling, unusual coldness, throbbing, or strong pressure. Hiking boots should feel secure, not circulation-restricting. Persistent pain is a fit problem that should not be solved by simply pulling the laces tighter.
Understanding Different Lacing Techniques for Hiking Boots
Standard crisscross lacing works well for many hikers, but one tension pattern does not suit every foot. Some hiking boots even use separate lacing zones so forefoot and upper tension can be adjusted independently. For example, LOWA describes its 2-Zone system as allowing separate adjustment of the forefoot and upper boot.
Standard Crisscross Lacing
Crisscross lacing is the best starting point. Run each lace diagonally to the opposite eyelet or hook, alternating sides as you work upward. Keep the lower section comfortably snug and add tension gradually toward the instep rather than cinching every crossing equally hard.
Surgeon’s Knot for Heel Slipping
A surgeon’s knot is useful on hiking boots with open upper hooks. REI recommends this technique when excessive heel slipping is a problem.
- Lace normally until you reach the point where the top of your foot begins to flex toward the ankle.
- Cross the two lace ends as you normally would.
- Instead of wrapping one lace around the other once, wrap it twice.
- Pull the double wrap snug so it holds the tension in the lower boot.
- Continue to the next hooks and finish lacing normally. A second surgeon’s knot can be used at the next pair of hooks when needed.
Heel-Lock or Lace-Lock Lacing
Some boots have eyelets or hook layouts that allow a heel-lock pattern. The goal is to add control around the instep and heel without crushing the forefoot. This can be especially useful when your heel lifts or your foot slides toward the front on descents.
Run each lace upward to create a short vertical section near the ankle, cross the lace ends, pass them under the opposite vertical section, and pull them snug before finishing the knot. Hardware varies between boots, so use this pattern only where the eyelet or hook layout allows it cleanly.
Window Lacing for Pressure on Top of the Foot
Window lacing, also called box lacing, removes a lace crossing from a sensitive area. It is particularly helpful when a well-fitting boot creates pressure over the instep.
- Identify the crossing directly over the pressure point.
- Unlace the boot to just below that area.
- Instead of crossing the laces there, run each side straight upward to the next eyelet or hook.
- Resume normal crisscross lacing above the open “window.”
Toe-Relief and Skip Lacing
Toe-relief lacing reduces lace pressure near the front of the boot, often by skipping the lowest pair of eyelets before returning to normal crisscross lacing. REI describes toe relief as a temporary way to reduce pressure and help a sore hiker get back to the trailhead. It should not be used to disguise boots that are simply too short or narrow.
Parallel or Straight-Bar Lacing
Parallel lacing changes how pressure is distributed across the top of the foot because the visible lace sections run more horizontally instead of repeatedly crossing the instep. Some hikers find it comfortable, but it is not a dedicated heel-lock technique. If heel movement is the main problem, use a surgeon’s knot or heel-lock pattern instead.
Tips for Achieving a Secure and Comfortable Fit
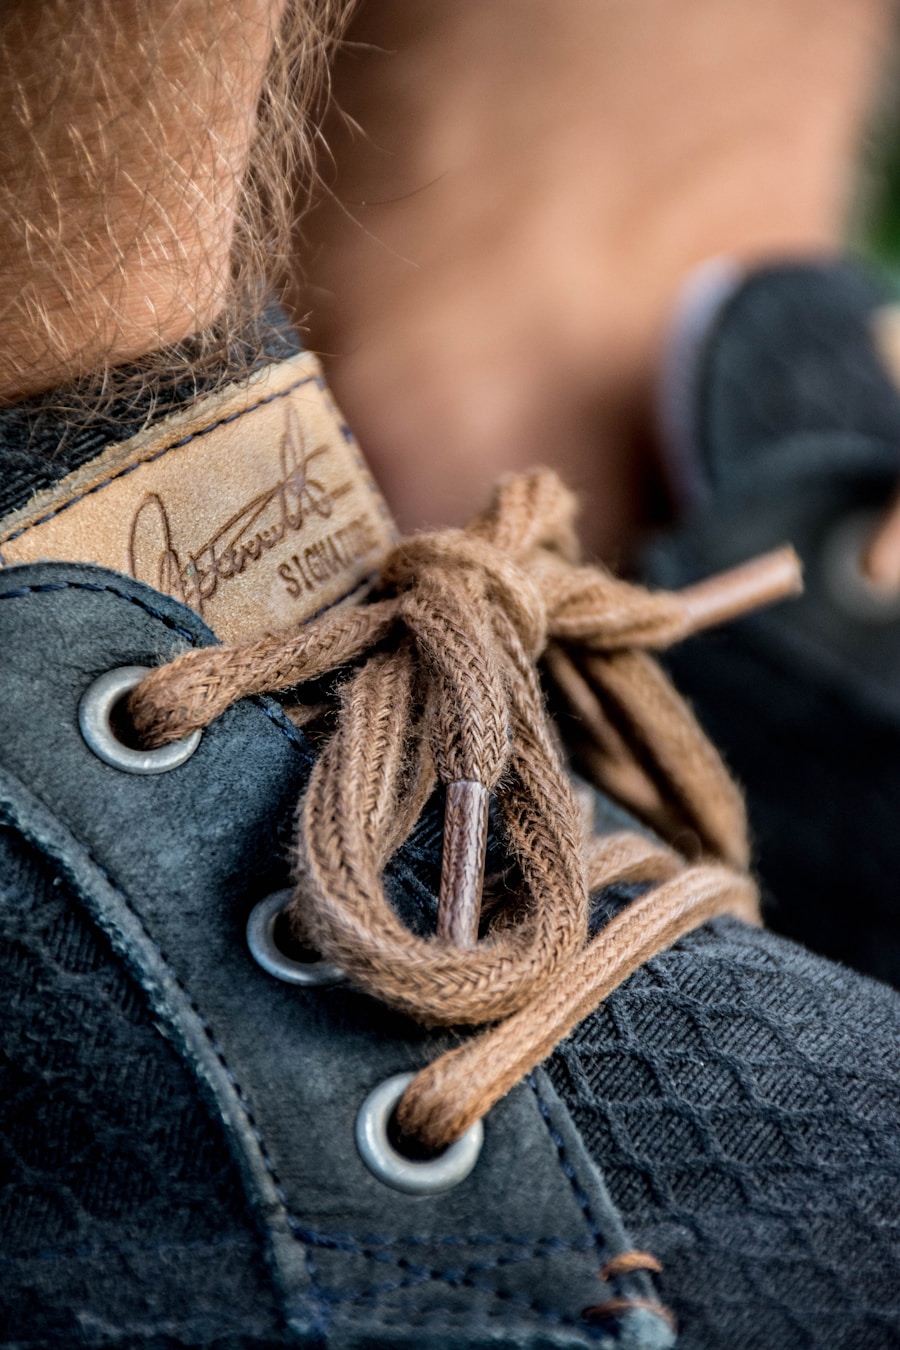
Even perfect lacing cannot compensate for the wrong boot. Hiking footwear should hold the heel and midfoot securely while leaving usable room in the toe box. You should be able to wiggle your toes without feeling cramped, and your toes should not repeatedly strike the front of the boot on a downhill slope.
Try boots with the socks you actually plan to hike in. REI also recommends trying hiking footwear later in the day because feet commonly become larger after hours of normal activity. One useful length check is to remove the insole, stand on it, and look for roughly a thumb’s width of room between your longest toe and the front of the insole.
When lacing, start at the bottom and work upward so tension is even. If one part of your foot feels squeezed while another feels loose, use separate tension zones instead of simply pulling the entire boot tighter.
Note: If a firmly laced boot still has excessive space above your foot, major heel lift, toe impact, or persistent side pressure, the boot’s size, width, shape, or internal volume may be wrong. A lacing trick should fine-tune a good fit, not rescue a fundamentally poor one.
How to Prevent Blisters and Hot Spots with Proper Lacing
| Lacing Technique | Best Use |
| Parallel Lacing | Redistributes lace pressure across the top of the foot; not a substitute for a true heel lock |
| Heel Lock / Surgeon’s Knot | Reduces excessive heel movement and helps hold lower-lace tension |
| Window Lacing | Relieves a localized pressure point on the top of the foot |
| Toe-Relief Lacing | Temporarily reduces pressure near the toe box when the boot otherwise fits correctly |
Foot blisters are more complicated than simple surface rubbing. Repeated movement can create shear forces within the skin, while footwear fit, pressure, moisture, and repeated steps influence how likely a blister is to develop. A 2024 review of foot-blister prevention emphasizes this broader mechanism.
Good lacing can help by limiting unnecessary movement without creating new pressure points. A boot that is too loose may allow excessive heel or forefoot movement, while a boot that is too tight can create concentrated pressure and discomfort.
Socks matter too, but avoid assuming one fiber automatically prevents blisters. In a 2022 study of 203 long-distance hikers, wet socks were associated with a 1.94-times higher risk of foot blisters, while the proportion of natural versus synthetic fibers was not associated with whether blisters occurred. The practical takeaway is to use well-fitting hiking socks that manage moisture and to change into a dry pair when needed.
In a study of 203 long-distance hikers, hiking in wet socks was associated with about 1.94 times the risk of experiencing foot blisters compared with not finishing the day in wet socks.
The American Academy of Dermatology recommends properly fitting footwear and moisture-wicking socks and advises stopping to address discomfort or reddened skin before it develops into a larger blister.
Pro Tip: Treat a hot spot as an early warning. Stop, remove debris, dry or change your sock if needed, and adjust the local lace tension before continuing. Waiting until the area becomes painful makes the problem harder to solve.
Adjusting Lacing for Different Terrains and Conditions
Downhill Sections
Descents often reveal heel movement and toe impact. Seat your heel firmly, use secure instep tension, and add a surgeon’s knot or heel lock if needed. The goal is to limit forward sliding without squeezing the toes.
Steep Climbs
On climbs, keep the heel reasonably secure but avoid over-tightening the upper boot. Your ankle needs enough freedom to flex forward as the slope increases. If the forefoot feels compressed, ease the lower zone while keeping the instep secure.
Flat and Rolling Trails
A normal crisscross pattern with moderate, even tension is usually sufficient. A deliberately loose boot is not automatically more comfortable; excessive internal movement may create hot spots over distance.
Wet or Muddy Trails
Keep your knot secure so loose lace loops do not become a trip hazard, but do not expect tighter lacing to create traction. Grip on mud, wet rock, and loose ground depends mainly on the outsole, tread design, surface conditions, and your movement. If dirt repeatedly enters the boot, a well-fitted collar or gaiter is more useful than simply pulling the upper laces tighter.
Cold Conditions
Be especially careful not to over-tighten boots when wearing thicker socks. Extra sock volume can change the fit and increase pressure. Your feet should remain warm and comfortable without numbness or tingling.
Utilizing Additional Support and Stability Features in Hiking Boots
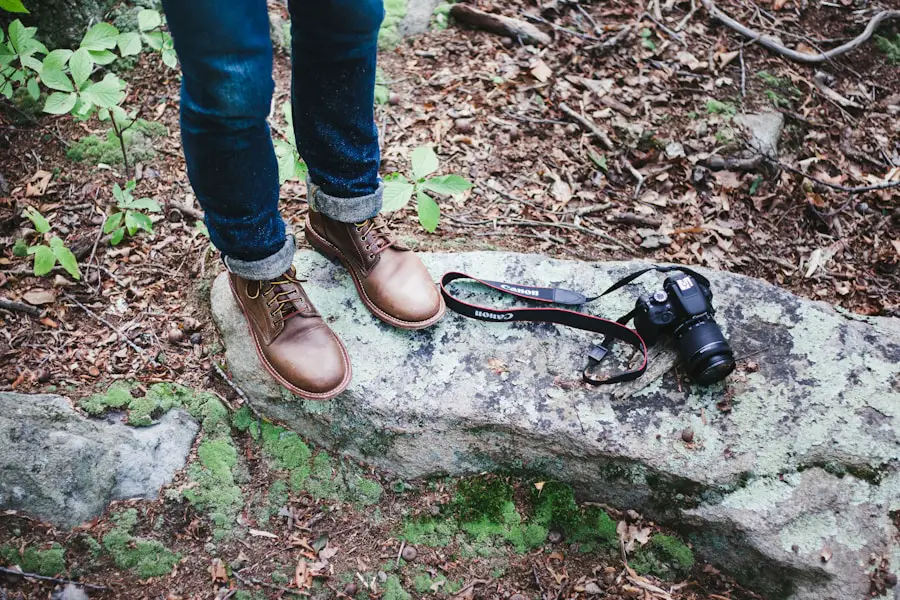
Modern hiking boots may include padded collars, gusseted tongues, stiff or flexible midsoles, shanks, heel structures, locking eyelets, and separate lacing zones. These features work together with the laces; the laces are only one part of the system.
A high collar can help contain the foot and protect the ankle area from bumps and debris, but pulling it extremely tight does not turn an ordinary hiking boot into an ankle brace. Similarly, an insole can affect comfort and volume, but lace tension does not make the insole more shock-absorbing.
Use the boot’s hardware as intended. If your boot has a locking eyelet or separate lower and upper zones, establish comfortable forefoot tension first, lock that tension if the hardware allows, and then adjust the upper section separately.
When and How to Re-Tie Hiking Boots on the Trail
Your initial knot does not have to remain untouched all day. Socks compress, boot materials settle, and your feet may change slightly during a long hike. Recheck the fit after the first part of your walk and whenever the terrain changes substantially.
- Re-tie immediately if your heel begins lifting more than before.
- Loosen a specific zone if you feel pressure, throbbing, tingling, or numbness.
- Stop for a hot spot rather than waiting for a blister to develop.
- Reset before a long descent if your foot has started sliding forward.
- Check the knot when wet laces, stiff laces, or repeated brush contact cause it to loosen.
Maintaining and Caring for Laces to Ensure Longevity
Laces are easy to overlook, but a badly frayed lace can fail when you need secure footwear most. Inspect the sections that pass through metal eyelets and hooks because those areas often experience the most abrasion.
Replace laces if the outer sheath is badly frayed, the core is visible, or the lace has become too stiff or damaged to hold a reliable knot. Replacement laces should be the correct length and thickness for your boot hardware.
When laces become dirty, remove them and wash them gently with mild soap and water. Rinse away grit and let them air-dry completely before reinstalling them. Avoid storing boots with the laces cranked down tightly; leaving them relaxed reduces unnecessary tension and makes the boots easier to put on later.
Troubleshooting Common Lacing Issues and Solutions
| Problem | What to Try |
| Heel slips while walking | Seat the heel, snug the instep, and use a surgeon’s knot or heel lock. Persistent major movement can mean the boot volume is wrong. |
| Pressure on top of foot | Use window lacing over the pressure point or reduce tension in that zone. |
| Toes hit the front downhill | Improve heel hold before descending. If your toes still strike the front, check boot length and overall fit. |
| Forefoot feels squeezed | Reduce lower-lace tension or use toe-relief/skip lacing. Continued squeezing usually indicates a width or sizing problem. |
| Numbness or tingling | Stop and loosen the affected zone immediately. Do not hike through circulation-related symptoms. |
| Laces keep coming undone | Retie evenly, use a secure bow or double knot, shorten oversized loops, and replace badly worn or unusually slippery laces if necessary. |
| One area is tight while another is loose | Loosen the boot and rebuild tension from the bottom upward instead of tightening only at the top. |
If you’re planning a hiking trip, keeping the rest of your gear organized matters too. Once your footwear is fitted and your lacing system is dialed in, this article can help with another part of your backpacking setup.
Love travel? Join Our Facebook Community For More Tips.
Frequently Asked Questions
What are the benefits of properly tying hiking boots?
Proper lacing can improve heel hold, distribute pressure more comfortably, reduce excessive movement inside the boot, and keep loose lace loops from becoming a trip hazard. It can improve how a properly fitting boot performs, but it should not be treated as guaranteed protection against ankle injuries or blisters.
What is the best way to tie hiking boots for heel support?
Start with even crisscross lacing, then use a surgeon’s knot or heel-lock technique around the point where the foot bends toward the ankle. The goal is to reduce excessive heel movement without squeezing the forefoot or restricting circulation.
How tight should hiking boots be tied?
They should feel snug and controlled but never painful. Your heel and midfoot should feel secure, while your toes should still have room to move. Loosen the boots if you develop numbness, tingling, throbbing, or concentrated pressure.
What are common lacing techniques for hiking boots?
Useful methods include standard crisscross lacing, a surgeon’s knot, heel-lock lacing, window lacing, parallel lacing, and toe-relief or skip lacing. Each solves a different fit problem, so there is no single pattern that is best for every hiker.
How often should I re-tie my hiking boots while hiking?
Check them whenever the fit changes. That may be after the first part of the hike, before a long descent, after your socks become wet, or anytime you notice heel lift, a hot spot, pressure, or loose laces. There is no required mileage interval.
How should I lace hiking boots for downhill walking?
Seat your heel firmly, keep comfortable tension over the forefoot, and use firmer instep control or a heel-lock technique to limit forward sliding. Your toes should not be jammed against the front of the boot. Repeated toe impact can indicate that the boots are too short or otherwise poorly fitted.
Can special lacing fix hiking boots that do not fit?
Only to a limited degree. Lacing can fine-tune heel hold and relieve localized pressure, but it cannot add true length, substantially change the width, or correct a boot whose shape and volume do not match your foot.
Sources
- REI — How to Lace Hiking Boots — surgeon’s knots, window lacing, toe-relief lacing, and limits of lacing adjustments.
- REI — How to Choose Hiking Boots and Shoes — boot fit, toe room, sock choice, end-of-day fitting, and heel-fit checks.
- American Academy of Dermatology — How to Prevent and Treat Blisters — proper footwear fit, moisture-wicking socks, hot-spot awareness, and blister care.
- Journal of Tissue Viability — Sock Composition and Foot Blisters in Hikers — wet-sock blister risk and findings on natural versus synthetic fibers.
- Journal of Athletic Training — Friction Blisters of the Feet — current evidence and mechanisms behind friction-blister prevention.
- LOWA Boots — 2-Zone Lacing System — example of independently adjustable forefoot and upper lacing zones.
