
Last Updated on September 10, 2026 by Daniel Globe
Proper lacing is one of the most overlooked aspects of hiking shoe fit. How you tie your shoes directly impacts comfort, stability, and foot protection on every step of the trail. Laces that are tied too tightly create severe pressure points and restrict circulation, while laces that are too loose allow your foot to slide forward, causing painful blisters, blackened toenails, and instability on uneven terrain. Taking a few minutes to master targeted lacing techniques ensures your footwear delivers optimal support on every adventure.
Quick Answer
The best all-around technique for hiking shoes is the Heel Lock (Lace Lock): loop each lace end through the top eyelet to form vertical loops, cross the ends through the opposite loop, and cinch down tightly. This immobilizes your heel, prevents forward foot slide on steep descents, and stops blister-causing friction.
Key Takeaways
- Customizing your lacing pattern addresses specific foot issues like high arches, wide forefoots, and heel lift.
- Using a Heel Lock stops your foot from sliding forward on descents, protecting your toenails.
- Combining specialized lacing with moisture-wicking merino wool or synthetic socks drastically cuts blister risk.
- A Surgeon’s Knot allows you to isolate different tension zones across your forefoot, instep, and ankle.
- Adjusting lace tension between uphill climbs and downhill descents maintains maximum stability and comfort.
Disclosure: As an Amazon Associate I earn from qualifying purchases. Some links on this page are affiliate links, at no extra cost to you.
Understanding Lacing Patterns for Different Foot Types
No two feet are identical, and standard cross-lacing isn’t ideal for every runner or hiker. Adjusting how your laces thread through the eyelets allows you to alleviate pressure points and customize the volume of your hiking shoes.
Window Lacing (Skip Lacing) for High Arches & Instep Pressure
Hikers with high arches or prominent insteps often experience numbness, tingling, or hot spots across the top of the foot caused by lace pressure. Window lacing (also called skip lacing) eliminates pressure over sensitive midfoot bones by bypassing a set of cross-eyelets.
- Unlace your shoe down to the eyelets right below the pressure zone or high point of your arch.
- Instead of crossing the laces over the tongue, run each lace end straight up vertically to the next eyelet above it, creating an open “window.”
- Resume standard diagonal cross-lacing for the remaining top eyelets and tie normally.
Heel Lock (Lace Lock) for Heel Slippage & Ankle Support
If your heel lifts out of the shoe cup when climbing or your foot slides forward on downhill trails—a common complaint for narrow or flat feet—the heel lock provides maximum stability.
- Lace your shoes normally up to the second-to-last eyelet.
- Pass each lace end straight up into the top eyelet on the same side, creating a small vertical loop on both sides.
- Cross each lace end over the tongue and thread it through the opposite loop.
- Pull the lace ends down and backward to draw the loops tight, anchoring your heel securely into the back of the shoe before tying your knot.
Toe Relief Lacing for Black Toenails & Forefoot Cramping
If you experience toe pinching or black toenails from steep descents, diagonal toe-relief lacing lifts the toe box away from your toes.
- Unlace the entire shoe. Thread one end of the lace through the bottom eyelet closest to your big toe, and extend it diagonally all the way to the top eyelet on the opposite side.
- Take the remaining longer lace end and weave it sequentially through the remaining bottom eyelets in a single-lace zigzag pattern.
- Tie the shoe at the top. When pulled, the diagonal main lace lifts the material above your toes, creating extra vertical space in the toe box.
Tips for Preventing Blisters and Hotspots
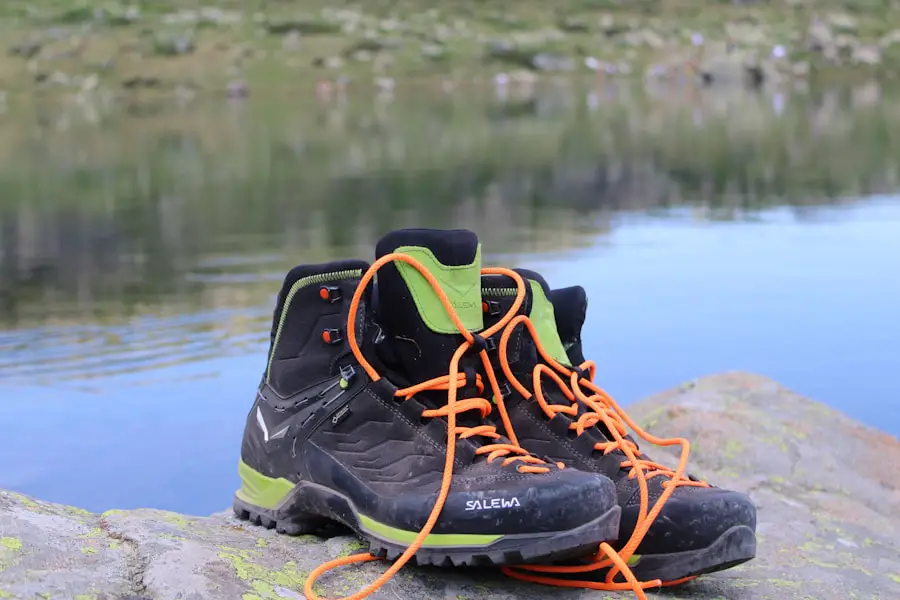
Blisters and hotspots stem from repetitive friction, heat, and moisture between your skin and footwear. Combining proper lacing adjustments with high-performance trail gear provides a reliable defense against foot irritation.
Always pair custom lacing with moisture-wicking socks made from merino wool or synthetic materials. Avoid cotton socks at all costs, as cotton absorbs moisture, softens skin, and dramatically accelerates blister formation.
Pro Tip: Use a Surgeon’s Knot (wrapping the lace ends around each other twice instead of once before pulling tight) at any point along the eyelet line. This locks in localized tension, allowing you to keep the forefoot loose while keeping the ankle fit extra snug.
Pay close attention to early warning signs. If you feel a warm spot developing, stop immediately. Apply a heel lock to stop movement, or place a piece of kinetic tape or blister padding over the area before the skin breaks.
How to Achieve a Secure Fit with Your Hiking Shoes
At a Glance
| Time Required | 1–3 minutes per shoe, once you master the technique |
| Difficulty | Easy — simple muscle memory after 2–3 trail practice runs |
| Tools Needed | Hiking footwear and quality synthetic or nylon laces |
| Cost | Free (or $5–$10 for heavy-duty replacement laces) |
Achieving a secure fit begins when you first put your shoes on. Completely loosen the laces all the way down to the bottom eyelet before inserting your foot. Kick your heel gently back against the heel counter to position your foot correctly in the footbed.
Work your way up from the toes, snugging the laces section by section rather than just pulling hard on the top loops. Focus tension across the midfoot to keep your foot anchored, leaving enough flexibility around the ankle for natural stride movement.
Adjusting Lacing for Uphill and Downhill Terrain
Terrain changes alter how your foot interacts with your shoe. Adjusting lace tension based on gradient significantly improves stability and comfort.
When Hiking Uphill: Your ankle requires a full range of motion to flex forward. Keep the forefoot and midfoot comfortably snug to prevent slippage, but leave the top ankle eyelets slightly looser so your Achilles tendon and lower calf aren’t restricted during steep climbs.
When Hiking Downhill: Gravity forces your foot forward into the toe box, which can cause severe toe trauma. Prior to long descents, stop and tighten the laces across the instep and use a heel lock at the top eyelets to secure your heel firm against the back of the boot.
Warning: Over-tightening laces over the top of the foot can compress nerves and blood vessels, leading to foot numbness, cold toes, or tendon inflammation. If you experience tingling or loss of feeling, pause immediately and loosen the midfoot lacing.
Utilizing Lock Lacing for Added Stability
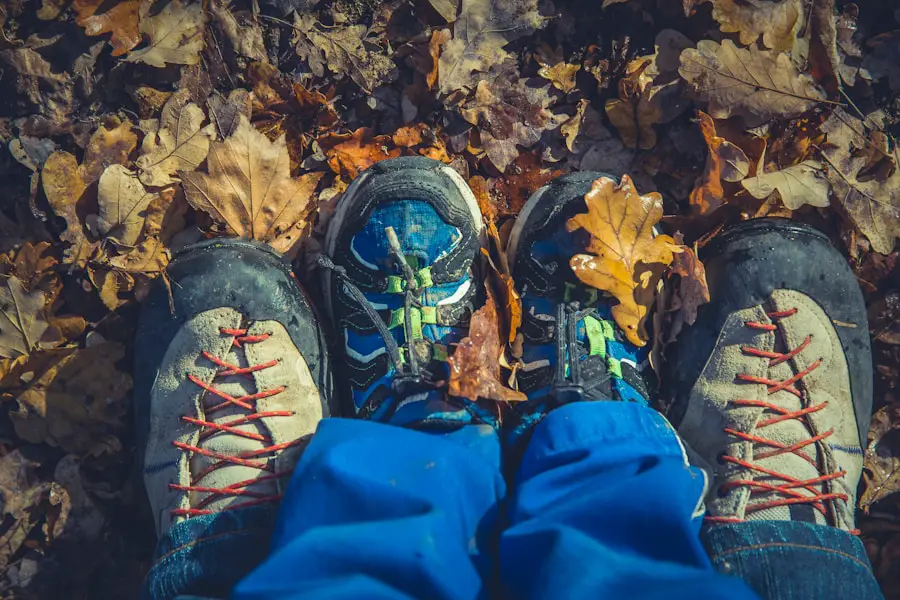
Lock lacing provides extra mechanical advantage, keeping heavy backpacking boots and technical trail shoes firmly anchored when carrying heavy packs over uneven terrain.
“Lock lacing creates a self-contained pulley system on your footwear, locking the heel in place without increasing pressure across the top of the foot.”
By creating a friction loop at the top eyelets, lock lacing prevents lace slippage throughout long hikes, eliminating the need to constantly re-tie your boots on rocky or technical trails.
Choosing Lacing for Specific Hiking Activities
Different outdoor activities demand different lacing setups:
- Long-Distance Backpacking: Feet naturally swell over long miles. Use a slightly relaxed midfoot lacing with a Surgeon’s Knot above the instep to accommodate swelling without sacrificing heel hold.
- Technical Scrambling & Ridge Walking: Precise foot placement requires high torsional stiffness. Tighten laces uniformly from toe to ankle to maximize precision on small rock edges.
- Day Hiking on Groomed Trails: Standard cross-lacing with moderate tension offers an ideal balance of comfort, breathability, and support.
How to Choose the Right Lace Material
Lace construction directly influences knot retention and pressure distribution across your foot.
| Lace Type | Pros | Cons | Best Used For |
|---|---|---|---|
| Round Laces | Highly durable, easy to thread through speed hooks | Can untie more easily if not double-knotted | Heavy-duty hiking boots & mountaineering footwear |
| Flat Laces | Distributes pressure evenly; stays tied securely | Can twist inside eyelets over time | Trail running shoes & low-cut hiking shoes |
Opt for synthetic materials like heavy-duty nylon or polyester. Synthetic laces resist water absorption, retain structural strength when wet, and resist abrasion from rocks and debris.
Troubleshooting Common Lacing Issues on the Trail
Address footwear discomfort early to prevent minor irritations from turning into trail-ending injuries.
Laces Frequently Coming Untied
If round synthetic laces continually loosen, finish your lacing with a double overhand knot or a Surgeon’s Knot at the top collar. Alternatively, replace slick factory laces with textured braided replacement laces.
Pain Across the Instep
Instep pain indicates excessive downward pressure on the top bones of the foot. Switch immediately to Window Lacing over the sensitive area to create room while keeping the rest of the shoe snug.
Toe Pinching or Bruising
Toes hitting the front of the shoe on descents signals a slipping heel. Re-lace the top eyelets using a tight Heel Lock pattern to secure your heel against the rear counter of the shoe.
Note: Having proper outdoor gear enhances safety and comfort on the trail. Check out our guide on essential hiking first-aid kits to stay prepared for minor injuries on any adventure.
Love travel? Join Our Facebook Community For More Tips.
Frequently Asked Questions
What are the benefits of lacing hiking shoes properly?
Proper lacing improves foot support, prevents blisters and hot spots, stops forward foot slide on descents, and mitigates pressure points across high arches or insteps. It also optimizes energy transfer on steep climbs.
What is the best lacing technique for hiking shoes?
The Heel Lock (or Lace Lock) technique is widely considered the best overall method for hiking. It locks your heel firmly into the heel cup, eliminating slippage and stopping your toes from jamming into the front of the shoe on descents.
How do you lace hiking shoes to prevent blisters?
Combine a Heel Lock technique to stop heel movement with a Surgeon’s Knot to lock in midfoot tension. Pair this lacing with moisture-wicking merino wool or synthetic socks to eliminate friction and sweat accumulation.
Are there different lacing techniques for different types of hiking shoes?
Yes. Low-cut trail shoes benefit from Heel Locks to prevent heel slip, while mid-cut and high-cut boots allow you to use Surgeon’s Knots to separate lower-foot tension from upper ankle support.
Can lacing hiking shoes improperly cause foot pain?
Yes. Lacing too tightly across the top of the foot can compress nerves and blood vessels, leading to numbness, tingling, and extensor tendonitis. Lacing too loosely leads to friction blisters and bruised toenails.
How often should I re-lace my hiking shoes on the trail?
Check your lacing at rest stops, whenever terrain shifts significantly from flat/uphill to steep downhill, or at the first sign of discomfort. Readjusting mid-hike accommodates natural foot swelling over long distances.
Sources
- REI Expert Advice — Guide to lacing hiking boots for fit, arch pressure relief, and foot mechanics
- Appalachian Mountain Club — Detailed breakdown of the heel lock lacing technique and foot injury prevention
- Salomon Footwear Guide — Expert advice on heel lock, window lacing, and gradient-specific lacing adjustments

