
Last Updated on July 26, 2026 by Daniel Globe
Downhill hiking can feel easier on the lungs than climbing, yet it places a different kind of demand on the body. Your quadriceps work eccentrically to control each step, while your ankles, hips, core, vision, and balance systems constantly adjust to gravity, loose surfaces, and changing slope angles. Good descending is not about moving fast. It is about staying controlled, choosing secure footing, and saving enough strength for the final part of the trail.
Quick Answer
Improve downhill hiking by combining controlled practice on gentle descents with lower-body strength, balance work, aerobic conditioning, and proper trekking-pole technique. Use short, quiet steps, keep your knees soft, stay centered over your feet, and progress gradually. Stop when fatigue causes sloppy foot placement or poor balance.
Key Takeaways
- Train the quadriceps, glutes, hamstrings, calves, hips, and core because they help control braking, alignment, and balance during descents.
- Practice downhill movement gradually. Unfamiliar eccentric exercise can cause marked soreness and temporarily reduce coordination.
- Use short, controlled steps and adapt foot placement to the surface instead of forcing one rigid foot-strike pattern.
- Trekking poles can improve stability and may reduce lower-limb loading when they are sized and planted correctly.
- Route planning, weather checks, hydration, the Ten Essentials, and an early turnaround time are as important as fitness.
At a Glance
| Time Required | About 6 weeks for a basic progression; 3 to 4 training sessions per week |
| Difficulty | Beginner to intermediate; advanced terrain requires prior trail experience |
| Tools Needed | Supportive trail footwear, trekking poles, a step or stairs, resistance bands or weights, and a safe hill or decline-capable treadmill |
| Cost | $0 with existing gear; optional costs depend on footwear, poles, and training equipment |
Warning: Do not practice steep descents when you have sharp joint pain, swelling, dizziness, poor balance, or a recent lower-limb injury or surgery. People with heart, lung, neurological, or significant joint conditions should discuss a demanding hiking plan with a qualified healthcare professional.
Disclosure: As an Amazon Associate I earn from qualifying purchases. Some links on this page are affiliate links, at no extra cost to you.
Understand Why Downhill Hiking Feels Different
Ascending usually raises heart rate and breathing more, but descending is not simply an easier version of the same movement. During downhill walking, the quadriceps lengthen while producing force to slow the body. These eccentric contractions act like brakes. The steeper and longer the descent, the more control is required from the knees, hips, ankles, and trunk.
Long descents can also affect balance and foot-control accuracy even before a hiker feels completely exhausted. Research on simulated downhill walking found that prolonged eccentric work can disturb sensorimotor control involved in safe foot-ground interactions. That is one reason hikers should slow down when their steps become noisy, rushed, or inaccurate rather than waiting for severe fatigue.
Terrain changes the problem. Stable dirt allows a natural walking rhythm. Loose gravel may roll under the foot. Wet roots and smooth rock can be slick. Large steps require more braking force. A safe hiker adjusts speed, stride length, pole placement, and body position for each surface instead of using one technique everywhere.
Select the Right Gear for Downhill Hiking
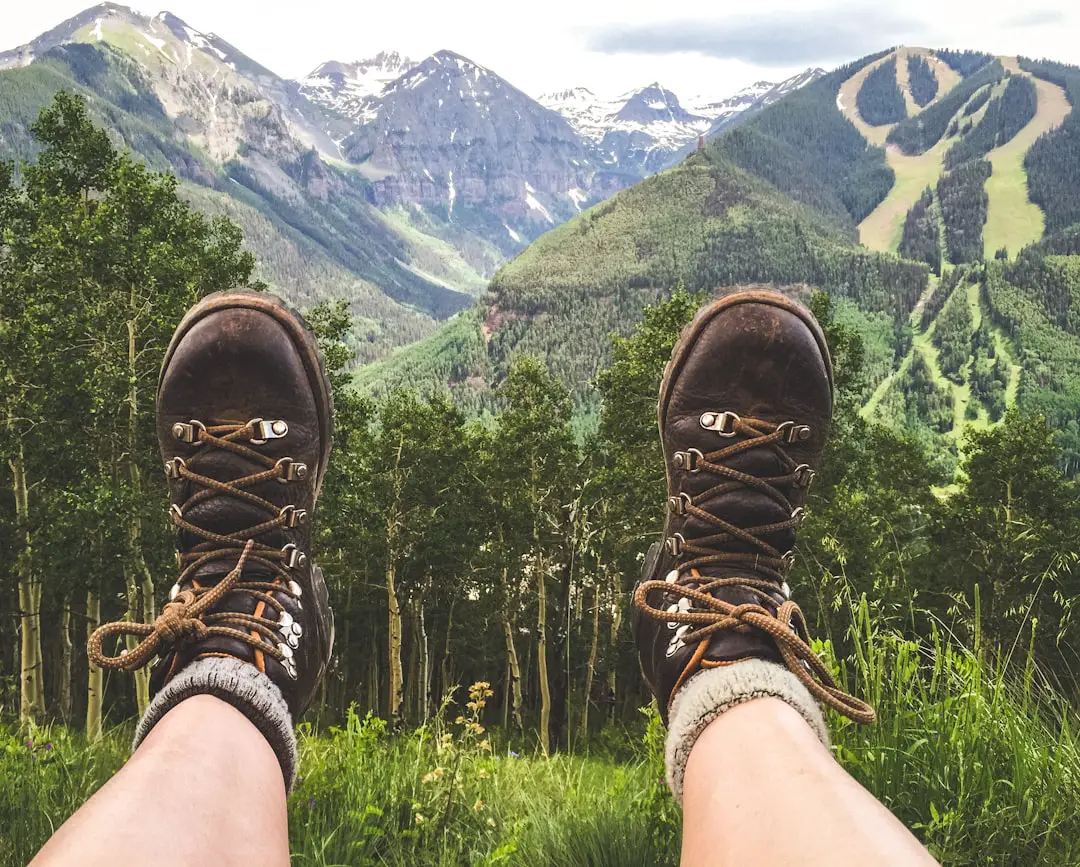
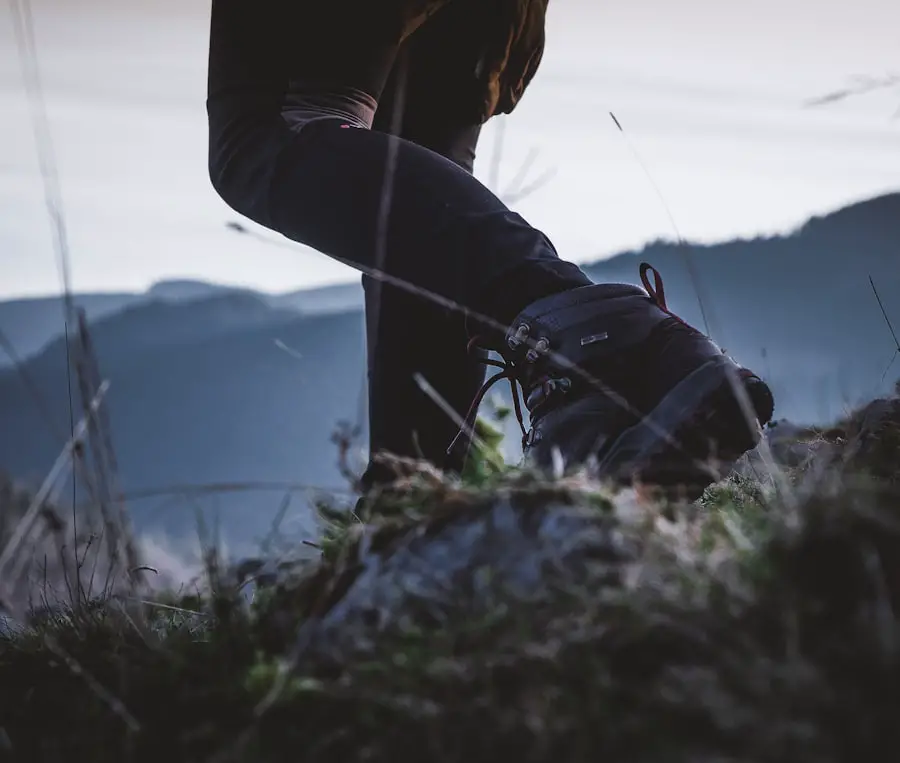
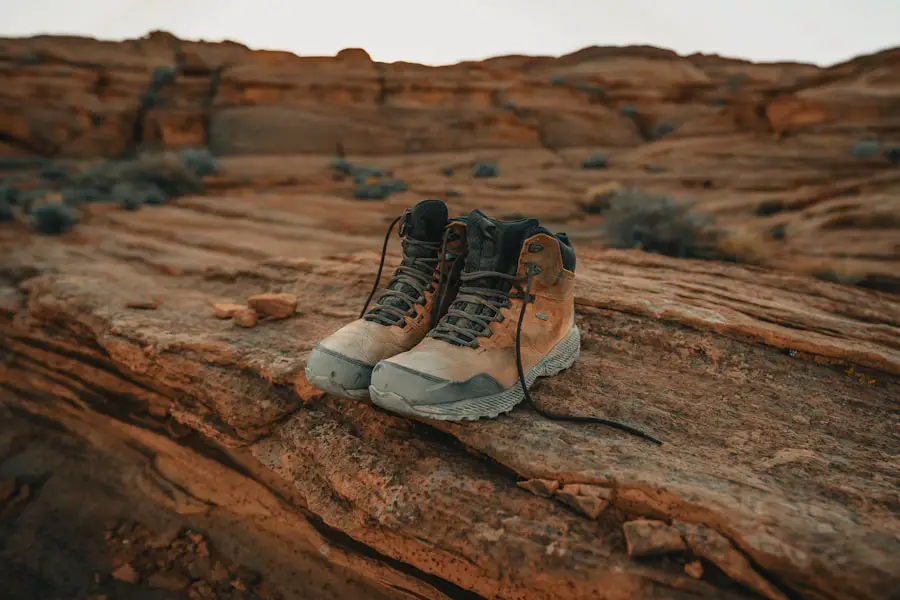
Footwear is one of the most important gear choices. Look for a secure heel fit, enough toe-room for descents, a grippy outsole suited to the trail, and cushioning that remains comfortable after repeated impacts. Trail runners may work well on maintained paths for experienced hikers, while mid-height or sturdier boots may feel more supportive on rough ground or when carrying a heavier pack. Ankle height alone does not guarantee protection from a sprain, so fit, traction, conditioning, and careful foot placement still matter.
Trim toenails before a long hike and lace the footwear so the heel stays in place without cutting off circulation. On sustained descents, toes repeatedly striking the front of the shoe can lead to pain, blisters, or damaged nails. Synthetic or wool socks help manage moisture, and carrying a dry spare pair is useful on long or wet routes.
Trekking poles can add stability and may reduce some forces on the knees and lower limbs during downhill walking. For a descent, many hikers lengthen adjustable poles slightly, plant them ahead and to the side of the body, and avoid reaching so far that the shoulders are forced backward. On very steep steps, a controlled double-pole plant can create two extra points of contact before the feet move.
Keep the backpack as light and stable as practical. Tighten the compression straps so the load does not sway, and use the hip belt to limit movement. Clothing should manage sweat, block wind, and allow layering as conditions change. The National Park Service Ten Essentials provide a strong baseline for navigation, illumination, first aid, weather protection, food, water, and emergency readiness.
Pro Tip: Test footwear and poles on a short local hill before using them on a major trip. A small heel slip, poor pole lock, or uncomfortable grip becomes much more serious after hours of descending.
Build Lower-Body Strength for Descending
The quadriceps, hamstrings, calves, glutes, hip stabilizers, and core all contribute to a controlled descent. The quadriceps do much of the braking, while the glutes and hip muscles help keep the knees aligned. Calves and ankles adapt the body to changing ground angles, and the core helps keep the pack and torso stable.
Useful exercises include squats, split squats, reverse lunges, step-ups, calf raises, hip hinges, and loaded carries. Resistance exercise can support muscle and bone health, but the training should match the hiker’s current ability. Begin with body weight or a light load and increase resistance only when form remains steady.
For downhill-specific control, emphasize slow lowering phases. For example, step onto a low box with both feet, shift weight to one leg, and lower the other heel toward the floor over three to five seconds. Keep the working knee tracking in the same direction as the toes. Use a railing or pole for support until the movement is stable.
Sample Strength Session
- Squat or sit-to-stand: 2 to 4 sets of 6 to 12 controlled repetitions.
- Reverse lunge or split squat: 2 to 3 sets of 6 to 10 repetitions per side.
- Slow step-down: 2 to 3 sets of 5 to 8 repetitions per side.
- Calf raise: 2 to 4 sets of 10 to 15 repetitions.
- Hip hinge or Romanian deadlift: 2 to 3 sets of 6 to 12 repetitions.
- Side plank or loaded carry: 2 to 3 controlled rounds.
Allow at least one recovery day between demanding lower-body sessions. Adults are generally advised to perform muscle-strengthening activity on at least two days each week, but a downhill-specific plan should be adjusted for training history, age, recovery, and upcoming hikes.
Improve Balance and Coordination for Steep Terrain
| Technique | Frequency | Duration |
|---|---|---|
| Single-leg balance exercises | 2 to 3 times a week | 5 to 15 minutes |
| Coordination and foot-placement drills | 2 times a week | 10 to 20 minutes |
| Lower-body strength training | 2 to 3 times a week | 20 to 40 minutes |
Balance and coordination are critical when navigating rocks, roots, steps, and sudden changes in trail angle. Yoga and tai chi can improve body awareness and controlled weight shifts, while simple balance drills can be performed almost anywhere.
Start by standing on one leg near a stable support. Progress by turning the head slowly, reaching with the opposite foot, or standing on a folded towel. More advanced hikers can add controlled lateral steps, low hurdle steps, or reaction drills. Keep these drills precise rather than fast.
Agility ladders and cone drills may improve foot speed and coordination, but they should not replace real trail practice. The goal is not to sprint downhill. The goal is to recognize a stable landing area, place the foot accurately, and remain ready to adjust when a rock or patch of soil moves.
Practice Proper Foot Placement and Body Position
Each step should be deliberate, but there is no single foot-strike pattern that works on every slope. On firm, moderate terrain, a quiet full-foot contact can spread pressure and improve grip. On steps, rocks, or very steep ground, the safest contact point may be different. Place enough of the shoe on a stable surface to create traction, and avoid landing only on the edge of a loose rock.
Use short to moderate steps and keep the knees softly bent. Locked knees reduce the body’s ability to absorb force and make quick adjustments. Avoid overstriding far in front of the body because this increases braking demand and can encourage slipping.
Keep the torso tall and generally centered over the feet. A slight forward position from the ankles and hips may feel natural on moderate slopes, but do not fold at the waist or lean aggressively downhill. Leaning far backward is also a common error because it places the feet ahead of the center of mass and can reduce traction. Think “stacked and mobile,” not rigid.
Look several steps ahead to plan a line, then check the immediate landing area before each step. Do not stare only at the boots. Periodically scan farther ahead for trail junctions, exposure, other hikers, wildlife, and changing weather.
Note: A good descent is often quiet. Loud, heavy footfalls can signal overstriding, locked knees, or loss of control. Shorten the step and reduce speed until landings become smooth again.
Develop Endurance for Long Descents
Cardiovascular endurance still matters because a complete hike may include climbing, level travel, altitude, heat, and hours of continuous movement. Running, brisk walking, cycling, swimming, and stair training can build a general aerobic base. The most specific preparation, however, is progressively longer hiking on terrain that includes controlled descents.
Increase only one major training variable at a time: duration, vertical descent, pack weight, speed, or technical difficulty. Adding all of them together makes it hard to identify the cause of pain or excessive soreness. A practical progression is to repeat a comfortable route, then add a little more descent or time after recovery remains normal.
Unfamiliar downhill work may cause delayed-onset muscle soreness in the quadriceps and calves. A small, low-intensity exposure before a major trip can help the body adapt, but it should not be performed so hard that it interferes with the hike. Schedule the final demanding downhill session far enough before the trip for soreness and strength to return to normal.
Incorporate Interval Training for Speed and Agility
Interval training can improve aerobic capacity and teach the body to recover after harder efforts. It does not need to involve fast downhill running. A safer option is to perform hard intervals uphill, on a bike, or on a level surface, followed by easy recovery. This builds fitness without combining speed with unstable descending.
On a gentle, obstacle-free slope, experienced hikers can practice short controlled downhill intervals at a brisk walk. Stop the interval as soon as foot placement becomes noisy or rushed. Jogging steep or technical descents is an advanced activity with greater consequences if a foot slips.
Agility drills such as ladder patterns, low lateral steps, and cone changes of direction can complement interval training by improving responsiveness. These drills can be performed at home or in a gym. Plyometric exercises such as small hops or jump squats are optional, not essential. They should be reserved for people who already have sound strength, landing mechanics, and no pain.
Use Cross-Training to Support Downhill Hiking
Cross-training can improve fitness while reducing repetitive stress from hiking. Mountain biking can build leg endurance and balance, but it does not perfectly copy the eccentric braking of walking downhill. Rock climbing can strengthen the hips, feet, grip, and body awareness. Swimming improves aerobic conditioning with low joint impact.
Stair machines and step workouts can be useful, but most machines emphasize climbing rather than descending. To train the lowering phase, use controlled step-downs, actual stairs with a handrail, a safe hill, or a treadmill that is specifically designed to operate at a decline. A standard treadmill set to a positive incline trains uphill walking, not downhill walking.
Group fitness classes focused on strength, balance, or functional movement can also help, provided the instructor can offer appropriate modifications. Keep at least one activity in the program that closely resembles the expected trail conditions.
Learn to Control Speed and Momentum
Too much speed reduces the time available to assess footing and correct a mistake. Use shorter strides, keep the feet underneath the body, and let cadence rise slightly only if the steps remain controlled. Do not take long bounding steps to “get the descent over with.”
Trekking poles can help manage momentum when planted securely. On a steep step, plant the poles first, confirm they will not slip, then lower the body under control. Avoid placing a pole tip on loose stones that may roll or between rocks where it may become trapped.
Do not grab trees, step off the trail, or rely on loose rocks as brakes. Branches can break, rocks can move, and leaving the established tread can damage vegetation or expose a hiker to a steeper fall line. Use the trail’s constructed switchbacks, steps, and stable surfaces instead.
The safest pace is the fastest pace at which you can still choose each landing, keep your knees responsive, and stop within one or two steps.
Master Descending Techniques for Different Terrain
Rocky Trails
Slow down and choose stable surfaces large enough for the shoe. Test questionable rocks before transferring full weight. Keep the center of mass controlled and avoid jumping between rocks unless there is no safer option and you have the skill to do it.
Loose Gravel and Scree
Reduce stride length and avoid sudden braking that can make the surface slide. Follow local trail guidance because techniques differ between durable scree routes and maintained trails. On a constructed trail, stay on the tread and do not cut switchbacks.
Mud, Wet Roots, and Smooth Rock
Assume these surfaces may be slick. Step on textured, stable ground where possible, keep the foot flat enough to create useful contact, and avoid twisting while the foot is planted. Poles should be placed on firm ground rather than in deep mud or on algae-covered rock.
Steep Steps and Ledges
Face downhill when the step is manageable and lower one foot at a time. For very high steps, turn slightly sideways to reduce the required drop and use a secure handhold or pole placement. If the move requires climbing technique, three points of contact, or exposure management, it may be beyond ordinary hiking and should be approached according to the route’s specific guidance.
Grassy Slopes
Grass can hide holes and become extremely slippery when wet. Use only established switchbacks or marked routes. Do not create a new zigzag across vegetation. If the route has no secure tread and a fall would have serious consequences, turn around.
Follow a Six-Week Downhill Hiking Training Plan
| Weeks | Strength and Balance | Hiking Practice |
|---|---|---|
| 1–2 | Two light strength sessions; basic single-leg balance; slow step-downs from a low step | One or two easy walks with short, gentle descents; no added pack weight |
| 3–4 | Two moderate strength sessions; add split squats, calf raises, and controlled lateral steps | One moderate hill session plus one longer easy hike; practice pole timing and short steps |
| 5 | Maintain strength; do not chase fatigue; include one precise balance session | Complete the longest specific practice hike at a controlled pace with the planned footwear and pack |
| 6 | Reduce volume; use light mobility and easy activation work | Short easy walks early in the week; arrive at the main hike rested, not sore |
This schedule is a framework, not a medical prescription. Beginners may need more than six weeks, while experienced hikers may use the same structure with greater vertical descent. Do not progress when soreness changes normal walking, a joint swells, or pain becomes sharp or one-sided.
Plan the Hike Before You Descend
Training cannot compensate for poor route planning. Check the forecast, trail alerts, distance, total elevation change, expected surface, daylight, water availability, and exit options. Leave a trip plan with someone who is not hiking. Carry navigation, a headlamp, first-aid supplies, extra food, water, weather layers, and other trip-specific essentials.
The descent may occur late in the day when concentration and leg control are already reduced. Set a turnaround time and keep enough food, water, and daylight for the return. The National Park Service hiking-safety guidance recommends choosing a route that matches the group, checking weather and alerts, carrying the Ten Essentials, taking breaks, and watching each step on slippery or exposed terrain.
Stay on the established trail and yield safely to uphill hikers. Step aside only where there is stable room. On exposed terrain, do not rush to pass or allow another group to pressure you into a pace that reduces control.
Use Recovery and Injury-Prevention Strategies
Begin training and hiking with a gradual warm-up: easy walking, ankle circles, controlled squats, and a few low step-downs. A warm-up prepares movement and raises tissue temperature, but it does not replace strength, skill, or progressive conditioning.
After a hard descent, eat, rehydrate, sleep, and use easy movement as tolerated. Gentle stretching may feel good and help maintain comfortable range of motion, but research does not show a clinically important reduction in delayed-onset muscle soreness from stretching before or after exercise. Foam rolling may provide modest relief for some people, but it should not be used to hide sharp pain or continue training through an injury.
Pay attention to body signals. General muscle soreness in both thighs after unfamiliar downhill work is common. Sharp pain, joint swelling, repeated buckling, numbness, worsening pain with each step, or an inability to bear weight needs more caution. Stop the hike when continuing would make a safe return uncertain, and seek appropriate medical care for severe or persistent symptoms.
Supportive footwear, sensible pack weight, trekking poles, and good technique can reduce stress, but none eliminates risk. The strongest injury-prevention strategy is a combination of gradual training, accurate route selection, controlled pace, and an early decision to turn around when conditions or the body deteriorate.
Planning Resources
If you are looking to improve your hiking skills for downhill treks, you may also be interested in learning how to choose the best travel guidebook for your next trip. A good guidebook can provide useful background on terrain, difficulty, access, and recommended equipment, although current trail alerts and official land-manager information should always take priority. Read this guide on how to choose the best travel guidebook to support your trip planning.
Sources
- U.S. National Park Service: Hike Smart — route planning, weather, pacing, trail hazards, water, food, and emergency preparation.
- U.S. National Park Service: Ten Essentials — baseline equipment for unexpected delays, weather changes, and emergencies.
- CDC: Physical Activity Guidelines for Adults — weekly aerobic and muscle-strengthening guidance.
- Werner, Valero-Cuevas, and Federolf, 2023 — sensorimotor and balance changes after simulated downhill walking.
- Bohne and Abendroth-Smith, 1999 — knee and lower-limb forces during downhill walking with hiking poles.
- Cochrane: Stretching and Post-Exercise Muscle Soreness — evidence that stretching has little or no clinically important effect on delayed soreness.
Frequently Asked Questions
What is downhill hiking?
Downhill hiking is walking down a trail, slope, or mountain route. It uses eccentric muscle contractions to control gravity and requires accurate foot placement, balance, braking strength, and speed management.
Why is training important for downhill hiking?
Training builds the strength and coordination needed to control each landing. It also prepares the quadriceps and other muscles for eccentric work, which can otherwise cause severe soreness and reduced control during a long or unfamiliar descent.
What exercises are best for downhill hiking?
Slow step-downs, squats, split squats, reverse lunges, calf raises, hip hinges, loaded carries, and single-leg balance drills are useful. Combine them with progressive hiking on gentle descents for terrain-specific practice.
How often should I train for downhill hiking?
A common starting point is two lower-body strength sessions, two short balance sessions, and one or two hikes or aerobic workouts per week. Leave recovery time between demanding leg sessions and adjust the plan if soreness affects normal movement.
Should I lean forward or backward when hiking downhill?
Avoid an extreme lean in either direction. Keep the torso tall, knees soft, and body generally centered over the feet. A small forward position may occur naturally on moderate slopes, but folding at the waist or leaning far backward can reduce control.
Do trekking poles help on downhill trails?
They can provide extra points of contact, improve stability, and reduce some lower-limb forces when planted correctly. Practice before a major hike, check the locking mechanisms, and avoid overreaching or placing the tips on unstable rocks.
What gear is recommended for downhill hiking?
Use well-fitting trail footwear with suitable traction, moisture-managing socks, a stable backpack, weather-appropriate layers, trekking poles if helpful, water, food, navigation, a headlamp, first-aid supplies, and the other trip-specific Ten Essentials.
How can I reduce knee strain on a long descent?
Shorten the stride, keep the knees responsive, reduce pack weight, use well-practiced trekking-pole technique, strengthen the quadriceps and hips, and take breaks before form deteriorates. Persistent or sharp knee pain should be evaluated by a qualified clinician.

