Last Updated on July 29, 2026 by Mason Reed
A tent can slide on a wooden or composite platform when the deck is smooth, damp, sloped, or too large for the tent’s normal stake pattern. The safest fix is to combine a fitted footprint, a loose non-slip layer, and proper corner and guyline anchors that do not damage the platform or alter the tent fabric.
Quick Answer
To stop a tent from slipping on a platform, place a fitted footprint over clean, dry boards, add strips of non-adhesive grip mesh beneath the footprint, and anchor every corner and required guyline to built-in rings, deck anchors, or permitted structural points. Never drive stakes, nails, or screws into a shared platform without approval.
Key Takeaways
- First determine whether the whole tent is moving or only your sleeping pad is sliding inside.
- Use non-damaging anchors and tension the tent as its manufacturer directs; interior gear is not a substitute for guylines.
- Put loose grip mesh under a correctly sized footprint, not adhesive tape or seam sealer on the tent floor.
- Keep the fly taut and vents open as weather allows to control condensation, but treat ventilation as a comfort measure rather than the main anti-slip fix.
At a Glance
| Time Required | 10–20 minutes after the tent is assembled |
| Difficulty | Easy |
| Tools Needed | Fitted footprint, non-adhesive grip mesh, extra cord, and approved platform anchors or filled weight bags |
| Cost | Usually $0–$25 if you already own a footprint and cord |
Disclosure: As an Amazon Associate I earn from qualifying purchases. Some links on this page are affiliate links, at no extra cost to you.
Understand the Importance of Tent Stability
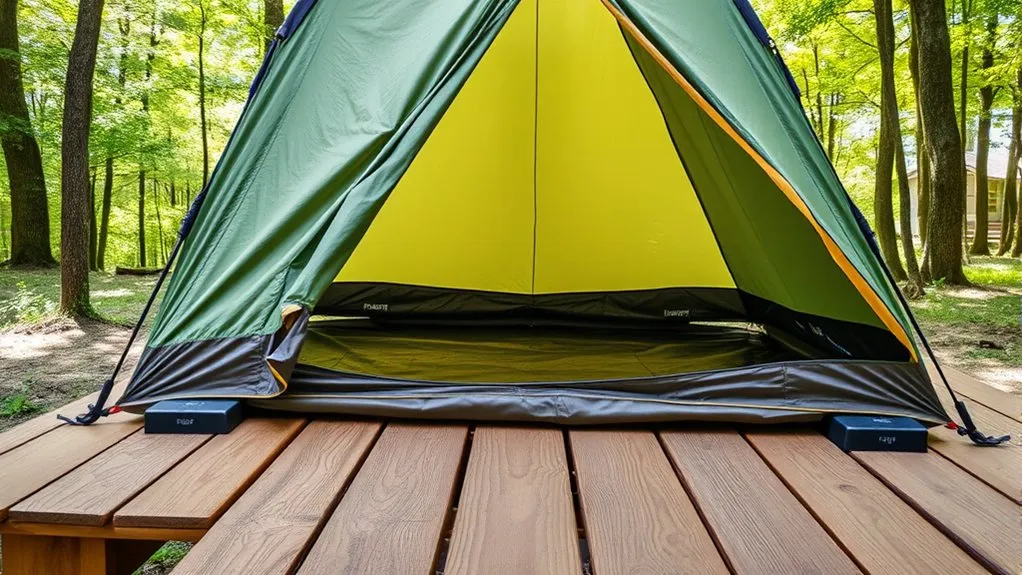
A stable pitch protects the tent structure, keeps the rainfly spaced away from the inner tent, and makes the sleeping area more comfortable. A freestanding tent can hold its shape without stakes, but it can still shift or lift in wind. Tent makers recommend using the required corner anchors and guylines because they work with the poles to support the shelter.
Smooth decking reduces friction, while damp boards, algae, loose debris, and a slight slope can make movement worse. A footprint can protect the tent floor from abrasion, but it does not replace secure anchoring. The goal is to stop both sideways creep and wind movement without puncturing the platform or altering the tent.
A non-slip layer controls small movements; properly tensioned corners and guylines control the tent itself.
Choose the Right Tent Site
When several platforms are available, choose the driest, cleanest, most level one that fits the tent without forcing poles, doors, or guylines over an unsafe edge. Check campground rules and use designated platforms where required. The Appalachian Trail Conservancy notes that regulations vary by land manager, so local instructions take priority.
Level Ground Selection
Place the tent on the levelest part of the deck. If the platform has a mild slope, orient your head toward the higher end and keep the door where you can enter without stepping off an exposed edge. Do not try to level a public platform by adding soil, rocks, wedges, screws, or other permanent materials.
Confirm that the platform is large enough for the full tent body and pole geometry. A vestibule or guyline may extend beyond the deck only when it can be anchored safely and the site rules allow it.
Avoid Debris and Obstacles
Before laying down the footprint, inspect the platform and remove loose material that can reduce grip or damage the floor:
- Sharp hazards: Remove loose splinters, metal fragments, gravel, sticks, and other objects that could puncture the fabric.
- Slippery buildup: Brush away leaves, needles, sand, and loose dirt. Do not use harsh cleaners on a campground platform.
- Standing water: Choose a drier platform when possible and avoid placing grip mesh over puddles.
- Unsafe edges: Keep doors, high-traffic areas, and sleeping positions away from drop-offs, broken boards, and large gaps.
Warning: Do not use a platform with rotten boards, protruding fasteners, major movement, or damaged railings. Report the defect and move to another approved site.
Use Non-Slip Materials Underneath
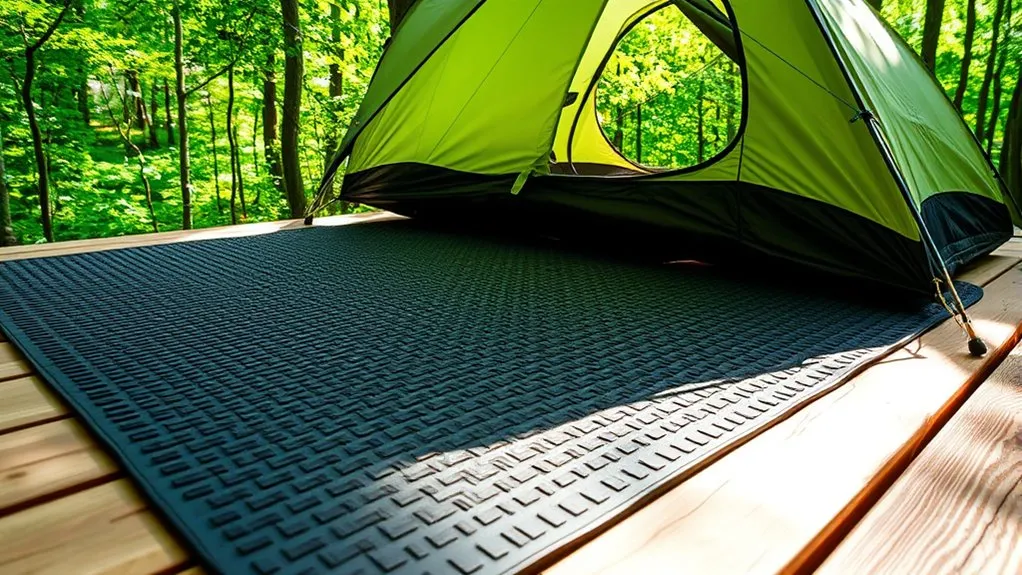
For a smooth platform, place several strips of clean, dry, non-adhesive open-weave grip mesh beneath the footprint. Position the strips near the tent’s perimeter and high-contact areas rather than covering the entire deck. This adds friction while keeping the material easy to remove and inspect.
Keep the grip material under the footprint instead of directly against a coated tent floor. Test it at home first, especially with light-colored or delicate fabrics, and stop using it if it transfers residue, color, or odor. Remove and dry the mesh after the trip so trapped moisture does not encourage mildew.
Pro Tip: Cut two or three narrow strips instead of carrying a full-size mat. They are lighter, dry faster, and let water drain between the boards.
Secure Tent Corners Effectively
Anchor the tent before loading it with gear. Use the least damaging method the site allows, and follow the tent manual for which points must be tensioned.
Secure the tent to approved external anchors; do not rely on body weight or loose gear to hold it in place.
- Use built-in hardware first: Attach corners and guylines to platform eye bolts, hooks, chains, or designated tie points when provided.
- Use platform anchors when permitted: Deck or fishbone-style anchors can turn beneath gaps between boards. Confirm that the gap and underside are clear, and protect cord from sharp edges.
- Loop around structural points carefully: Extra cord may reach an approved perimeter rail or support. Do not tie to weak trim, vegetation, utilities, or another camper’s space.
- Use portable weights only as a backup: Filled water bags or purpose-made sandbags may reduce movement in calm conditions. They are not a reliable substitute for guylines in strong wind.
Tension opposite corners gradually so the floor stays square and the poles are not pulled out of alignment. Then attach the rainfly and all required guylines. Recheck the pitch after wind, rain, or fabric stretch.
Warning: Never hammer stakes, nails, or screws into a public platform unless the owner or land manager expressly authorizes that method. Damage can create puncture hazards and may violate campsite rules.
Utilize a Groundsheet or Tent Footprint
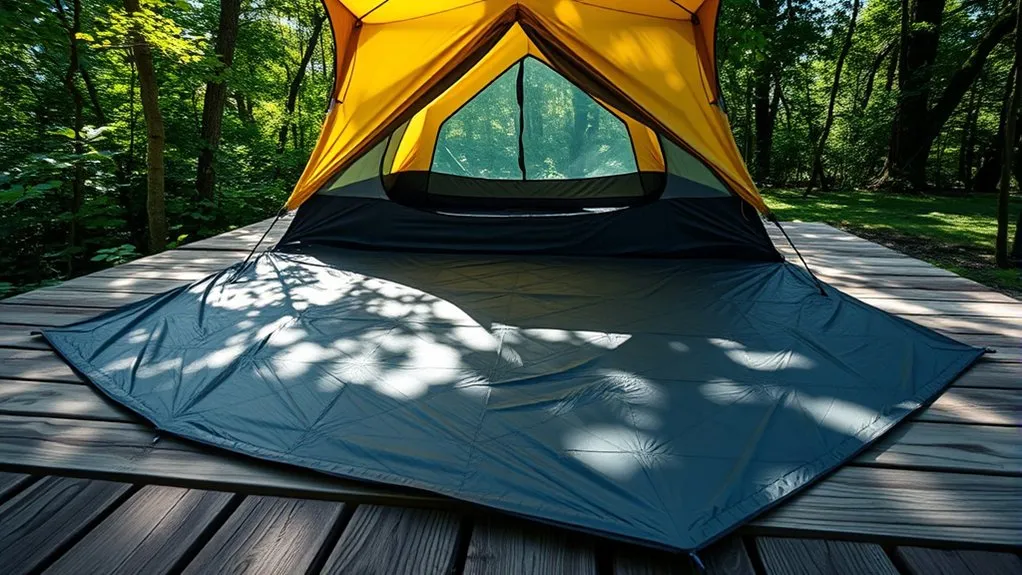
A fitted footprint creates a sacrificial layer between the tent and the deck. Its main jobs are to reduce abrasion, keep the floor cleaner, and protect the waterproof coating. Both REI’s footprint guidance and MSR’s care guidance describe footprints primarily as floor protection.
Use the footprint made for your tent or fold a universal groundsheet so it is slightly smaller than the tent floor. Material that sticks out can catch rain and channel water beneath the tent. Align its attachment points with the tent corners and keep it flat, without folds that create pressure ridges.
A footprint may keep the floor cleaner and drier, but it does not stop condensation inside the shelter. Condensation comes mainly from humid air, breathing, wet gear, and temperature differences, so airflow and moisture management still matter.
Implement Weight Distribution Techniques
Use normal interior weight to reduce small floor movements, not to replace anchors. Spread sleeping pads, bags, and packed gear evenly so the tent remains square. Keep hard or heavy items away from unsupported fabric, corners, doors, and pole ends.
- Anchor first: Finish the external pitch before placing gear inside.
- Distribute gear evenly: Put heavier packed items near stable perimeter areas without pressing on walls or blocking exits.
- Separate pad slip from tent slip: If only the sleeping pad moves, place a small piece of non-adhesive grip mesh between the pad and floor or use a closed-cell foam pad beneath the inflatable pad.
- Recheck alignment: If the floor wrinkles or a pole leans, move the gear and retension opposite corners.
Note: Rocks, coolers, and water jugs placed on tent fabric can create concentrated wear. Use soft-sided weight bags at reinforced loops only when the tent maker and campsite rules allow it.
Maintain Proper Tent Ventilation
Ventilation does not create enough traction to secure a tent on a platform, but it does reduce condensation and helps the shelter stay comfortable. A taut fly also keeps fabric layers separated and lets designed vents work properly.
Importance of Airflow
Open opposing vents and use the tent’s protected vent settings whenever conditions allow. The REI condensation guide recommends ventilating early and fully, keeping the fly taut, and preserving airspace between the fly and inner tent. Big Agnes tent guidance likewise emphasizes guylines, a taut pitch, and airflow.
- Use cross-ventilation: Open opposing vents rather than relying on a single opening.
- Tension the fly: Keep the rainfly from resting on the tent body.
- Match the weather: Use protected vents during rain and reduce only the opening that admits wind-driven water.
- Keep airflow paths clear: Do not stack gear against mesh panels or low vents.
Preventing Condensation Buildup
Store wet clothing, boots, and rain gear in the vestibule or another approved dry area rather than against the tent floor. Wipe up spills promptly, and air out the tent when the weather improves. Do not close every vent simply because it is raining; use the rainfly’s protected vents as designed unless water is entering.
When morning condensation is heavy, dry the tent and footprint before packing when possible. If you must pack them damp, unpack and dry them fully as soon as you return.
Enhancing Overall Comfort
A stable, ventilated pitch reduces floor wrinkles, damp bedding, and repeated nighttime adjustments. Keep the door path clear, place the sleeping pad on the levelest part of the platform, and avoid over-tensioning the floor until it feels drum-tight. The tent should be taut enough to hold its shape without stressing seams or zippers.
Regularly Inspect and Clean the Tent
Inspect the tent before and after each trip. Check the floor coating, reinforced corner loops, webbing, buckles, guylines, tensioners, and pole ends. Repair damaged anchor points before using the tent in wind.
Brush away loose debris and spot-clean only when needed. Follow the tent manufacturer’s directions; many coated tents should be hand-cleaned with water, a soft sponge, and mild non-detergent soap rather than household detergent, bleach, a washing machine, or a dryer. MSR also warns that long-term adhesive contact can damage fabric, which is another reason to avoid carpet tape and similar products on the floor.
Dry the tent, footprint, and grip mesh completely before storage. Store the shelter loosely in a cool, dry place so trapped moisture and permanent creases do not weaken the coating.
Avoid Permanent Adhesives and Floor Modifications
Do not apply double-sided carpet tape, adhesive Velcro, dashboard mats with tacky backing, or silicone dots to the tent floor as a traction treatment. Adhesives can leave residue, pull coatings away from fabric, collect grit, and complicate repairs. They can also mark a platform or create cleanup problems for the next camper.
Use seam sealer only for the repair purpose and fabric type specified by the tent manufacturer. Silicone-coated and polyurethane-coated fabrics require different products, and seam sealer is not a general non-slip coating. For temporary grip, use removable, non-adhesive material under the footprint.
Diagnose What Is Actually Slipping
Before changing the setup, identify the movement:
- The entire tent shifts: Improve corner anchors, add required guylines, and place grip mesh under the footprint.
- The footprint slides but the tent stays shaped: Confirm the footprint is correctly attached and add grip strips between it and the platform.
- Your sleeping pad slides inside: Add interior grip between the pad and floor or pair the pad with a closed-cell foam layer.
- You slide toward one wall: The platform is sloped. Rotate the tent so your head is uphill or move to a more level approved platform.
- The tent moves only in gusts: Treat this as an anchoring and exposure problem, not a friction problem.
Step-by-Step Platform Setup
- Read the site rules: Check whether the platform has required tie points or prohibited fasteners.
- Inspect the deck: Look for damage, slippery buildup, sharp objects, unsafe gaps, and standing water.
- Place the grip strips: Lay clean, non-adhesive mesh where the footprint will contact the platform.
- Lay the footprint: Keep it flat and fully inside the tent’s floor outline.
- Assemble and square the tent: Connect the poles and attach opposite corners without twisting the frame.
- Anchor corners and guylines: Use built-in hardware, approved deck anchors, or permitted structural tie points.
- Tension and test: Tighten opposite points gradually, push lightly on the frame, and correct any sliding or distortion before moving gear inside.
- Recheck after weather changes: Wet fabric can stretch, and wind can loosen cord or shift portable anchors.
Troubleshoot Common Platform Problems
- No anchor hardware: Use permitted deck anchors between boards or extra cord around approved structural points. Ask the campground host when the platform design is unclear.
- Boards are too tight for deck anchors: Reach external ground with longer guylines where allowed, or use purpose-made weight bags in calm weather.
- Platform is wet: Remove loose water, use fewer open-weave grip strips so drainage remains clear, and retension after the materials settle.
- Strong wind is forecast: Use every structural guy point, orient the tent’s lower or narrower end toward the prevailing wind when the design allows, and move to a more sheltered approved site if the platform cannot provide secure anchors.
- Floor still creeps: Confirm that the mesh is under the footprint, the footprint is attached, and the tent is not being pulled unevenly by one short guyline.
Warning: Portable weights and friction mats cannot make an exposed platform safe in severe wind. Follow weather alerts and campground instructions, and relocate or take the tent down when secure anchoring is not possible.
Frequently Asked Questions
Can I use carpet instead of specialized non-slip materials?
A small, clean, rubber-backed mat may add grip, but carpet is usually bulky, slow to dry, and likely to hold grit or moisture. A lightweight, non-adhesive open-weave grip mesh under the footprint is easier to pack, inspect, and dry. Confirm that the material does not stain or react with the footprint.
How do I know if my platform is too slippery?
Set the empty tent and footprint in place, anchor the corners, and apply light hand pressure near each side. If the base creeps, wrinkles, or rotates while the anchors stay fixed, add removable grip material and correct the tension. Move platforms if the deck has algae, standing water, unsafe damage, or a slope you cannot manage.
Is it safe to camp on a wooden platform?
Yes, when the platform is maintained, large enough for the tent, and used according to site rules. Inspect it for rot, splinters, protruding fasteners, large gaps, and unstable boards. Use approved tie points and keep the tent door away from exposed edges.
What are the best weights to use for securing corners?
Purpose-made sandbags or durable water-weight bags are easier to control than loose rocks and are less likely to damage the site. Attach them only to reinforced loops as the manufacturer allows. Use weights as a calm-weather backup, not as the main wind anchor.
Can wind affect the stability of my tent on a platform?
Yes. A smooth platform provides little resistance if gusts lift or push the shelter. Anchor all required corners and guylines, keep the fly taut, and use a more sheltered approved site when the platform lacks reliable tie points. Friction mats and interior gear alone are not enough for strong wind.
Can I use nails or screws in a tent platform?
Only when the platform owner or land manager expressly permits it. On shared public platforms, use built-in tie points, removable deck anchors, or approved cord routes instead. Nails and screws can damage boards, leave sharp hazards, and violate campsite rules.
What if only my sleeping pad slides?
That is an interior friction problem rather than a platform-anchor problem. Place a small piece of clean, non-adhesive grip mesh between the pad and tent floor, use a closed-cell foam pad beneath the inflatable pad, or use compatible pad straps. Avoid applying permanent silicone or adhesive to the floor unless the tent manufacturer specifically approves it.
Should the footprint extend beyond the tent floor?
No. Use a model-specific footprint or fold a universal groundsheet so it stays slightly inside the tent’s outline. Exposed material can collect rain and direct water beneath the floor.
Conclusion
To keep a tent floor from slipping on a platform, combine three measures: a clean and correctly sized footprint, removable grip material, and secure external anchors. Use built-in hardware or approved deck anchors, tension opposite corners evenly, and guy out the fly as directed. Avoid nails, screws, carpet tape, and permanent floor coatings unless the site owner and tent manufacturer specifically approve them.
Test the empty setup before bringing gear inside, then recheck it after wind or rain. When the platform is damaged, too exposed, or impossible to anchor safely, the right fix is to move to another approved site rather than add more weight or adhesive.
Sources
- Appalachian Trail Conservancy: Camping & Shelters — designated tent platforms, land-manager rules, and low-impact campsite use.
- REI Expert Advice: What Is a Tent Footprint? — footprint purpose, fit, abrasion protection, and water-pooling risk.
- REI Expert Advice: How to Prevent Condensation in a Tent — airflow, wet-gear management, and rainfly tension.
- Big Agnes: Tent Setup and Care Tips — guylines, structural stability, ventilation, footprints, and dry storage.
- MSR: Universal Footprint and Tent Care FAQ — floor protection, cleaning, adhesive caution, guying, and condensation control.