
Last Updated on August 26, 2026 by Mason Reed
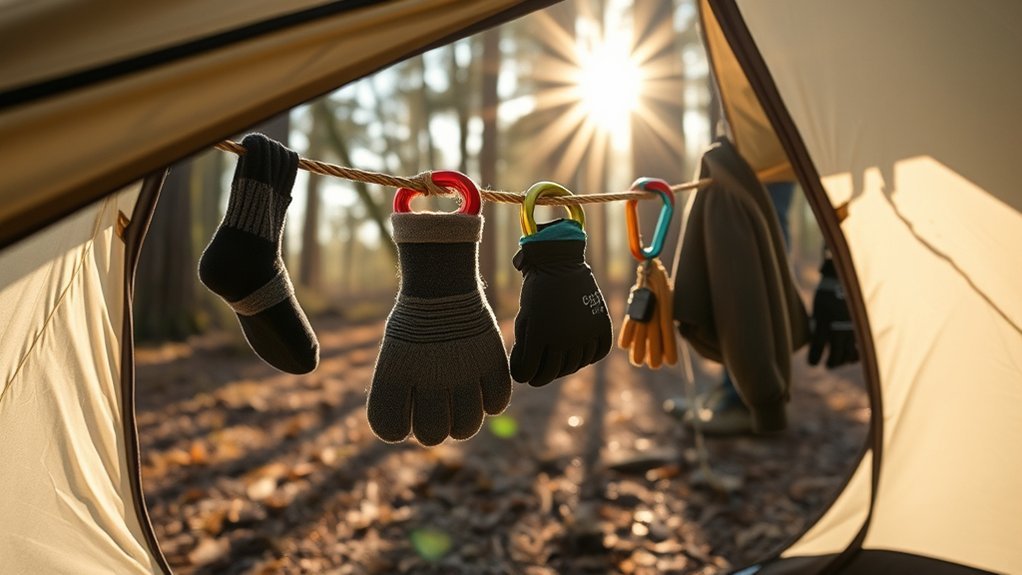
A gear drying line under a camping tent vestibule can keep damp socks, gloves, rain layers, and small accessories out of your sleeping area while they air out. The safest setup is lightweight and shelter-specific: use only attachment points the tent manufacturer provides or approves, keep the doorway and vents clear, and avoid hardware that can puncture, deform, or overload the tent.
Quick Answer
To create a gear drying line under a tent vestibule, run lightweight cord between manufacturer-approved clothesline or gear loops and apply only gentle tension. Keep the line clear of doors and vents, hang light damp items, and never drill, screw, clamp, or permanently fasten hardware into tent fabric, poles, or the rainfly.
Key Takeaways
- Check your tent manual first and use only attachment points intended or approved for hanging a line or light gear.
- Lightweight polyester or nylon cord is usually more appropriate than steel cable, eye screws, or turnbuckles.
- There is no universal 50-pound rating, mounting height, or attachment-point spacing for tent drying lines.
- Keep wet gear separated enough for airflow and keep the vestibule’s doorway and ventilation openings unobstructed.
- Keep stoves, heaters, lanterns, candles, and other flame or high-heat sources away from the tent and drying line.
At a Glance
| Time Required | About 5–15 minutes after the tent is fully pitched |
| Difficulty | Easy, provided the tent has approved attachment points |
| Tools Needed | Tent manual, lightweight cord or portable clothesline, and optional smooth lightweight clips or a small line tensioner approved for the attachment points |
| Cost | Usually low or zero if you already carry suitable cord and the tent has built-in loops |
Warning: Never drill into a tent, add eye screws or lag screws, or use heavy turnbuckles as a generic installation method. Keep the drying line and hanging gear away from stoves, heaters, lanterns, candles, and other flame or high-heat sources. The U.S. Consumer Product Safety Commission advises keeping stoves and flames away from tents and warns about carbon-monoxide hazards from fuel-burning camping equipment in enclosed spaces.
Disclosure: As an Amazon Associate I earn from qualifying purchases. Some links on this page are affiliate links, at no extra cost to you.
Selecting the Right Materials
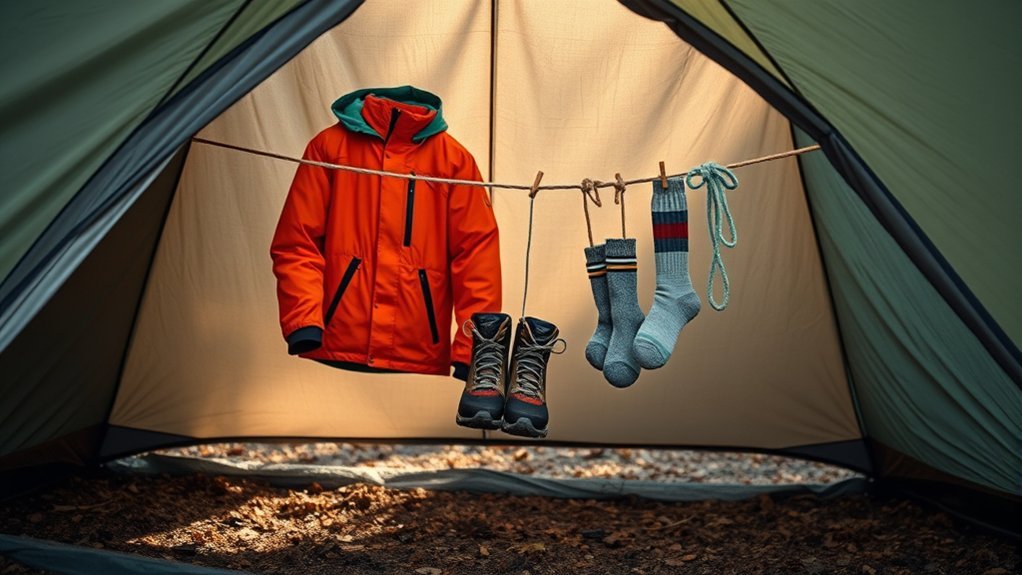
For a tent-vestibule drying line, lighter is usually better. A short length of polyester or nylon cord, a purpose-built travel clothesline, or the line supplied by your tent manufacturer is generally more suitable than metal cable. For example, Sea to Summit’s portable clothesline uses lightweight polyester cord and is designed to wrap around suitable suspension points.
If your tent already includes a clothesline, use that system as intended. Some shelters provide dedicated loops specifically for this purpose. Zpacks’ Pivot Solo, for example, lists small peak loops that can be used for a clothesline, while The North Face Homestead Super Dome 4 includes an internal drying line.
Avoid sharp hooks, bare wire, heavy steel hardware, or anything that can abrade fabric or concentrate force on a seam. If you use clips or mini carabiners, they should be smooth, lightweight, and attached only to points the shelter manufacturer allows you to load.
Measuring the Space
Do not begin with a universal height such as 5, 6, or 7 feet. Tent vestibules vary from low solo shelters to large standing-height family tents. Instead, pitch the tent correctly and work with the attachment points that actually exist.
Assess Available Area
Look at the complete vestibule before installing the line. Identify the door zipper, vents, rainfly panels, inner-tent wall, poles, approved hanging loops, and the path you use to enter and exit. The line should not force wet clothing against the rainfly, block a ventilation opening, or turn the entrance into an obstacle.
If the shelter has two vestibules, consider using the less frequently used side for drying. This can reduce the chance of brushing against hanging wet gear every time you enter the tent.
Determine Line Height
Place the line only as high as the approved attachment points allow. A good position keeps small items off the ground while allowing the vestibule door to operate normally. Do not pull an attachment point upward or sideways simply to achieve a particular height.
Note: Wet gear releases moisture into the vestibule air. Keep protected vents open when weather permits and preserve the normal airflow between the rainfly and inner tent. A drying line improves organization, but it does not eliminate condensation.
Preparing the Tent for Installation
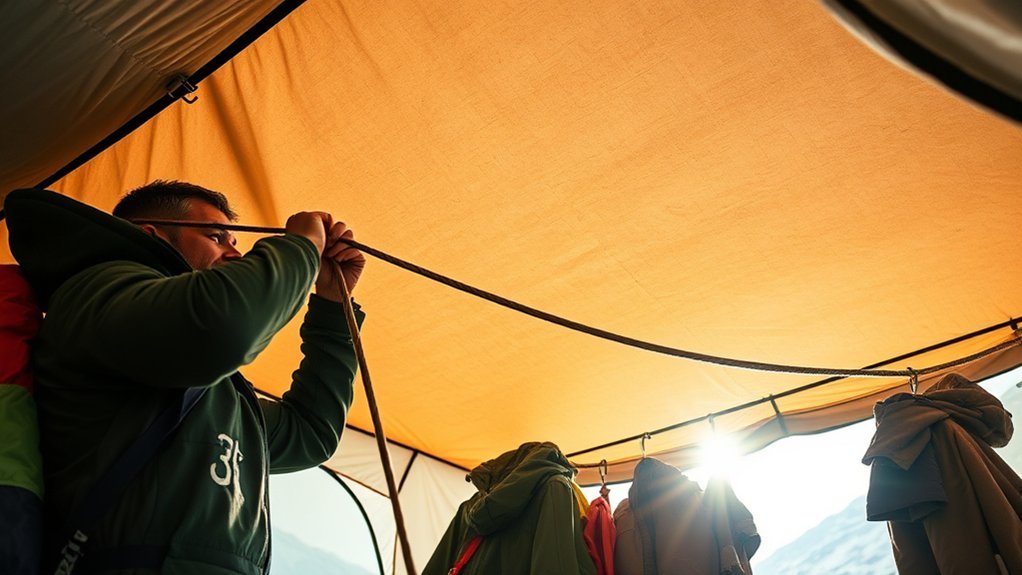
Before installing anything, fully pitch, stake, and tension the tent according to its manual. A drying line should be added to a correctly pitched shelter, not used to compensate for a loose rainfly or unstable structure.
| Step | Action | What You Need |
|---|---|---|
| 1 | Pitch and stake the tent correctly | Tent, poles, stakes, guylines |
| 2 | Check the owner’s manual | Manufacturer instructions |
| 3 | Locate approved clothesline or gear loops | Visual inspection |
| 4 | Test door and vent clearance | No special tools |
| 5 | Attach a lightweight line with gentle tension | Cord or approved portable clothesline |
Do not drill holes, install screws, or permanently modify the rainfly, tent body, poles, or seams. If the manufacturer does not provide or approve a suitable hanging point, use another drying method rather than inventing a structural attachment.
Attaching the Line Without Hooks or Eye Screws
A tent drying line normally does not require eye screws, toggle bolts, lag screws, or other building hardware. Instead, connect the line to the shelter’s designated clothesline or gear loops.
Choose Shelter-Safe Attachment Hardware
If the tent manufacturer permits removable hardware, use lightweight, smooth-edged clips or mini carabiners sized for the provided loops. Avoid heavy steel hooks or anything with a sharp edge that can damage webbing, mesh, coated fabric, or stitching.
Do not assume that every convenient loop is load-bearing. Zipper pulls, vent tabs, mesh pockets, rainfly fabric, and miscellaneous elastic loops may have completely different purposes. The manual should take priority over appearance.
Proper Installation Techniques
- Attach one end of the line to an approved clothesline or gear loop.
- Run the cord toward the second approved attachment point without wrapping it around fragile fabric or a pole joint.
- Attach the second end and remove only enough slack to keep the line useful.
- Open and close the vestibule door to confirm the line does not interfere with entry or emergency exit.
- Check that vents remain open and that the rainfly retains its normal shape.
- Add one light item at a time and stop if an attachment point, seam, pole, or fly panel begins to distort.
Stretching the Drying Line

The line should be snug, not aggressively tight. Excessive tension can transfer unnecessary force into small sewn loops, poles, or shelter seams. The goal is simply to reduce sag before gear is added.
If the line stretches after damp items are hung, remove an item or retension the cord slightly. Do not keep tightening until the rainfly or tent body changes shape. A little sag is preferable to overloading the shelter.
Pro Tip: Shake off rainwater and blot very wet items with an absorbent camp towel before hanging them. Removing free water first reduces both line load and the amount of moisture released into the vestibule.
Securing the Line Without Heavy Turnbuckles
Metal turnbuckles are unnecessary for most tent drying lines. A simple adjustable knot, the tensioning system built into a purpose-made clothesline, or a small lightweight cord tensioner is usually enough.
Whatever method you use, make adjustments gradually. The attachment point—not the breaking strength printed on the cord—is often the limiting part of the system. A very strong cord does not make a sewn tent loop equally strong.
Tips for Optimal Gear Hanging
Start with light items such as socks, gloves, hats, thin base layers, small towels, or a damp rain shell. Give each item enough room that air can move around it rather than packing everything tightly together.
- Shake or blot excess water before hanging an item.
- Hang light garments separately rather than creating one heavy bundle.
- Turn simple clothing items inside out when their care instructions allow it.
- Keep wet fabric from resting against the inner tent or sleeping bag.
- Place heavy boots, packs, and water-filled equipment on the vestibule floor instead of suspending them from a generic clothesline.
- Follow manufacturer care directions for down insulation, waterproof-breathable garments, footwear, harnesses, and other specialized equipment.
- Keep the vestibule exit clear enough to use quickly in darkness or bad weather.
There is no universal requirement for two, three, or six inches between garments. The practical goal is simply to avoid overlapping wet fabric and preserve useful airflow.
Managing Airflow and Condensation
Drying wet gear inside a covered vestibule increases local humidity. Keep manufacturer-designed vents open when conditions permit, maintain the intended gap between the rainfly and inner tent, and avoid stuffing the vestibule so full that low-level airflow is blocked.
If the inside of the fly becomes heavily covered with condensation, reduce the amount of wet equipment on the line, increase protected ventilation, or move items to an outside drying location when the weather improves.
Do not rely on a stove, lantern, heater, candle, or other combustion appliance to speed drying. The U.S. Consumer Product Safety Commission’s camping guidance recommends keeping stoves, lanterns, candles, and fire hazards away from tents.
Maintenance of the Drying Line
A lightweight camping line does not need an arbitrary monthly service schedule. Inspect it before and during trips, especially if it has been exposed to grit, UV light, saltwater, abrasion, or repeated heavy use.
Regular Inspections Required
| Inspection Focus | Action Required |
|---|---|
| Cord | Look for cuts, glazing, severe fuzzing, or damaged sections |
| Tent attachment loops | Check for pulled stitching, distortion, or abrasion |
| Clips or tensioners | Confirm smooth operation and remove anything with sharp edges |
| Tent pitch | Make sure hanging gear is not distorting the rainfly or poles |
| Wet gear load | Remove heavy items if the line or shelter attachment points sag excessively |
Replace damaged cord rather than relying on a questionable section. If a sewn tent loop or seam shows damage, stop loading it and follow the shelter manufacturer’s repair guidance.
Clean Lines Periodically
Clean the line when it becomes muddy, gritty, salty, or contaminated. For ordinary synthetic cord, fresh water is often enough; follow the line manufacturer’s instructions if a specific cleaning method is provided.
Dry the cord and shelter completely before long-term storage. NEMO’s tent-care guidance recommends making sure the tent and its components are completely dry before storage to help prevent mold, mildew, and damage to waterproof finishes.
Benefits of a Gear Drying Line
A correctly installed tent vestibule gear drying line can make wet-weather camping easier by giving small damp items a defined place to air out. It can also keep wet clothing away from your sleeping bag, pad, and the floor of the inner tent.
The line is most useful as a moisture-management and organization tool rather than a high-capacity drying rack. Because evaporation adds humidity to the shelter, good ventilation remains important.
Proper drying also matters after the trip. Tent manufacturers including NEMO, MSR, and Big Agnes advise thoroughly drying shelters before storage because prolonged damp storage can promote mildew, odors, coating deterioration, or delamination. There is no reliable universal percentage by which a drying line will extend the life of all outdoor gear.
Troubleshooting a Vestibule Drying Line
The Line Sags After You Hang Gear
Remove the heaviest item first. If the shelter remains undistorted, retension the line gently. Do not compensate for excessive load by tightening the cord harder against the tent.
An Attachment Point Bends or Pulls
Unload it immediately. A distorted loop, seam, pole, or fly panel is a warning that too much force is being applied or that the point is not intended for the load.
Condensation Gets Worse
Reduce the amount of wet gear, increase protected ventilation, separate garments, and move items outside when conditions allow. Wipe accumulated droplets with an absorbent camp towel if necessary.
The Cord Keeps Slipping
Use the adjustment method recommended for your clothesline or switch to an appropriate adjustable knot or lightweight tensioner. Avoid solving slippage by attaching the line to a stronger-looking but unapproved part of the tent.
Alternative Drying Solutions
If your shelter has no approved line attachment points, do not drill, clamp, or tie into structural components simply to create them. Safer alternatives include:
- A portable outdoor clothesline: Set it up between appropriate suspension points where campsite rules allow.
- A tarp-covered drying area: Useful when you can maintain airflow while protecting gear from continuing rain.
- A trekking-pole drying setup: Use only a system designed for that arrangement and keep it independent of fragile tent fabric.
- An absorbent camp towel: Blotting free water can dramatically reduce how wet an item is before air drying.
- Ventilated temporary storage: If drying is impossible, separate wet gear from insulation and dry it properly as soon as conditions improve.
- At-home care: Follow each item’s care label or manufacturer instructions. Do not assume a tumble dryer or direct heat is safe for technical fabrics, waterproof coatings, adhesives, or footwear.
A purpose-made product such as Sea to Summit’s lightweight travel clothesline is one example of a removable system designed specifically for hanging wet clothing without permanent installation.
Frequently Asked Questions
What Types of Gear Can I Hang on the Drying Line?
Light damp items such as socks, gloves, hats, thin base layers, small towels, and some rain clothing are usually the best candidates. Heavy boots, packs, saturated jackets, water containers, and other bulky equipment should not be placed on a generic tent line unless the tent manufacturer specifically rates the system for them.
How Much Weight Can the Drying Line Support?
There is no universal safe weight. The cord may be stronger than the tent loops, seams, poles, or fabric supporting it. Follow your tent manufacturer’s instructions and, when no load rating is provided, keep the line to light garments and stop adding weight if any shelter component begins to distort.
Can I Install the Line Outdoors as Well?
Yes. A removable outdoor clothesline can often provide better airflow than a vestibule. Use suitable suspension points, follow campground rules, avoid damaging trees or vegetation, and make the line visible enough that people will not walk into it.
How Often Should I Clean the Drying Line?
Clean it when it becomes dirty, gritty, salty, or contaminated rather than following an arbitrary monthly schedule. Inspect the cord and attachment hardware before trips and dry everything thoroughly before long-term storage.
Is There a Recommended Distance Between Hung Items?
There is no single required measurement. Leave enough space that wet items do not overlap and air can circulate around them. The available vestibule space and the size of each garment matter more than following a fixed two-, three-, or six-inch rule.
What if My Tent Has No Clothesline Loops?
Check the owner’s manual for another manufacturer-approved gear-hanging point. If none is provided, use a separate outdoor or freestanding drying system instead of attaching cord to zipper pulls, vents, rainfly fabric, pole joints, or other parts that were not designed for the load.
Can I Use a Drying Line in a Trekking-Pole Tent?
Yes, but only when the tent maker provides or approves an appropriate attachment point. Some trekking-pole tents include peak loops specifically for a clothesline. Do not assume the trekking pole, vent hardware, or external guyline can accept extra hanging loads unless the manufacturer says so.
Conclusion
A useful gear drying line under a tent vestibule should be simple, lightweight, and gentle on the shelter. Use manufacturer-approved loops, apply only enough tension to control sag, hang light damp items, maintain ventilation, and keep the doorway clear. Avoid drilling, eye screws, heavy turnbuckles, unsupported load limits, and direct-heat shortcuts. After the trip, dry both the line and your shelter completely before storage.
Sources
- Zpacks — Pivot Solo Tent — example of manufacturer-provided peak loops intended for a clothesline.
- The North Face — Homestead Super Dome 4 Tent — documents an included internal drying line and vestibule gear storage.
- Sea to Summit — The Clothesline — example of a lightweight polyester portable clothesline.
- U.S. Consumer Product Safety Commission — Camping Hazards — fire, stove, lantern, and tent-safety guidance.
- NEMO Equipment — Cleaning, Repairing, and Storing Your Tent — supports thoroughly drying tents and components before storage.
- MSR — Tent and Shelter Care Manual — supports air-drying tents completely and avoiding damp storage.
