Last Updated on July 27, 2026 by Daniel Globe
Hiking boots can feel comfortable in the store and still cause trouble several miles into a hike. The goal is not simply to match the number on your everyday shoes. A good fit accounts for foot length, width, arch length, overall volume, hiking socks, and the swelling that can happen during a long day on the trail. The right boots should hold your heel securely while leaving enough room for your toes to move without hitting the front.
Quick Answer
Hiking boots should feel snug around the heel and midfoot but never tight, pinching, or numb. Measure both feet late in the day, fit the larger foot, wear your hiking socks, and leave roughly a thumb’s width beyond your longest toe. Then test the boots on an incline before buying.
Key Takeaways
- Measure both feet and choose a boot that fits the larger foot.
- Judge length, width, arch length, and volume instead of relying only on your normal shoe size.
- Your heel should stay secure while your toes have room to spread and move.
- Try boots late in the day with the socks and insoles you will actually use on the trail.
- Terrain should influence boot stiffness, traction, protection, and waterproofing—not whether you intentionally buy a loose fit.
- A break-in period can soften some boots, but it cannot correct the wrong size or shape.
At a Glance
| Time Required | About 15–30 minutes to measure and test several pairs |
| Difficulty | Easy |
| Tools Needed | Ruler or tape measure, paper and pen or a Brannock device, plus your hiking socks and usual insoles or orthotics |
| Cost | Free for home measurement; professional footwear fitting is often available at no added charge when shopping in-store |
Disclosure: As an Amazon Associate I earn from qualifying purchases. Some links on this page are affiliate links, at no extra cost to you.
How Hiking Boots Should Fit
A properly fitted hiking boot should feel snug everywhere but tight nowhere. Your heel and midfoot need enough hold to keep the foot stable, while the toe box should allow your toes to wiggle and spread naturally.
Pay attention to four dimensions rather than the printed shoe size alone:
- Length: Your toes need space in front so they do not strike the boot during descents.
- Width: The sides of your forefoot should not feel squeezed, but your foot should not slide sideways.
- Arch length: The flex point and shape of the boot should line up naturally with your foot.
- Volume: The boot must also match how much space your foot occupies from the sole to the top of the foot. A boot can be the right length and still feel too shallow or too roomy.
Pro Tip: Do not assume two boots marked with the same size will fit the same way. Manufacturers use different lasts, toe-box shapes, widths, and volume profiles, so the fit test matters more than the number on the box.
Understanding Foot Anatomy
Each foot contains 26 bones and more than 30 joints, supported by a complex network of muscles, tendons, and ligaments. That structure helps the foot bear weight, absorb forces, and adapt as you walk over uneven ground. You do not need to memorize foot anatomy to buy hiking boots, but it helps to understand why one simple length measurement cannot describe every foot.
A hiking boot can be the correct numerical size and still be the wrong shape for your heel, forefoot, arch, or instep.
The forefoot includes the toes and metatarsal area, the midfoot contains the arches, and the hindfoot includes the heel area. Differences in these areas help explain why some hikers need a wider toe box, narrower heel cup, different-volume boot, or a particular insole.
High arches, low arches, bunions, and other foot shapes do not automatically mean you need one particular type of hiking boot. Comfort, pressure distribution, symptoms, and the way the boot holds your foot matter more. If you already use prescribed orthotics, bring them when trying on footwear because they can change the available space inside the boot.
Measuring for the Perfect Fit
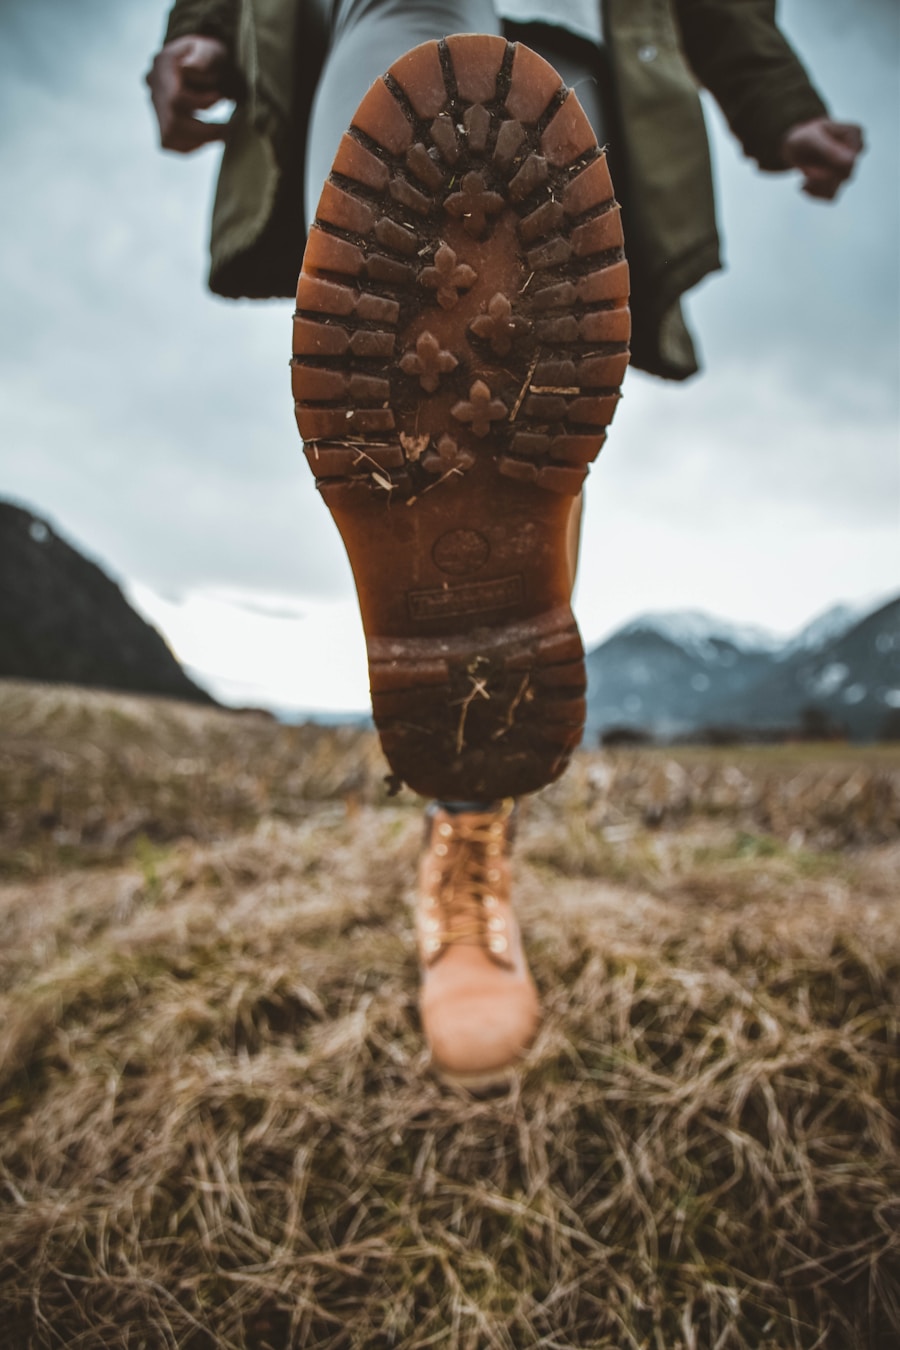
Accurate measurement gives you a starting point for choosing hiking boots. Your usual sneaker size is useful for reference, but it should not replace measuring and trying the boots on.
1. Measure at the End of the Day
Measure your feet in the afternoon or evening after you have spent time standing or walking. Feet commonly become a little larger over the course of the day, so this gives you a better idea of the room you may need during a long hike.
2. Measure Both Feet
Measure both feet while standing with your weight distributed normally. Many people have one foot that is slightly larger than the other. Choose footwear based on the larger foot rather than forcing that foot into a smaller boot.
3. Measure Length and Width
A Brannock device can measure heel-to-toe length, arch length, and width. At home, you can stand on paper and mark the heel and longest toe for an approximate length measurement, then measure the widest part of the forefoot.
Do not treat a paper outline as a precise measurement of foot volume. Volume describes how much space the whole foot occupies inside the boot and is best judged by trying the footwear on or working with a trained footwear fitter.
4. Compare the Measurement With the Manufacturer’s Size Chart
Use the size chart for the specific brand you are considering. US, UK, EU, and centimeter sizes are not perfectly interchangeable across every manufacturer, and different brands can use different foot shapes even when the printed size is identical.
The Brannock Device fitting instructions also recommend comparing heel-to-toe length with arch length rather than relying on heel-to-toe length alone.
Note: Your measured size is a starting point, not an automatic purchase decision. The final choice should be based on how the specific boot fits your larger foot with your hiking socks and insoles in place.
Trying on Hiking Boots
Try on several boots rather than expecting the first pair in your measured size to work. Wear the same thickness of hiking socks you expect to use on the trail and insert any aftermarket insoles or orthotics you normally wear.
The model examples below also show why a size number cannot be compared blindly from one brand to another. Current model generations, width options, materials, and lasts differ.
| Brand | Current Model Example | Sizing Approach | Weight | Material / Fit Note |
|---|---|---|---|---|
| Merrell | Moab 3 family | Use Merrell’s current size chart; medium and wide options are available in the line | Varies by model, size, and waterproof version | Many Moab 3 versions use pig suede leather and breathable mesh |
| Salomon | X Ultra 5 family | Use Salomon’s current chart and choose regular or wide versions where offered | Varies by version; the men’s low X Ultra 5 is listed at about 13 oz per shoe | Synthetic/textile construction with a close, supportive fit system |
| Columbia | Newton Ridge Plus II | Check the current Columbia chart; standard and wide sizes are available | About 15.9 oz per shoe for the current men’s size 9 model | PU-coated leather, suede, and mesh upper on the current men’s model |
Once the boots are laced comfortably, stand and walk for several minutes. Check your toes, heel, sides of the forefoot, arch, and top of the foot. You should not feel concentrated pressure, numbness, pinching, or rubbing.
Check the Heel
Your heel should sit securely in the heel cup. A tiny amount of movement can occur depending on the design, but repeated lifting or sliding that creates friction is a warning sign. Tightening the laces may solve a small amount of movement; major heel slip usually means the boot’s size, volume, or shape is wrong.
Check the Forefoot and Width
Your toes should be able to move, and the ball of your foot should not feel compressed. If the length feels correct but both sides of the forefoot are squeezed, try a wider version rather than automatically moving to a much longer boot.
Check the Instep and Volume
If the boot presses painfully on the top of your foot even with reasonable lacing, it may be too low-volume. If you have to cinch the laces extremely tight or still feel excessive empty space above the foot, the boot may be too high-volume.
Test Uphill and Downhill
Use an in-store test ramp or incline when available. Walking uphill helps reveal heel lift. Walking downhill is especially useful for checking toe room: your longest toe should not repeatedly strike the front of the boot.
The REI hiking boot fitting guide likewise recommends spending time walking in the footwear and testing for heel position, pressure points, friction, and toe contact on an incline.
Warning: Do not buy boots that already cause pain, numbness, sharp pressure, or repeated toe impact because you expect them to “break in.” Materials may soften with wear, but the boot will not become a fundamentally different length or shape.
Sizing Considerations for Different Terrains
Terrain should change the type of hiking footwear you choose more than the basic way that footwear fits.
For rocky, steep, or technical trails, many hikers prefer footwear with firmer underfoot support, protective uppers, strong traction, and a secure heel. A heavier backpack can also make a more supportive boot attractive. On easy, groomed trails, lighter hiking shoes may provide enough protection while feeling more flexible.
Warm conditions may favor breathable footwear, while wet or snowy conditions may call for waterproof construction and, when appropriate, additional traction. These features should not be created by intentionally buying a boot that is loose on your foot.
Regardless of terrain:
- the heel should remain controlled;
- the midfoot should not slide around;
- the toes should have useful movement and downhill clearance;
- the boot should not pinch or create numbness; and
- the outsole and construction should match the trail conditions.
The National Park Service hiking safety guidance recommends sturdy, appropriate footwear and moisture-managing socks for longer hikes, while individual parks may recommend additional traction or more supportive footwear for steep and uneven terrain.
Tips for Ensuring the Right Fit
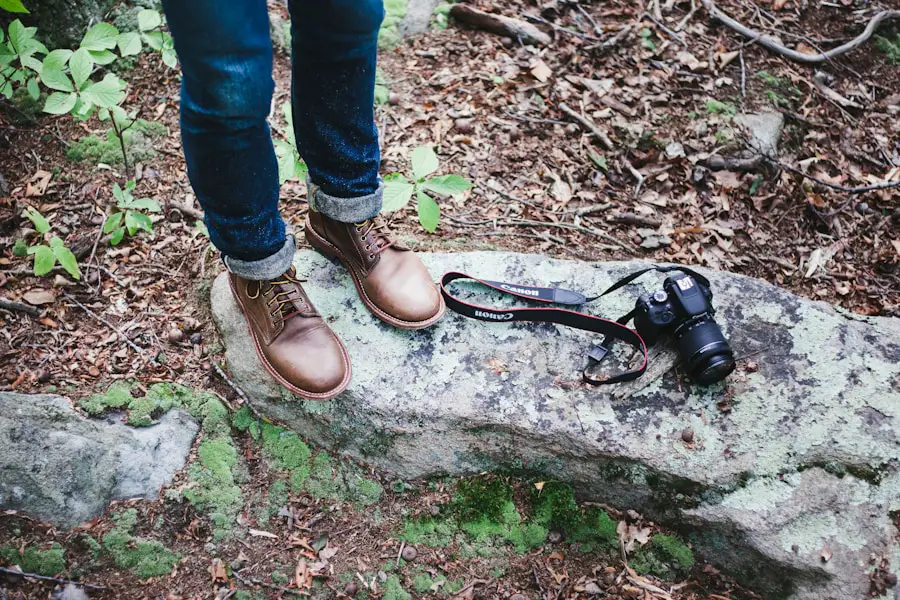
Try Them On at the Right Time
Try hiking boots in the afternoon or evening when your feet have had time to expand from normal daily activity. Wear your real hiking socks rather than a thin store sock that you will never use on the trail.
Use the Thumb-Width Insole Test
When the insole is removable, take it out and stand on it with your heel positioned correctly. Aim for roughly a thumb’s width of unused insole beyond your longest toe. This is a useful starting check for downhill clearance, not an exact rule that overrides comfort and the manufacturer’s fit.
Test the Boots in Action
Walk around for several minutes, climb stairs if permitted, and use a store incline or test rock when available. Make sure your toes stay clear on descents and your heel does not repeatedly lift on climbs.
Bring Your Insoles or Orthotics
An aftermarket footbed or prescribed orthotic can reduce interior volume and change where your foot sits in the boot. Always test the complete setup you expect to hike in.
Experiment With Lacing
Lacing can fine-tune a generally good fit. For example, heel-lock techniques may reduce minor heel movement, and changing lace tension can relieve pressure over the instep. Lacing should not be used to rescue a boot that is obviously too short, too narrow, or far too large.
Pro Tip: When two sizes both seem possible, test them back-to-back with the same socks, insoles, and lacing. The better pair is the one that gives your toes safe clearance without forcing you to overtighten the laces to control the rest of your foot.
How to Tell if Hiking Boots Are Too Small or Too Big
Signs the Boots May Be Too Small
- Your longest toe hits the front while standing or walking downhill.
- Your toes feel crowded or cannot move naturally.
- You feel pressure or numbness along the sides of the forefoot.
- The top of the foot feels painfully compressed.
- The boots become uncomfortable quickly as your feet warm up.
Signs the Boots May Be Too Big
- Your heel lifts noticeably with each uphill step.
- Your foot slides forward during descents.
- You have to overtighten the laces to hold your foot in place.
- Your foot moves sideways inside the boot on uneven ground.
- Friction develops because the foot repeatedly slides inside the boot.
Remember that “too big” and “too wide” are not always the same problem. Likewise, a boot that squeezes the forefoot may need a wider last rather than extra length.
Breaking In New Hiking Boots
Even a correctly fitted boot may feel stiffer when new. The amount of break-in depends on construction. Flexible hiking shoes may need little or none, while heavier leather backpacking or mountaineering boots can take considerably longer to soften and conform to your feet.
Start indoors, then take short local walks before committing to a long hike. Gradually add distance and your normal pack weight while watching for rubbing or pressure.
The important distinction is that break-in improves the feel of a boot that already fits; it does not turn a poor fit into a correct one.
Common Sizing Mistakes to Avoid
Several common mistakes can make an otherwise good hiking boot uncomfortable on the trail:
- Buying only by your normal shoe size: Fit varies across brands and models.
- Automatically sizing up: Some hikers do need a larger size, but others do not. Measure and test instead of following a universal half-size rule.
- Ignoring width: Buying a longer boot to solve a width problem can create heel slip and excess movement.
- Trying boots with the wrong socks: Sock thickness changes interior space.
- Testing only while sitting: Stand, walk, climb, and descend before deciding.
- Ignoring the larger foot: Fit the foot that needs more room.
- Assuming pain will disappear after break-in: Persistent pinching or toe impact usually means the fit needs to change.
- Buying loose boots for hot weather: Choose breathable materials instead of sacrificing foot control.
When to Seek Professional Help
A trained footwear fitter can be useful when your length seems correct but you still cannot find a comfortable combination of heel hold, width, and volume. A fitter can also compare lasts, assess how the boot flexes with your foot, and help determine whether a different width or insole makes sense.
If you have bunions, significant flatfoot or high-arch symptoms, a history of foot or ankle injury, prescribed orthotics, or recurring problems in multiple pairs of shoes, professional guidance may save considerable trial and error.
Persistent pain, numbness, unusual swelling, weakness, or repeated foot and ankle problems should not be treated simply by continuing to change shoe sizes. A qualified foot and ankle healthcare professional can evaluate the underlying problem. The FootCareMD shoe-fit guidance also recommends professional evaluation when foot or ankle problems persist.
Note: Before taking new footwear on a long trip, confirm the fit during shorter walks. A short test hike is much easier to recover from than discovering a major pressure point several miles from the trailhead.
Final Hiking Boot Fit Checklist
- Both feet were measured, and the larger foot determined the fit.
- The boots were tested later in the day.
- You wore your normal hiking socks.
- Your normal insoles or orthotics were installed.
- Your toes can wiggle without hitting the front.
- You have useful downhill toe clearance.
- Your heel stays reasonably secure when walking uphill.
- Your forefoot is not squeezed from the sides.
- There is no numbness, sharp pressure, or painful rubbing.
- You can walk naturally without overtightening the laces.
- The boot’s traction, protection, and support match the hiking you plan to do.
Frequently Asked Questions
What are the important factors to consider when sizing hiking boots?
Check foot length, arch length, width, overall volume, heel hold, and toe-box space. Also account for your hiking socks, insoles or orthotics, normal foot swelling, and the shape of the specific boot. Terrain and pack weight influence the type of footwear you choose, but they do not eliminate the need for secure basic fit.
How should hiking boots fit?
Hiking boots should feel snug around the heel and midfoot without pinching. Your toes should have room to wiggle and should not strike the front of the boot when you walk downhill. There should be no painful pressure, numbness, or excessive sliding.
Should I size up or down for hiking boots?
Do not automatically size up or down. Start with your measured foot size and the manufacturer’s current size chart, then judge the actual fit. Move to another size or width only when the toe room, heel hold, width, or volume indicates that you should.
What is the best time of day to try on hiking boots?
Afternoon or evening is usually best because your feet have had time to expand from normal standing and walking. This better reflects how the boots may feel later in a hiking day.
How do I measure my feet for hiking boots?
Measure both feet while standing. A Brannock device can measure heel-to-toe length, arch length, and width. At home, you can measure the distance from the heel to the longest toe and the widest part of the forefoot, then compare the larger foot with the manufacturer’s chart. Treat home measurements as a starting point and confirm the result by trying the boots on.
How much toe room should hiking boots have?
A common starting check is roughly a thumb’s width between your longest toe and the end of the removable insole when you stand on it with your heel correctly positioned. The final test is whether your toes remain comfortable and avoid striking the front when walking downhill.
Is heel slip normal in hiking boots?
The heel should feel secure rather than repeatedly lifting or rubbing. A small amount of movement may occur in some designs, especially when new, but substantial heel lift that remains after proper lacing usually indicates that the boot’s size, heel shape, or volume is not a good match.
Sources
- REI Expert Advice — How to Choose Hiking Boots and Hiking Shoes — boot fit, toe room, foot volume, socks, orthotics, end-of-day fitting, and incline testing.
- The Brannock Device Company — Instructions & Fitting Tips — heel-to-toe length, arch length, and width measurement.
- FootCareMD — 10 Points of Proper Shoe Fit — measuring both feet, fitting the larger foot, end-of-day fitting, and footwear health guidance.
- Cleveland Clinic — Foot Ligaments — foot anatomy and the role of bones, ligaments, and arches.
- U.S. National Park Service — Hike Smart — hiking footwear, traction, and moisture-managing sock guidance.