
Last Updated on July 27, 2026 by Daniel Globe
A hiking backpack should feel secure and balanced without pinching your shoulders, restricting your breathing, or moving around every time you take a step. Getting that fit right starts with choosing the correct torso size, then positioning the hip belt and adjusting the harness while the pack is loaded. A few minutes of fitting before a hike can make a noticeable difference in comfort and control on the trail.
Quick Answer
A hiking backpack should sit snugly against your back with the padded hip belt centered over your hip bones. The shoulder straps should wrap smoothly around your shoulders without carrying all the load. Tighten the load lifters and sternum strap just enough to stabilize the pack, then walk with a realistic load to check for pressure, gaps, or swaying.
Key Takeaways
- Choose backpack size from your torso length and the manufacturer’s fit chart, not from your height or clothing size.
- Center the padded hip belt over the top of your hip bones so the suspension can transfer much of the load away from your shoulders.
- Shoulder straps should follow the shape of your shoulders without gaps, pinching, or excessive downward pressure.
- Keep dense gear close to your back and balance the load from left to right to reduce sway.
- Always test the fit with a realistic load before relying on the backpack for a long hike.
At a Glance
| Time Required | About 10–15 minutes for measuring, adjustment, and a short loaded test |
| Difficulty | Easy |
| Tools Needed | Flexible measuring tape, a friend or mirror, and the gear or weight you normally carry |
| Cost | $0 if you already have the backpack and measuring tape |
Disclosure: As an Amazon Associate I earn from qualifying purchases. Some links on this page are affiliate links, at no extra cost to you.
Measuring Your Torso for a Hiking Backpack
Torso length is one of the most important measurements when choosing a hiking or backpacking pack. Your overall height does not reliably tell you which pack size will fit because two people of the same height can have different torso lengths.
Manufacturers such as Osprey and Gregory base backpack sizing on the distance between the C7 vertebra at the base of the neck and the iliac-crest reference point at the top of the hips.
How to Measure Torso Length
- Find your C7 vertebra. Tilt your head forward and feel for the prominent bony bump where the neck meets the shoulders.
- Find the top of your hip bones. Place your hands on your hips with your thumbs pointing toward your spine. The line between your thumbs marks the iliac-crest level.
- Stand naturally. Return your head to a neutral position rather than forcing your back flat against a wall.
- Measure down the back. Have another person run a flexible measuring tape from C7 down the contour of your spine to the imaginary line between your thumbs.
- Check the pack’s current size chart. Match that measurement to the exact model you are considering because torso ranges differ among brands and even among packs from the same brand.
Pro Tip: Have someone else take the torso measurement. It is difficult to keep both reference points accurate while measuring your own back.
Measure Your Hips Too
Torso length determines the suspension size, but the hip belt also has to fit. Measure around the top of your hip bones at the iliac crest rather than around the narrower location where a pants belt normally sits. Compare that number with the hip-belt range listed for the pack.
If the hip belt reaches the end of its adjustment range before becoming secure, or the padded sections do not wrap your hips well, another belt size or backpack model may fit better.
Adjusting the Shoulder Straps and Hip Belt
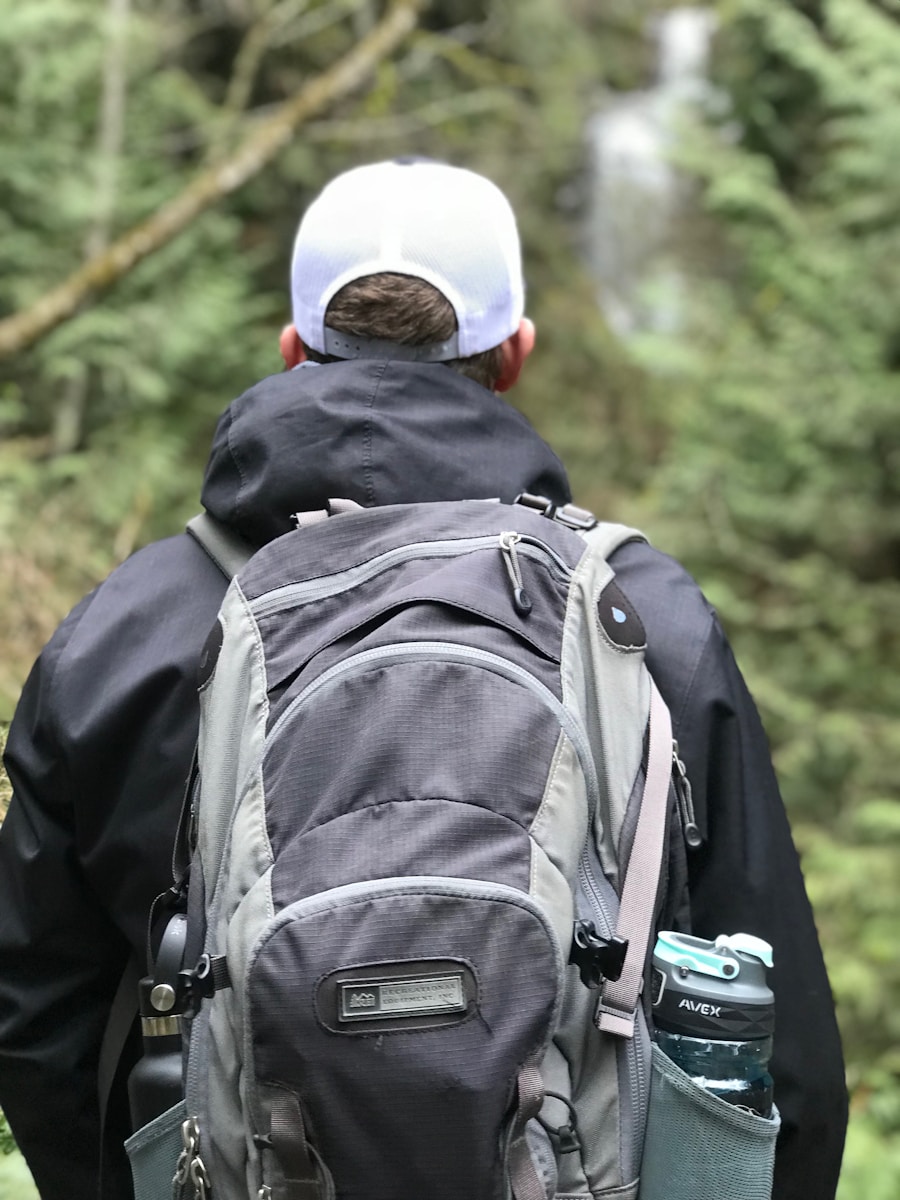
Fit a backpack with weight inside it. An empty pack can appear to fit correctly but behave very differently once water, food, clothing, and other gear are added. Deuter’s backpack-adjustment guidance likewise recommends using a realistic load before making the final adjustments.
1. Loosen the Adjustment Straps
Before putting on the loaded pack, loosen the hip belt, shoulder straps, sternum strap, and load-lifter or stabilizer straps. This lets you build the fit from the hips upward instead of fighting against earlier adjustments.
2. Position and Tighten the Hip Belt
Put the pack on and position the padded hip belt so it wraps over the top of your hip bones. The padding should not hang completely below the hips or ride so high that it squeezes your waist and ribs.
Buckle the belt and tighten both sides evenly. It should feel secure enough that the pack does not slide downward, but it should not pinch or restrict normal movement.
3. Tighten the Shoulder Straps
Pull the shoulder-strap ends down and back until the harness follows the shape of your shoulders and draws the backpack toward your body. The straps should make smooth contact rather than floating above your shoulders or digging sharply into them.
A load-bearing hiking pack should not feel as though its entire weight is hanging from your shoulders. The hip belt and pack suspension are designed to share and transfer the load.
4. Adjust the Load Lifters or Stabilizer Straps
On packs that have them, load lifters connect the upper shoulder harness to the pack. Tighten them gradually until the upper portion of the backpack comes closer to your body without lifting the shoulder straps away from your shoulders.
Some backpack-fitting guides describe a load-lifter angle around 45 degrees, while current pack designs can use a broader range. Osprey, for example, notes that properly fitted load lifters on some designs may sit around 30–60 degrees. The exact angle matters less than a smooth harness fit and a stable pack, so follow the instructions for your model.
Note: Smaller daypacks and frameless packs may not have functional load lifters or a heavily padded, load-bearing hip belt. Do not try to force a backpack to match fitting instructions for features it was not designed to have.
5. Set the Sternum Strap
Fasten the sternum strap across a comfortable part of your upper chest. Tighten it enough to keep the shoulder straps from spreading outward, but not enough to pull the straps unnaturally toward your neck or restrict your breathing.
Warning: A backpack should not cause numbness, tingling, sharp pain, or restricted breathing. Stop, loosen the pack, and correct the fit if these occur. Persistent symptoms should not be ignored.
Load Distribution and Backpack Stability
Even a correctly sized backpack can feel uncomfortable when it is packed poorly. The goal is to keep dense gear close to the body, prevent the contents from shifting, and maintain reasonable left-to-right balance.
Deuter recommends keeping the heaviest equipment close to the back, generally around the middle to shoulder-height area of a larger backpack. Gregory gives similar guidance for placing heavier gear near the spine. This keeps dense items from pulling the pack backward.
| Pack Area | What to Place There |
| Bottom | Bulky, relatively light items such as a sleeping bag or sleep clothing |
| Middle, close to your back | Dense items such as food, water, cooking equipment, or other heavy gear |
| Outer/front area | Lighter clothing and other items that will not pull the pack away from your body |
| Top and easy-access pockets | Frequently needed gear such as rain protection, snacks, navigation tools, sunscreen, or a headlamp |
Balance the load from side to side as well. A heavy water bottle or other dense object on only one side can make the pack feel uneven and encourage your body to compensate while walking.
Use compression straps to reduce empty space and stop gear from shifting. A tightly controlled load is especially useful on rocky trails, steep descents, and other terrain where sudden pack movement can interfere with balance.
The best load position is not simply “as low as possible.” Keep dense gear close to your back so the pack moves with you instead of pulling away from you.
Testing the Backpack Fit With Weight
Once you have adjusted the backpack, test it under realistic conditions before taking it on a long trip. Load it with the water, food, clothing, shelter, and other equipment you expect to carry, or use comparable weight.
Walk for several minutes on level ground. Then, where it is safe to do so, try stairs or a gentle incline. Pay attention to what happens when you lean slightly forward, step up, turn, and move your arms.
A Good Backpack Fit Should Feel Like This
- The hip belt remains securely positioned over your hip bones.
- The shoulder straps maintain smooth contact without sharp pressure points.
- The pack stays close to your back instead of sagging backward.
- The backpack does not swing noticeably from side to side.
- Your arms can move naturally.
- The sternum strap does not restrict breathing.
- You can stand and walk with a natural posture rather than constantly fighting the pack.
Small adjustments are normal during a hike. As the load changes or muscles become tired, slightly changing shoulder-strap, load-lifter, or hip-belt tension can move pressure from one area to another.
Common Hiking Backpack Fit Problems and Solutions
Even careful measurements do not guarantee that every backpack shape will suit every person. Use the symptoms below to identify the adjustment or sizing issue before assuming the pack itself is defective.
| Fit Problem | What to Check |
| Too much shoulder pressure | Check hip-belt placement and tightness first. Then verify that the torso setting is correct and the shoulder straps are not overtightened. |
| Hip belt slides downward | Reposition it over the iliac crest and tighten evenly. If the belt reaches its adjustment limit, try another hip-belt or pack size. |
| Gap above the shoulders | Recheck torso length and suspension adjustment. Also make sure the load lifters are not overtightened and pulling the harness upward. |
| Pack pulls backward | Move dense gear closer to your back, compress the load, and adjust the upper stabilizer or load-lifter straps. |
| Pack sways side to side | Balance the contents, tighten compression straps, and snug the hip belt and sternum strap without overtightening them. |
| Shoulder straps slip outward | Adjust the sternum strap and check whether the harness width and shape suit your shoulders. |
If the hip belt or shoulder harness remains uncomfortable after the torso length and straps have been adjusted correctly, the backpack’s basic shape may not match your body. Some manufacturers offer interchangeable belts, adjustable suspension systems, women’s-specific designs, extended-fit options, and harnesses shaped for different body types.
Choosing the Right Size Hiking Backpack
Backpack fit size and backpack capacity are two different things. Torso and hip measurements tell you how the suspension should fit your body. Capacity, measured in liters, tells you how much gear the pack can hold.
For a simple day hike, roughly 18–30 liters often provides enough room for water, food, clothing layers, and basic safety gear. Overnight and weekend trips commonly move into roughly the 30–50-liter range, while multiday trips often use packs around 50–80 liters. Current manufacturer and retailer recommendations vary because climate, equipment bulk, food requirements, and personal packing style all affect the needed volume.
For example, Gregory’s current pack guidance places many short-hike packs around 18–30 liters, overnight/weekend options around 35–50 liters, and extended backpacking packs at larger capacities.
A larger backpack is not automatically more comfortable. Extra capacity can encourage overpacking, while a pack that is too small may force bulky gear onto the outside where it can shift or upset balance. Select enough volume for your actual gear, then choose the correct torso and hip-belt size within that category.
Seeking Professional Backpack-Fitting Assistance
If measurements appear correct but the pack still feels wrong, a professional fitting can be worthwhile. Staff at experienced outdoor retailers can load the backpack, check your torso setting, evaluate how the shoulder harness wraps around your body, and compare several models.
Professional help can be especially useful if you fall between manufacturer sizes, have difficulty keeping the hip belt in place, need an interchangeable hip belt, or find that standard harness shapes create recurring pressure points.
Do not assume a more expensive backpack will solve a fit problem. Body shape, torso length, hip-belt geometry, shoulder-harness shape, suspension design, and expected load all affect comfort. Trying several appropriately sized packs with weight inside them is often more useful than comparing specifications alone.
The amount of clothing and equipment you carry can also change with your destination and season. For example, a cooler or wetter Lake Como trip may require more layers and rain protection than a warm-weather visit. Our best time to travel to Lake Como guide can help you anticipate seasonal conditions before deciding how much pack capacity you need.
Frequently Asked Questions
What is the importance of a properly fitting hiking backpack?
A properly fitted hiking backpack keeps the load stable and allows the hip belt, shoulder harness, and suspension to work together. Good fit reduces unnecessary shoulder pressure, limits pack movement, and makes it easier to maintain balance and a natural walking posture.
How should a hiking backpack fit?
It should sit close to your back with the padded hip belt centered over your hip bones. The shoulder straps should follow your shoulders smoothly, while the sternum strap and load lifters should stabilize the pack without restricting movement or breathing.
What features help a hiking backpack fit properly?
Useful fitting features include an appropriately sized or adjustable torso suspension, a supportive hip belt, contoured shoulder straps, a sternum strap, and—on many larger packs—load-lifter or stabilizer straps. The exact features vary with pack size and design.
How can I determine the correct hiking backpack size for my body?
Measure from the C7 vertebra at the base of your neck down the contour of your spine to the iliac-crest level at the top of your hips. Also measure around your hips at the iliac crest. Compare both measurements with the current sizing chart for the exact backpack model.
What can happen if a hiking backpack fits poorly?
A poor fit can create shoulder or hip pressure, chafing, fatigue, pack sway, and an uncomfortable walking posture. A pack that shifts unexpectedly can also make balance more difficult on uneven terrain.
How tight should backpack shoulder straps be?
They should be snug enough to keep the pack close and maintain smooth contact around your shoulders, but they should not be cranked down until all the load hangs from your shoulders. Adjust the hip belt first and then tighten the shoulder straps gradually.
What angle should backpack load lifters be?
Around 45 degrees is a common reference, but it is not a universal requirement. Depending on the backpack design, a wider range may be normal. Correct torso sizing, smooth shoulder-harness contact, and a stable load are more important than forcing the straps to a specific angle.
Sources
- Osprey — Backpack Size & Fit Guide — torso measurement, hip-belt sizing, shoulder-harness fit, and model-specific sizing.
- Gregory — Pack Fit & Sizing Guide — torso measurement, harness fitting, adjustable suspension, and load transfer.
- Deuter — How to Adjust a Backpack — hip-belt, shoulder-strap, sternum-strap, and stabilizer adjustment.
- Deuter — How to Pack a Backpack — balanced load distribution and placement of dense equipment.

