
Last Updated on September 10, 2026 by Daniel Globe
Choosing the right hiking pole length makes a noticeable difference in comfort, control, and stability on the trail. The goal is not to find one magic number for every situation. Start with a neutral length that gives you about a 90-degree bend at the elbow on level ground, then make small adjustments for long climbs, descents, and side slopes.
Quick Answer
Set a hiking pole so its tip rests beside your foot and your elbow bends to about 90 degrees while you hold the grip. For long climbs, shorten the pole about 5–10 cm (2–4 inches). For long descents, lengthen it by about the same amount. Use the manufacturer’s size chart for fixed-length poles.
Key Takeaways
- On level ground, start with a pole length that puts your elbow at approximately 90 degrees.
- Shorten adjustable poles about 5–10 cm for sustained climbs and lengthen them about 5–10 cm for sustained descents.
- On a long traverse, shorten the uphill-side pole and lengthen the downhill-side pole.
- Height is a useful starting point, but your arm proportions, the pole’s grip design, and the manufacturer’s sizing range also matter.
- Body weight does not determine pole length; it may matter when choosing a pole model or checking manufacturer limits.
- A correct fit can improve comfort and stability, but trekking poles do not guarantee protection from falls or injuries.
At a Glance
| Time Required | About 2–5 minutes |
| Difficulty | Easy |
| Tools Needed | Your hiking poles and a level surface; a tape measure is optional |
| Cost | $0 to size or adjust poles you already own |
Disclosure: As an Amazon Associate I earn from qualifying purchases. Some links on this page are affiliate links, at no extra cost to you.
What Hiking Pole Length Do You Need?
For normal hiking on level ground, the simplest fitting method is the 90-degree rule. Stand upright in your hiking shoes, place the pole tip on the ground beside your foot, and hold the grip normally. Your elbow should bend to approximately 90 degrees, with your forearm roughly level.
This is the starting position recommended in current guidance from REI, LEKI, and Black Diamond.
Hiking Pole Length by Height
If you are buying fixed-length trekking poles, height charts give you a useful starting point. REI provides the following general sizing ranges. Always compare them with the chart for the exact pole you are buying because manufacturers and designs can vary.
| Your Height | Suggested Starting Length |
| Under 5 ft 1 in | 100 cm (39 in) |
| 5 ft 1 in–5 ft 7 in | 110 cm (43 in) |
| 5 ft 8 in–5 ft 11 in | 120 cm (47 in) |
| 6 ft and taller | 130 cm (51 in) |
Note: A height chart is a starting point, not a substitute for an actual fit check. Arm length, grip shape, footwear, and the manufacturer’s available sizes can change which length feels best.
Factors to Consider When Selecting Hiking Pole Length
Height and Arm Length
Taller hikers generally need longer poles, while shorter hikers generally need shorter poles. Height alone, however, does not determine the final setting. Two people of the same height can have different arm proportions, so the 90-degree elbow test is a better final check than height alone.
If you are between two fixed sizes, check the manufacturer’s instructions for that specific pole. For example, Black Diamond recommends sizing up at a size boundary for walking, hiking, and backpacking on some of its fixed-length poles, while its advice can differ for running-focused use.
Terrain and Adjustability
Adjustable trekking poles are useful when a route includes long climbs, descents, or side slopes. Instead of keeping one length for the entire hike, you can begin at your neutral 90-degree setting and make small changes as the terrain changes.
Fixed-length poles can still work well on normal trails, especially when they fit correctly and you prefer lower weight or a simpler design. They simply offer less freedom to change shaft length during a hike.
Weight and Durability
Your body weight does not determine how long your hiking poles should be. Length is mainly a matter of height, arm position, activity, terrain, and the design of the pole.
Body weight, backpack weight, and how heavily you load the poles may still matter when choosing the model. Check the manufacturer’s instructions and limitations, inspect locking mechanisms regularly, and do not assume that every lightweight pole is intended to handle the same forces.
Warning: Trekking poles can improve stability, but they are not a substitute for secure footing. A pole can slip, a tip can lose purchase, or a locking mechanism can fail. Check the locks before loading the poles heavily and use extra care on wet rock, loose scree, stream crossings, snow, and other unstable surfaces.
How to Measure the Correct Hiking Pole Length
You can size adjustable hiking poles at home or in a store in just a few minutes.
- Put on your hiking footwear. Stand naturally on a level surface.
- Set the pole tip beside your foot. Do not reach the tip far forward.
- Hold the grip normally. Relax your shoulder rather than shrugging it upward.
- Check your elbow. Aim for approximately a 90-degree bend. Your forearm should be roughly level while the pole shaft remains mostly vertical.
- Match both poles. Set the second pole to the same neutral length for level walking.
- Walk for a minute or two. Your shoulders should remain relaxed and your wrists should not feel forced upward or downward.
Measuring from the floor to your wrist while standing can provide a rough cross-check, but it is less useful than fitting the pole itself. Grip dimensions and individual arm proportions vary, so the direct elbow-angle test gives you a better real-world check.
Pro Tip: With a three-section adjustable pole, REI suggests setting the upper adjustment near the middle of its range and using the lower section to establish your basic length. That can leave convenient adjustment room at the upper section when terrain changes.
Signs Your Hiking Poles Are Too Short or Too Long
| Fit Problem | What You May Notice |
| Too short | You repeatedly bend forward to reach the ground, your elbow opens well beyond the intended position, or the poles provide little support without extra reaching. |
| Too long | Your shoulders feel lifted, your elbows stay unusually tight, or you struggle to plant the tips naturally beside and slightly ahead of you. |
| About right | Your shoulders stay relaxed, the poles plant naturally, and your elbow is around 90 degrees at the neutral level-ground setting. |
Benefits of Using the Correct Length Hiking Pole
| Benefit | Why Fit Matters |
| Reduced lower-extremity loading | Proper pole use can transfer some force through the upper body, particularly during descents. |
| Improved stability and balance | Two pole plants add contact points that can help on uneven or loose terrain. |
| Better effort distribution | Poles involve the arms and upper body instead of leaving all propulsion and braking work to the legs. |
| More natural posture | A suitable length helps you avoid unnecessary reaching, shrugging, or bending while planting a pole. |
| Uphill and downhill support | Adjustable poles can be shortened for climbs and extended for descents to suit the slope. |
Research supports some of these biomechanical benefits. In a small laboratory study involving eight men walking downhill on a 25-degree ramp, hiking poles reduced several measured ground-reaction and knee-joint forces by approximately 12% to 25%. A later study of downhill hiking with different backpack loads also found reductions in lower-extremity joint moments and loading when poles were used.
Trekking poles can reduce some measured forces on the knees and lower extremities during downhill walking, but the research does not mean that poles prevent every hiking injury.
The evidence is better used to explain how poles can redistribute load than to promise increased endurance. Energy expenditure and heart-rate responses can change according to terrain, pack weight, pace, and pole technique.
Consequences of Using the Incorrect Length Hiking Pole
A pole that is much too short may encourage repeated forward bending or cause you to reach down for each plant. Over time, that can make the movement feel awkward and tiring.
A pole that is too long can create the opposite problem. Your shoulder may rise with every plant, your arm may feel cramped, and it may become harder to place the tip naturally on uneven terrain.
Either extreme can reduce the practical benefit of using trekking poles. The goal is not to force your body into one exact angle during every step. Instead, begin with the neutral 90-degree setting and make small terrain-specific adjustments while keeping your shoulders relaxed.
Adjusting Hiking Pole Length for Different Terrain
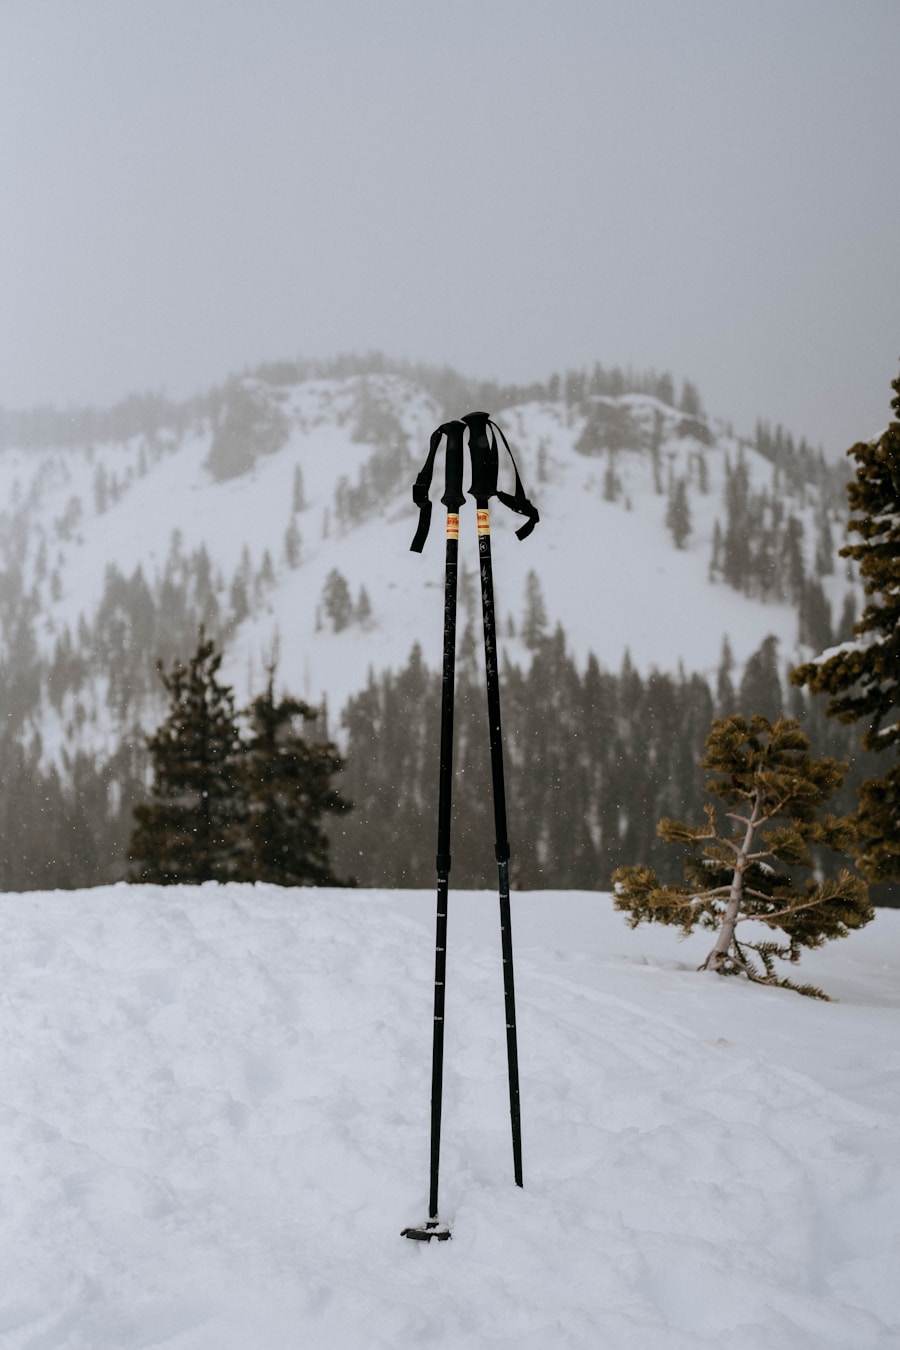
One major advantage of adjustable trekking poles is the ability to change their length as the trail changes. You do not need to adjust them for every small rise or dip, but longer sustained slopes can justify a different setting.
Level Ground and Rolling Terrain
Use your normal setting: approximately a 90-degree elbow bend with the pole tip beside your foot. Short rolling hills usually do not require an adjustment unless the current length feels uncomfortable.
Long Uphill Sections
For sustained climbs, REI recommends shortening each pole by about 5–10 cm (2–4 inches). A shorter pole makes it easier to plant the tip without lifting your shoulders or overreaching.
The steeper the sustained climb, the more useful a shorter setting can become within your pole’s normal adjustment range.
Long Downhill Sections
For a sustained descent, lengthen each pole by roughly 5–10 cm (2–4 inches) from your neutral setting. This lets you plant the poles farther down the slope without excessive forward bending and can help you remain more upright.
Traversing Across a Side Slope
When walking sideways across a long slope, the uphill hand is closer to the ground while the downhill hand is farther away. Shorten the uphill-side pole and lengthen the downhill-side pole as needed to keep your posture comfortable.
Pro Tip: On brief changes in slope, a pole with an extended foam or cork grip can let you move your hand lower without stopping to change the shaft length. Save lock adjustments for longer sections where the different setting will actually help.
How to Test the Comfort and Fit of a Hiking Pole
Do not judge fit only by a number printed on the shaft. After setting the pole, walk with it and pay attention to your posture and arm movement.
- Your shoulders should stay relaxed rather than lifting toward your ears.
- Your wrists should feel neutral rather than sharply bent.
- Your elbows should move freely as you walk.
- The tips should plant naturally without forcing you to reach far forward or bend down.
- The locks should remain secure when the poles are loaded normally.
- Both poles should feel balanced at the same neutral length on level ground.
Then simulate a climb and descent if possible. Shorten the poles slightly for the uphill test and lengthen them for the downhill test. The correct setting should make the movement easier to coordinate rather than forcing an exaggerated arm motion.
Adjustable vs. Fixed-Length Hiking Poles
Adjustable poles are the easiest choice when you regularly hike varied terrain because you can change the shaft length for climbs, descents, and traverses. They also work well when more than one user may need to fine-tune the fit.
Fixed-length poles can be simple and lightweight, but the initial size matters more because you cannot change the shaft length. Use the manufacturer’s height chart and confirm that the grip position gives you a comfortable elbow angle.
REI notes that hikers taller than about 6 feet should pay particular attention to the maximum length of adjustable poles and suggests choosing a model that extends to at least 51 inches (130 cm). Shorter hikers can typically shorten most adjustable trekking poles enough to obtain a normal fit, although the actual range should still be checked before purchase.
Note: Hiking, trail running, Nordic walking, downhill skiing, and cross-country skiing do not all use the same pole-sizing rules. Use a chart intended for your activity rather than applying a trekking-pole size automatically to another sport.
Tips for Maintaining and Caring for Your Hiking Poles
Correct sizing will not help if a locking mechanism slips or a damaged shaft fails. A quick inspection after hikes keeps problems easier to spot.
Clean and Dry the Shafts
After muddy, dusty, or wet hikes, wipe dirt from the shafts and allow the poles to dry thoroughly before long-term storage. Pay particular attention to telescoping sections because grit can interfere with smooth adjustment.
Check the Locks
Test external lever locks, twist locks, or other adjustment systems according to the manufacturer’s instructions. The shaft should stay at the selected length during normal use. If a lock repeatedly slips, clean and adjust it using the manufacturer’s procedure rather than simply tightening it beyond its intended range.
Inspect Tips, Baskets, and Shafts
Replace badly worn tips and damaged baskets. Look over aluminum shafts for significant bends or dents and carbon shafts for cracks, deep impact damage, or splintering. Stop using a pole if structural damage could affect its strength.
Store the Poles Dry
Keep hiking poles in a dry location away from unnecessary heat and long-term moisture. Do not force telescoping sections apart for storage unless the manufacturer says the model is designed to be disassembled that way.
With the right length, sensible terrain adjustments, and regular inspection, trekking poles can provide useful stability and help redistribute some of the forces involved in hiking. Start with the 90-degree fit rule, treat the height chart as a starting point, and let comfort and the manufacturer’s instructions guide the final setting.
When determining what length hiking pole you need, height and terrain are the main starting considerations, followed by your actual elbow position and the adjustment range of the pole. For other travel equipment information already available on this site, you can also see the guide to the best travel CPAP machines here.
Love travel? Join Our Facebook Community For More Tips.
Frequently Asked Questions
What is the purpose of hiking poles?
Hiking poles provide extra contact points with the ground, which can improve stability on uneven terrain. They can also redistribute some of the loading involved in climbing and descending by bringing the arms and upper body into the movement.
How do I determine the length of hiking pole I need?
Stand on level ground with the pole tip beside your foot and hold the grip normally. Adjust the pole until your elbow bends to approximately 90 degrees and your forearm is roughly level. Use a manufacturer height chart as a starting point for fixed-length poles.
Should hiking poles be longer or shorter uphill?
Shorter. For long uphill sections, shorten adjustable trekking poles by approximately 5–10 cm (2–4 inches) from your normal level-ground setting. This helps you plant the poles without lifting your shoulders or reaching awkwardly.
Should trekking poles be longer for downhill hiking?
For a sustained descent, lengthening each pole by about 5–10 cm from the neutral setting can make it easier to plant the tips downhill while keeping a more upright posture.
What are the benefits of using the correct length hiking pole?
A suitable length helps you plant the poles without excessive reaching, shoulder lifting, or forward bending. Properly used poles can improve stability and redistribute some lower-extremity loading, particularly during descents.
Can I use adjustable hiking poles instead of fixed-length poles?
Yes. Adjustable poles are especially useful on routes with long climbs, descents, and traverses because you can change their length as terrain changes. Fixed-length poles can also work well when their size matches you correctly.
Are there different pole lengths for different activities?
Yes. Hiking, trail running, Nordic walking, downhill skiing, and cross-country skiing can use different sizing conventions. Use the manufacturer’s chart for the activity and specific pole model rather than assuming one length works for every sport.
How can I tell if my hiking poles are too long?
Your poles may be too long if your shoulders repeatedly lift during each plant, your elbows feel cramped, or you cannot plant the tips naturally without raising your hands. Shorten them slightly and retest on level ground.
Sources
- REI Co-op — How to Choose Trekking Poles and Hiking Staffs — backs the 90-degree sizing method, general fixed-length chart, and adjustable-pole range guidance.
- REI Co-op — How to Use Trekking Poles — backs 5–10 cm uphill/downhill adjustments and traverse guidance.
- LEKI — Hiking and Trekking Pole Guidance — supports the 90-degree fit method and shortening uphill versus extending downhill.
- Black Diamond — Trekking Pole Sizing Guide — supports waist/hip-level grip position, the 90-degree elbow check, and activity-specific fixed-length sizing.
- Schwameder et al., Journal of Sports Sciences — study of knee-joint forces during downhill walking with hiking poles.
- Bohne & Abendroth-Smith, Medicine & Science in Sports & Exercise — study of downhill hiking with trekking poles while carrying different external loads.

