
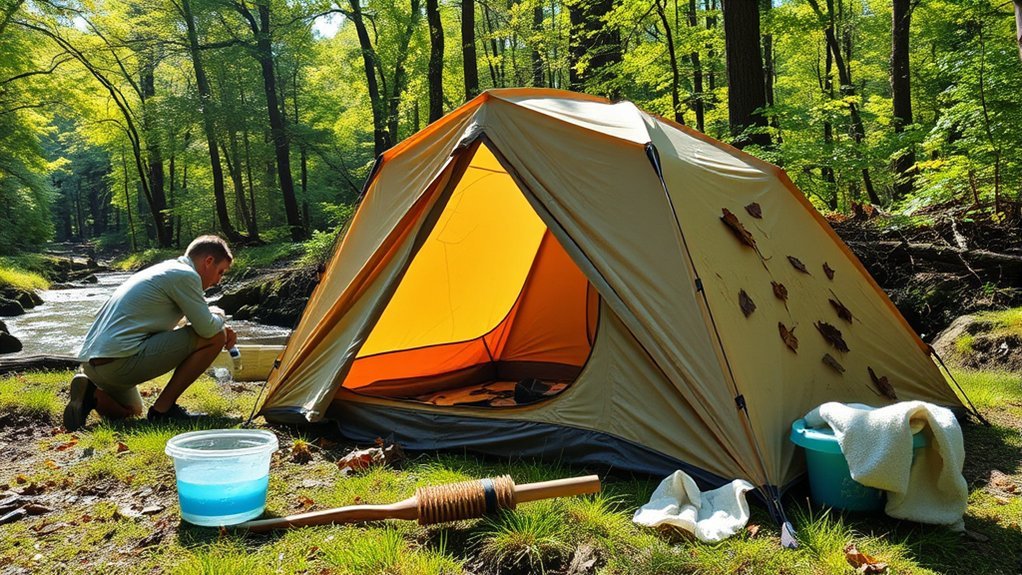
Last Updated on July 30, 2026 by Mason Reed
A washing machine may seem like the fastest way to clean a dirty camping tent, but the tumbling, agitation, detergent, and heat can damage lightweight fabric, mesh, seam tape, and waterproof coatings. Most tents should be cleaned by hand with water, a soft sponge, and a cleaner approved for the tent’s materials.
Quick Answer
Do not machine wash or machine dry a tent unless its manufacturer specifically permits it. For most tents, shake out loose dirt, spot clean the fabric, and hand wash only when needed. Use cool or lukewarm water with a manufacturer-approved technical cleaner or mild non-detergent soap, rinse well, and air dry completely.
Key Takeaways
- A washing machine can stretch, tear, or abrade tent fabric, mesh, seams, and waterproof coatings.
- Check the sewn-in care label and the manufacturer’s instructions before soaking or applying any cleaner.
- Spot cleaning is usually enough; reserve a full hand wash for heavy soil, persistent odor, salt, sap, or other contamination.
- Avoid laundry detergent, fabric softener, bleach, harsh dish soap, spot removers, pressure washers, dry cleaning, and machine drying.
- Dry every layer completely and store the tent loosely in a cool, dry, temperature-stable location.
At a Glance
| Time Required | About 30–60 minutes of active cleaning, plus several hours or overnight for complete air drying |
| Difficulty | Easy, but delicate fabrics and waterproof coatings require gentle handling |
| Tools Needed | Soft sponge or cloth, clean water, tent-safe cleaner, hose or basin if permitted, and clean towels |
| Cost | Low; the only special purchase may be a cleaner approved for tents or technical outdoor fabrics |
Disclosure: As an Amazon Associate I earn from qualifying purchases. Some links on this page are affiliate links, at no extra cost to you.
Why Machine Washing a Tent Is Not Recommended
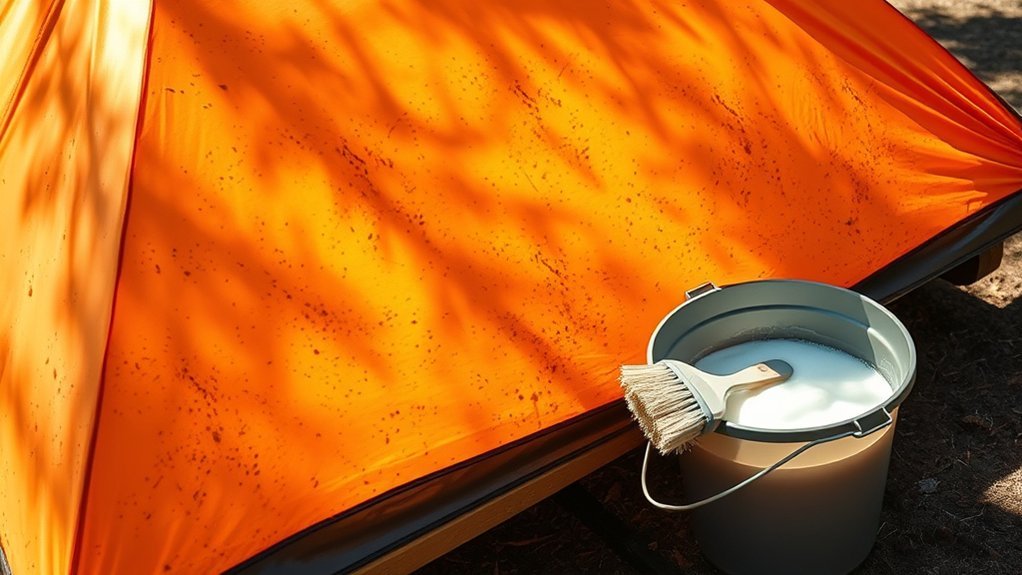
A tent is not built like ordinary laundry. Its thin fabric, mesh panels, taped seams, coatings, buckles, clips, and zippers can be stretched or damaged as the washer drum turns. A top-loading machine with an agitator is especially risky, but a front-loading washer can also place more stress on the tent than its manufacturer allows.
Conventional laundry detergent creates another problem. Residue, fragrances, brighteners, and other ingredients may interfere with a tent’s durable water-repellent finish or coated fabric. Fabric softener can also leave a film that affects water repellency.
A tumble dryer is no safer. Heat and repeated tumbling can harm seam tape, mesh, elastic, coatings, and synthetic fabric. Dry cleaning and pressure washing should also be avoided.
Warning: Do not put the tent body or rainfly in a washing machine or dryer unless the care label or manufacturer explicitly says that the specific item is machine washable. An exception for a removable footprint, liner, or accessory does not automatically apply to the tent itself.
Manufacturer guidance is consistent on the main point. NEMO, Big Agnes, and REI advise hand cleaning rather than machine washing for tents.
Safe Hand Washing Methods for Your Tent
The safest cleaning method depends on the tent’s construction and how dirty it is. Start with the least aggressive option that will solve the problem.
Check the Care Instructions First
Read the sewn-in care label and look up the instructions for the exact tent model. This step matters because one manufacturer may permit gentle tub washing for a standard tent while prohibiting immersion of a model with built-in lighting, wiring, or other electronic parts.
Note: When the original instructions are unavailable, set up the tent and clean it with a damp sponge rather than fully submerging it. This conservative method limits stress on coatings, seam tape, electronics, and delicate mesh.
Choose Spot Cleaning or a Full Wash
Spot clean when the tent has a few muddy marks, small stains, dust, or dirty zipper areas. Wipe or sponge only the affected sections and rinse away cleaner residue.
Perform a fuller hand wash when the tent has widespread mud, fine dust, salt residue, bird droppings, sunscreen, body oils, a persistent odor, or another contaminant that cannot be removed by spot cleaning. Even then, use the method approved by the manufacturer.
A full wash is not necessary after every ordinary weekend trip. Shake or sweep out dirt after each use, wipe obvious contamination promptly, and wash the entire tent when its condition calls for it.
Use the Pitched-Tent Method
For many tents, cleaning while pitched is the safest general method:
- Set up the tent in a clean area with good drainage.
- Remove the footprint, loose gear, batteries, and detachable electronic components.
- Rinse or wipe away loose dirt with cool or lukewarm water.
- Apply a manufacturer-approved tent cleaner to a sponge or directly to the fabric as directed on the product label.
- Work gently in small sections without hard scrubbing.
- Rinse until the water runs clear and no cleaner residue remains.
Use a Bathtub Only When Permitted
A clean bathtub or large basin can help with a deeply soiled tent, but only when the manufacturer permits immersion. Use cool or lukewarm water, support the wet fabric with both hands, and agitate it gently. Do not twist, wring, knead, or scrub the coated side of the rainfly or floor.
Drain the dirty water, rinse more than once if needed, and gently press out excess water. Never lift a waterlogged tent by one corner, clip, or mesh panel.
Use a Gentle Hose Rinse
A garden hose can remove loose dust and mud when used at normal, gentle pressure. Keep the nozzle back from the fabric and avoid forcing water directly into taped seams, vents, zippers, or damaged coating.
Do not use a pressure washer. Its concentrated spray can damage coatings, lift seam tape, enlarge small holes, and force water into protected areas.
Essential Materials for Tent Cleaning
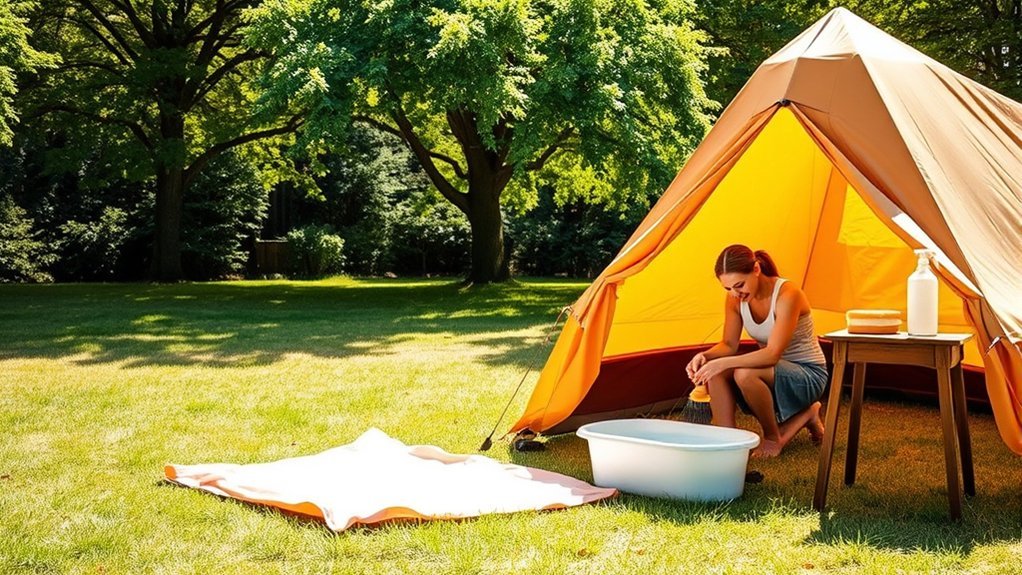
Gather everything before wetting the tent. A new or thoroughly rinsed sponge is preferable because an old kitchen sponge may contain grease, food residue, or dish soap.
| Material | Purpose | Important Notes |
|---|---|---|
| Drop cloth or clean work surface | Keeps the tent away from grit and sharp debris | Avoid concrete, chain-link fences, thorny plants, and dirty ground |
| Manufacturer-approved cleaner | Removes soil without conventional laundry additives | Use a technical tent cleaner or mild non-detergent soap only when approved |
| Soft sponge, washcloth, or microfiber cloth | Gently loosens dirt | It must be clean and free from old soap or cleaning chemicals |
| Soft brush | Cleans zipper teeth and selected stubborn areas | Do not scrub mesh, seam tape, or coated fabric aggressively |
| Hose, bucket, shower, or clean basin | Provides clean rinse water | Submerge the tent only if its care instructions permit it |
| Clean drying towels | Blots surface water and supports wet fabric | Towels shorten drying time but do not replace complete air drying |
| Gloves, if directed | Protects hands during product application | Follow the cleaner label; do not use harsh chemicals simply because gloves are available |
Cleaners to Avoid
- Laundry detergent and detergent pods
- Fabric softener and dryer sheets
- Bleach or chlorine-based cleaner
- Harsh dishwashing liquid
- Spot remover and laundry presoaking solution
- Abrasive powder or scouring pad
- Unapproved solvent, oil, or stain treatment
A purpose-made product such as a cleaner formulated for tents and weatherproof outdoor textiles is a safer starting point. For example, Nikwax Tent & Gear SolarWash is applied by hand and rinsed with clean water. Always confirm that a cleaner is suitable for the tent’s fabric and coating before applying it.
Steps for Thoroughly Cleaning Your Tent
Work slowly and support the fabric while it is wet. A wet tent is heavier and easier to stretch, snag, or tear than a dry one.
Gather Necessary Materials
Prepare clean water, a soft sponge or cloth, the approved cleaner, towels, and a clean drying location. Remove poles, stakes, the footprint, batteries, light controllers, and detachable accessories unless the manufacturer directs otherwise.
Inspect the tent before washing. Mark any holes, damaged mesh, separated seam tape, loose stitching, or peeling coating so you can avoid making the area worse and repair it after cleaning.
Remove Loose Dirt
- Open the doors and shake out sand, leaves, crumbs, and small stones.
- Use a soft brush or low-suction vacuum carefully inside the tent if needed.
- Wipe poles and stakes separately with a damp cloth.
- Brush dry grit from zipper teeth before adding water.
Removing dry debris first prevents sand and grit from acting like sandpaper while the fabric is being washed.
Spot Clean Stains First
Dampen the affected area and gently blot or wipe it with the approved cleaner. Work from the outside edge of the stain toward the center. Test the cleaner on an inconspicuous area if the label recommends a colorfastness check.
Bird droppings, sunscreen, tree sap, food residue, and salt should be addressed promptly because they can stain fabric, attract animals, make zippers stick, or affect coatings. Do not improvise with solvents or household stain removers. Ask the tent manufacturer before treating a stubborn contaminant.
Hand Washing Techniques
For general cleaning, set up the tent or lay it flat on a protected surface. Wet one section with cool or lukewarm water, apply the cleaner as directed, and wipe gently with a sponge. Give extra care to coated floors, rainflies, mesh, and seam tape.
If the tent maker permits tub washing, lower the fabric into clean water and move it gently by hand. Avoid prolonged soaking unless the instructions specify a soak time. Never scrub the underside of a coated rainfly aggressively because this can loosen or remove the waterproof layer.
Rinse every section thoroughly. Residual cleaner can leave marks, collect dirt, create odor, or affect performance.
Pro Tip: Clean zippers while the tent is open. Brush dirt and sand from the teeth, wipe them with water, and use a zipper-care product only when it is approved for outdoor gear. Never force a slider over trapped fabric or heavy grit.
Rinse and Inspect
Rinse until the water is clear and the fabric no longer feels slippery. While the tent is clean and wet, inspect it again for:
- Peeling or bubbling seam tape
- Flaking, sticky, or foul-smelling waterproof coating
- Tears, punctures, stretched mesh, or loose stitching
- Split or sticking zippers
- Areas where water no longer beads on the rainfly
Cleaning cannot repair delamination or a failed coating. Small holes and local seam problems may be repairable, but widespread peeling, persistent tackiness, or severe odor may require professional service, a replacement rainfly, or a new tent.
Drying and Storage Tips
Gently support and press the wet fabric to remove excess water. Blotting with clean towels can shorten the drying time, but do not twist or tightly wring the tent.
Pitch the tent, line dry it, or drape it over a smooth support in a shaded, well-ventilated area. Open doors and vents, separate the rainfly from the body, and reposition folded or overlapping areas until every seam, corner, pocket, and webbing loop is dry.
Proper Drying Techniques for Tents
Drying is not an optional final step. Moisture trapped in a folded tent can support mildew and contribute to odor, staining, coating deterioration, and seam-tape problems.
Importance of Complete Drying
A tent that feels dry on the outside may still hold moisture under the floor, inside pole sleeves, around reinforced corners, beneath the rainfly, or in folded webbing. Check both sides of every fabric panel before storage.
The most important storage rule is simple: never seal a damp tent in its bag and leave it there.
If you must pack the tent while wet at camp, unpack and dry it as soon as practical after returning home. Do not leave it wet in a vehicle, plastic bag, pack, or stuff sack.
Ideal Drying Locations
Choose a location with moving air, low humidity, and a clean surface. Suitable options include:
- A shaded yard where the tent can be pitched
- A covered porch with good airflow
- A clean, dry indoor room with hard flooring
- A ventilated garage used only for temporary drying when it is not damp, hot, or exposed to vehicle fumes
Avoid prolonged direct sunlight because ultraviolet exposure gradually weakens tent fabric and coatings. Brief sun exposure while managing a wet tent is different from leaving it exposed for hours or days, but shade or indirect light is the safer drying choice.
Do not hang wet fabric on barbed wire, chain-link fencing, rough wood, thorny bushes, hot pipes, or a surface that could stain or snag it.
Preventing Mold Growth
Preventing mold is easier than removing it. Shake out the tent, dry it fully after each trip, and store it where heat and humidity remain controlled.
If you find a small amount of suspected mold or mildew:
- Move the tent outdoors or into a well-ventilated work area.
- Brush away dry surface growth gently without spreading it through the home.
- Check the tent maker’s mold-cleaning instructions.
- Use a cleaner or odor treatment approved for the tent’s coated fabric.
- Rinse as directed and allow the tent to dry completely.
- Inspect the coating and seam tape for peeling, tackiness, leakage, or delamination.
Do not assume that vinegar, bleach, or a household mold spray is safe for every tent. A compatible technical cleaner is a more controlled choice. GEAR AID’s mold and odor guidance recommends cleaning with products intended for outdoor gear rather than relying on an untested household mixture.
Warning: Mold staining and coating damage may be permanent. If the waterproof layer is peeling, sticky, strongly odorous, or separating from the fabric, contact the manufacturer before applying more cleaner or waterproofing treatment.
Storing Your Tent to Prevent Damage
Long-term storage should allow the clean, dry fabric to relax and breathe. The compact stuff sack is useful for travel, but it may keep the tent compressed more tightly than necessary for months of storage.
| Step | Action | Purpose |
|---|---|---|
| 1. Confirm It Is Dry | Check the floor, fly, seams, pockets, pole sleeves, and webbing on both sides. | Reduces the risk of mildew, odor, coating damage, and seam-tape failure. |
| 2. Use Loose Storage | Place the tent loosely in a large breathable bag, mesh sack, or clean pillowcase when practical. | Avoids unnecessary long-term compression and allows airflow. |
| 3. Choose a Stable Location | Use a cool, dry indoor closet or another temperature-stable space away from sunlight. | Protects coatings and adhesives from heat, humidity, and UV exposure. |
| 4. Inspect Before the Next Trip | Open the tent and check the fabric, seam tape, poles, shock cord, zippers, and waterproofing. | Allows time for cleaning, repairs, or replacement before the tent is needed. |
Avoid long-term storage in a hot vehicle, attic, humid basement, damp shed, or uncontrolled garage. Remove batteries from lighting systems and store electronic controllers according to the manufacturer’s directions.
Tips for Extending Your Tent’s Lifespan

Gentle cleaning is one part of tent care. Daily campsite habits often prevent more damage than frequent washing.
- Shake out grit after every trip: Sand, fine dust, and pebbles can abrade the floor, mesh, zippers, and coated fabric.
- Keep boots and food outside: Footwear carries abrasive debris, while food and scented products may attract animals that chew through fabric.
- Protect the floor: Use the correct footprint or a groundsheet that does not extend beyond the tent perimeter.
- Limit prolonged UV exposure: Move the tent into shade when it will remain set up for extended periods.
- Do not force zippers: Back the slider away from trapped fabric and clean out grit before trying again.
- Repair small damage early: Patch small holes and address loose seams before they spread.
- Check waterproofing after cleaning: If water no longer beads on the exterior, use a treatment compatible with the tent’s exact fabric and coating.
- Dry before storage: Even a clean tent can develop serious problems when packed damp.
Note: Waterproofing products are not interchangeable. Silicone-treated nylon, polyurethane-coated fabric, polyester, cotton, canvas, and polycotton shelters may require different seam sealers or water-repellent treatments.
Frequently Asked Questions
Can I wash a tent on a gentle machine cycle?
Not unless the manufacturer explicitly approves machine washing for that exact tent or removable component. Even a gentle cycle can stretch mesh, stress seams, damage coatings, or snag clips and zippers. Hand cleaning is the safer default.
Can I use bleach to clean my tent?
Do not use bleach unless the tent manufacturer gives a model-specific procedure that calls for it. Bleach can discolor fabric and damage coatings, stitching, or seam treatments. Use a cleaner approved for tents or technical outdoor fabrics instead.
How often should I clean my tent?
Shake out debris and dry the tent after each trip, but do not fully wash it on a fixed trip schedule. Wash it after a long or unusually dirty trip, after exposure to salt, fine dust, bird droppings, sap, or heavy odor, or about once per season when frequent use makes that necessary.
Is it safe to dry my tent in direct sunlight?
Brief exposure while handling a wet tent is unlikely to have the same effect as leaving it in strong sun for a long period, but shade or indirect light is safer. Prolonged ultraviolet exposure can weaken fabric and waterproof coatings.
Can I use fabric softener on my tent?
No. Fabric softener can leave residue on technical fabric and interfere with water repellency. Avoid laundry detergent, scented household soap, dryer sheets, and other laundry additives as well.
What should I do if my tent has mold?
Check the manufacturer’s instructions and clean the affected fabric with a compatible outdoor-gear cleaner or odor treatment. Rinse and dry the tent completely. Do not apply an improvised vinegar, bleach, or household mold-cleaner mixture without approval. Severe odor, stickiness, peeling, or delamination may indicate permanent coating damage.
Can I wash the rainfly and footprint separately?
Usually, but each component may have different care instructions. A removable footprint may tolerate a cleaning method that is not safe for the tent body or rainfly. Check the label for each item, and avoid scrubbing the coated side of the rainfly or floor.
Conclusion
Machine washing is rarely worth the risk to a tent’s fabric, mesh, seam tape, and waterproof coatings. Start with the manufacturer’s directions, remove loose dirt, spot clean whenever possible, and use a gentle hand-washing method only when the tent needs a deeper clean.
Rinse away all cleaner, dry every component completely, inspect the coatings and seams, and store the tent loosely in a cool, dry place. These habits cannot prevent normal wear, but they can reduce avoidable mildew, abrasion, zipper trouble, and coating damage.
Sources
- NEMO Equipment: Cleaning, Repairing, and Storing Your Tent — supports hand washing, indirect drying, complete drying, and loose storage guidance.
- Big Agnes: How to Wash Your Tent — supports tent-specific cleaner, gentle washing, thorough rinsing, and special precautions for tents with integrated lighting.
- REI Co-op: How to Clean, Waterproof and Care for a Tent — supports avoiding machine washing, household cleaners, prolonged UV exposure, and damp storage.
- Nikwax: Tent & Gear SolarWash — provides hand-application, rinsing, drying, and fabric-care instructions for a technical tent cleaner.
- GEAR AID: How to Remove Mold, Mildew and Tent Odors — supports using compatible outdoor-gear cleaners for mold and odor treatment.
