
Last Updated on July 26, 2026 by Daniel Globe
New hiking boots should feel secure and comfortable before you leave the store. Breaking them in can soften stiff materials, settle the tongue and padding, and reveal small pressure points. It cannot make the wrong size or shape fit your feet. The safest method is to start indoors, add short walks, and increase distance, terrain, and pack weight only when your feet remain comfortable.
Quick Answer
Break in hiking boots slowly. Wear them indoors with your normal hiking socks and insoles, then take short outdoor walks before trying an easy trail with a light pack. Increase time, mileage, terrain, and pack weight only when there is no rubbing, numbness, sharp pain, or toe impact.
Key Takeaways
- A break-in period fine-tunes a good fit. It does not fix boots that are too short, too narrow, too wide, or the wrong shape.
- Light hiking shoes may need little or no break-in, while stiff backpacking or full-grain leather boots may need several outings or weeks.
- Use the same socks, insoles, and orthotics you plan to wear on the trail.
- Stop at the first hot spot. Adjust the lacing or protect the skin before friction becomes a blister.
- Avoid soaking, heating, freezing, or over-conditioning boots to speed the process.
At a Glance
| Time Required | Several short wears; flexible footwear may need little time, while stiff leather boots may need several weeks |
| Difficulty | Easy, but patience and close attention to fit are required |
| Tools Needed | Trail socks, chosen insoles or orthotics, daypack, and optional moleskin or blister dressings |
| Cost | Usually $0 if you already own suitable socks and insoles; optional blister supplies or care products add a small cost |
Disclosure: As an Amazon Associate I earn from qualifying purchases. Some links on this page are affiliate links, at no extra cost to you.
Before Breaking In Hiking Boots, Confirm the Fit
Fit matters more than the break-in method. Try boots on late in the day, when feet are often at their largest, and wear the socks and insoles you plan to use while hiking. A good hiking boot should feel snug around the heel and midfoot without squeezing. Your toes should be able to wiggle, and your longest toe should have about a thumb’s width of space in front of it.
- Check both feet: Many people have one foot that is slightly larger. Fit the larger foot.
- Walk up and down an incline: Your heel should not lift excessively, and your toes should not hit the front on the way down.
- Notice pressure points: Seams, pinching, numbness, and burning are warning signs, not normal break-in discomfort.
- Check boot volume: If the boot feels loose over the top of your foot even when laced correctly, the shape or volume may be wrong.
- Protect the return option: Keep early wear indoors until you are confident the size and shape are right.
Warning: Breaking in cannot make a poor fit become a good fit. Return or exchange boots that cause sharp pain, numbness, repeated toe impact, severe heel slip, or persistent pressure in the same spot.
Why Breaking In Hiking Boots Matters
New boots can feel stiffer than they will after regular use. Short, controlled wears allow the upper, tongue, collar padding, and flex point to settle around a foot that already fits the boot. The process also gives you time to test lacing, socks, insoles, and pack weight before a long hike.
Not every boot needs the same amount of time. Flexible trail runners and light hiking shoes may feel ready almost immediately. Day-hiking boots often need a few short outings. Stiff backpacking, mountaineering, or full-grain leather boots may need several outings or even weeks. Always follow the footwear maker’s instructions because materials and construction differ.
The goal is not to toughen your feet against pain. The goal is to confirm a good fit and let the boots settle without injuring your skin.
Prepare Your Hiking Boots for Breaking In
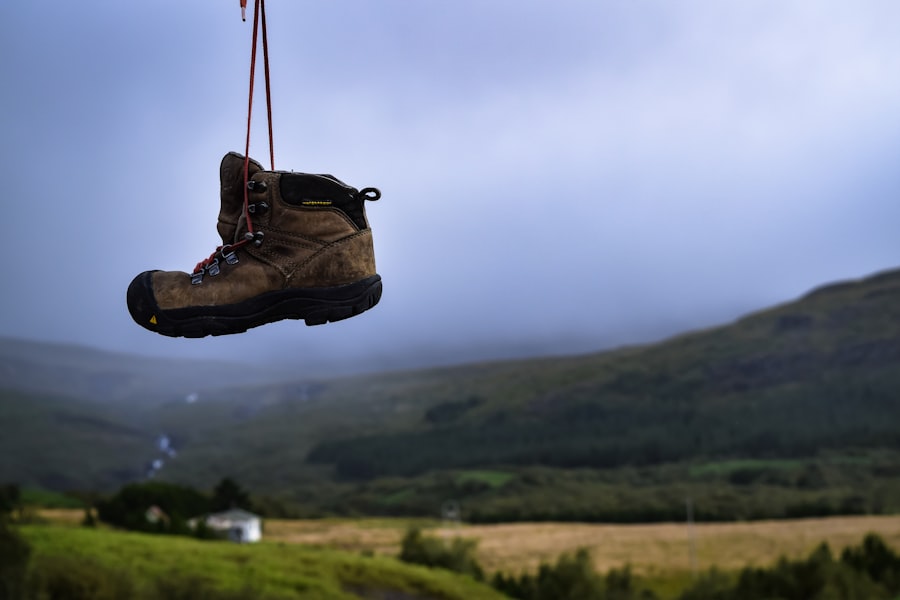
Start by checking the boot manufacturer’s care instructions. Remove any packing material, straighten the tongue and gussets, and inspect the inside for rough seams or debris. Insert the footbeds, custom orthotics, or aftermarket insoles you plan to use. Then put on the same type and thickness of socks you will wear on the trail.
Do not automatically condition or waterproof brand-new boots. Many new boots already have a factory treatment. Full-grain leather may need a manufacturer-approved conditioner if it looks dry or if the maker recommends it, but suede and nubuck often need different products. Too much conditioner can soften leather and reduce support. Waterproof footwear should normally be retreated only when water stops beading on the outer material.
Note: Use only care products approved for the boot’s upper and waterproof membrane. Waxes, greases, oils, and strong cleaners can change breathability, appearance, support, or warranty coverage.
How to Break In Hiking Boots Step by Step
Use stages instead of a fixed mileage calendar. Move forward only when the boots feel comfortable at the current stage. A stiff boot may need several repeats, while a light shoe may move through the stages quickly.
| Stage | What to Do | Move On When |
|---|---|---|
| 1. Indoor fit check | Wear the boots around the house with your trail socks and insoles. Walk, climb stairs, and flex at the ball of the foot. | There is no sharp pain, numbness, toe impact, strong pinching, or severe heel slip. |
| 2. Short outdoor walk | Walk around the block or on a smooth path. Start with a short session and inspect your feet afterward. | Your skin has no growing hot spots, redness, or blisters. |
| 3. Longer walk with slopes | Add gentle hills, stairs, and uneven ground. Test how the heel and toes behave uphill and downhill. | The boots stay secure without painful pressure or toe contact on descents. |
| 4. Easy trail and light pack | Use an easy local trail. Carry a light daypack, then gradually increase pack weight and distance on later outings. | You can finish the walk without pain, blisters, unusual fatigue, or loss of control. |
| 5. Final test hike | Choose terrain similar to your planned hike, but keep the route shorter and easier. Carry the gear you expect to use. | The boots feel predictable and comfortable for the full test, including climbs and descents. |
Pro Tip: Check your feet as soon as you feel warmth, rubbing, or tenderness. A small lacing change or piece of moleskin can stop a hot spot before it becomes a blister.
Use Different Terrain Without Abusing the Boots
Flat pavement is useful for an early comfort check, but it does not show how boots behave on a trail. Once the first stages feel good, add gentle inclines, descents, roots, gravel, and uneven ground. These surfaces help you test grip, ankle movement, flex, heel hold, and toe room.
Do not walk through mud or water only to speed break-in or prove that the boots are waterproof. A waterproof membrane can still allow water to enter over the collar, and outer materials can wet out even when the membrane does not leak. Test the boots during normal use, follow the manufacturer’s care guidance, and keep the first wet-weather outing short and close to home.
Deal With Discomfort Before It Becomes an Injury
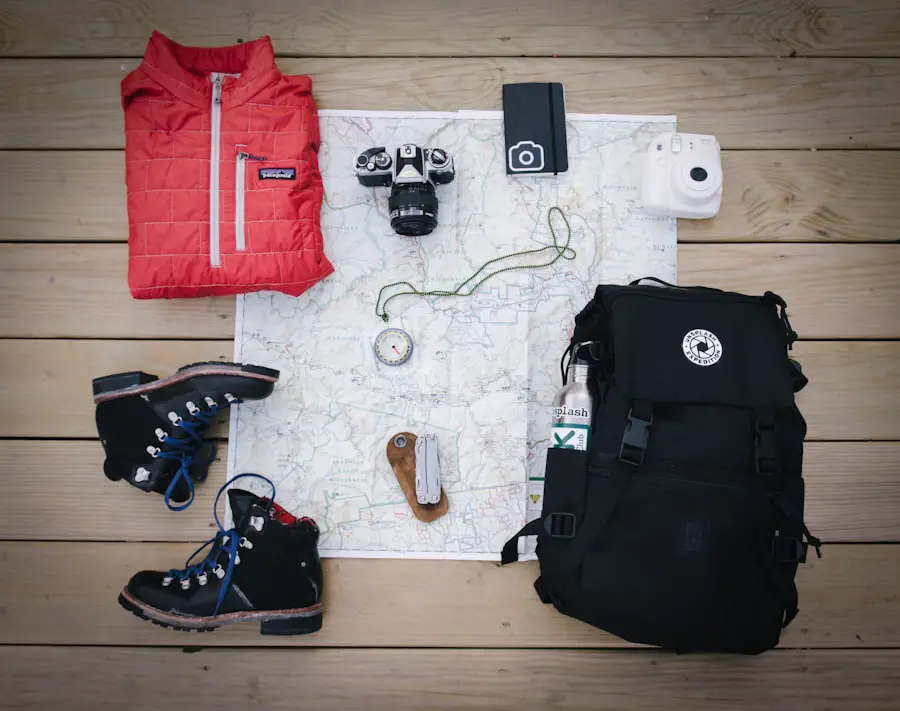
A little stiffness in a new boot can be normal. Pain is not. Stop and inspect your feet when you notice a hot spot, redness, burning, tingling, numbness, or sharp pressure. Small problems can become blisters or alter the way you walk.
| Symptom | Likely Issue | What to Do |
|---|---|---|
| Heel rubbing or lifting | Loose heel hold, wrong volume, or poor lacing | Try a heel-lock or surgeon’s-knot lacing method. If the heel still moves a lot, try another boot shape. |
| Pressure on top of the foot | Laces are too tight or the boot has too little volume | Use window lacing to skip pressure over the sore area. Persistent pressure means the fit may be wrong. |
| Toes hit the front downhill | Boot is too short, foot is sliding forward, or lacing is loose | Secure the heel and retest on an incline. If toes still hit, change size or model. |
| Numbness, tingling, or sharp pain | Excess pressure, poor shape match, or another foot problem | Stop wearing the boots. Loosen them and reassess the fit. Seek medical or podiatry advice if symptoms continue. |
| Hot spot or early redness | Friction from movement, moisture, a seam, or a sock wrinkle | Stop, dry the area, smooth the sock, adjust lacing, and protect the skin with moleskin or a blister dressing. |
What to Do If a Blister Forms
Cover a small intact blister with a soft or hydrocolloid dressing and avoid the footwear or activity that caused it until the skin settles. Do not peel away the skin over a burst blister. Keep the area clean and covered. Seek medical care if the blister is very painful, keeps returning, or shows signs of infection such as increasing redness, warmth, swelling, pus, or worsening pain.
Warning: People with diabetes, reduced feeling, poor circulation, or a history of foot ulcers should contact a health professional promptly about a foot blister or sore. Small injuries may be harder to notice or heal.
Adjust the Lacing for Better Comfort
Lacing can improve a good fit, but it cannot correct the wrong size or boot shape. Try these simple changes:
- Heel-lock or surgeon’s-knot lacing: Adds hold near the ankle and may reduce heel lift.
- Window lacing: Skips the crossing directly over a pressure point on top of the foot.
- Toe-relief lacing: Temporarily creates more space near the toe box. If toe pain keeps returning, replace the boots with a better-fitting pair.
For illustrated methods, see REI’s guide to lacing hiking boots.
Take Care of Your Feet During the Break-In Period
Clean, dry feet and well-fitting socks reduce friction. Wash and dry your feet before longer test walks. Choose wool or synthetic socks that wick moisture and fit without wrinkles. Cotton holds moisture and can increase friction when it becomes wet. Carry a dry spare pair for longer tests or warm conditions.
- Trim toenails so they do not strike the front of the boot on descents.
- Check socks for folds, thick seams, and worn areas.
- Use the sock thickness you will hike in instead of forcing the fit with unusually thick socks.
- Let wet boots and insoles dry fully before wearing them again.
- Consider a foot powder or anti-chafing product on areas that commonly rub, following the product directions.
Safety note: This guide provides general information and is not a medical diagnosis. Persistent pain, numbness, swelling, skin breakdown, or repeated blisters deserve advice from a qualified health professional.
How to Know When Hiking Boots Are Fully Broken In
Your boots are ready for a longer trip when they feel stable and predictable across the conditions you plan to hike. Use this checklist:
- You can complete a representative test hike without pain or new blisters.
- Your heel stays secure without harsh pressure around the ankle.
- Your toes do not hit the front during descents.
- The boot flexes at the ball of your foot rather than fighting your natural stride.
- The tongue, collar, and upper no longer create growing pressure points.
- Your trail socks, insoles, orthotics, and normal pack weight all work together comfortably.
A boot does not need to feel soft like a sneaker. Stiff backpacking and mountaineering boots are designed to keep more structure. They are ready when that structure supports you without causing harmful pressure or rubbing.
Maintain Hiking Boots for Long-Term Comfort
After each hike, remove loose dirt and stones with a soft brush. Take out the insoles and loosen or remove the laces so the boots can dry. Clean the upper with products that are suitable for its material, and follow the manufacturer’s directions for leather and waterproof membranes.
Dry boots at normal indoor temperatures with good airflow. Avoid fires, radiators, heaters, hair dryers, and hot vehicles because high heat can weaken adhesives and age leather. Damp newspaper can help draw moisture from inside a wet boot, but replace it often and remove it when the boot is dry. Do not store boots long-term with wet paper inside.
Reapply a compatible durable water-repellent treatment when water no longer beads on the outer material, not simply after a fixed number of hikes. Store the boots clean and dry in a ventilated place with stable temperatures. A boot tree or loose clean paper can help hold the shape, but the boot must be completely dry first.
Common Mistakes to Avoid
- Starting with a long hike: A major trip should not be the first outdoor test.
- Following a rigid mileage schedule: Feet, boot materials, terrain, and pack loads differ. Advance based on comfort, not a calendar.
- Trying to force the fit: Break-in cannot add boot length or change a narrow last into a wide one.
- Soaking the boots: Wetting boots to soften them can harm materials, adhesives, and your feet.
- Using heat or freezing tricks: Hair dryers, ovens, heaters, and frozen water bags can damage the boot and do not solve a poor fit.
- Over-conditioning leather: Too much conditioner can make supportive leather overly soft.
- Ignoring hot spots: Continuing through friction usually makes the problem worse.
- Testing waterproofing in deep water: Water can enter over the collar even when the membrane is working.
- Using the wrong socks: Cotton, wrinkles, and an unplanned sock thickness can change fit and increase friction.
Enjoy Comfortable, Pain-Free Trekking
Properly fitted and gradually tested boots let you focus on the trail instead of your feet. Start indoors, progress in small stages, adjust lacing at the first sign of rubbing, and stop when pain suggests a fit problem. A careful break-in process builds confidence in the boots without asking your feet to absorb avoidable damage.
If you are preparing other gear for outdoor trips, you may also find this guide to a solar-powered camping lantern useful. The right lighting, like the right footwear, can make camp tasks safer and more comfortable.
Frequently Asked Questions
What are hiking boots?
Hiking boots are outdoor footwear built for traction, protection, and support on trails. Designs range from flexible day-hiking boots to stiff backpacking and mountaineering models. The right type depends on terrain, weather, trip length, pack weight, and personal fit.
Why is it important to break in hiking boots?
Breaking in lets stiff materials and padding settle, and it helps you find pressure points before a long hike. It also gives you time to test socks, insoles, lacing, terrain, and pack weight. It does not repair a poor fit.
How long does it take to break in hiking boots?
It depends on the boot. Flexible hiking shoes may need little or no break-in. Day-hiking boots may need a few short outings. Stiff backpacking or full-grain leather boots can take several outings or weeks. Move forward based on comfort rather than a fixed number of miles.
What is the best way to break in hiking boots?
Wear them indoors with your hiking socks and insoles, then take a short outdoor walk. Add slopes and uneven ground next. Finish with an easy trail and a light pack, increasing distance and weight only when the boots remain comfortable.
Can I speed up the break-in process?
There is no safe shortcut that replaces gradual wear. Do not soak, heat, freeze, or wear the boots for a long painful walk. A manufacturer-approved conditioner may help dry full-grain leather, but it should be used sparingly and only when suitable for that boot.
Do all hiking boots need to be broken in?
No. Light, flexible hiking shoes may feel ready out of the box. Stiffer leather, backpacking, and mountaineering boots usually need more gradual wear. Every new pair should still receive a short fit test before a demanding trip.
Should hiking boots hurt while breaking in?
No. Mild stiffness can be normal, but sharp pain, numbness, burning, strong pinching, repeated toe impact, or a growing blister means you should stop. Adjust lacing and reassess the fit. Persistent symptoms may require another size, model, or professional advice.
Can a boot stretcher fix tight hiking boots?
A skilled cobbler may be able to create a small amount of room in a specific leather pressure point. Stretching cannot add meaningful length or correct a boot last that does not match your foot. Waterproof membranes and mixed-material uppers can also limit safe stretching.
Sources
- REI Co-op: How to Break In Your Hiking Boots – gradual indoor, outdoor, and trail progression; fit limits; and unsafe shortcuts.
- REI Co-op: How to Choose Hiking Boots and Hiking Shoes – end-of-day fitting, toe room, socks, boot types, and fit checks.
- REI Co-op: How to Clean Hiking Boots – cleaning, drying, storage, waterproofing, and leather-conditioning guidance.
- GORE-TEX Brand: Footwear Care Instructions – membrane-safe cleaning, natural drying, direct-heat warning, and DWR care.
- American Academy of Dermatology: How to Prevent and Treat Blisters – moisture-wicking socks, friction control, dressings, and infection signs.
- CDC: Your Feet and Diabetes – why people with diabetes should promptly address blisters and other foot injuries.

