
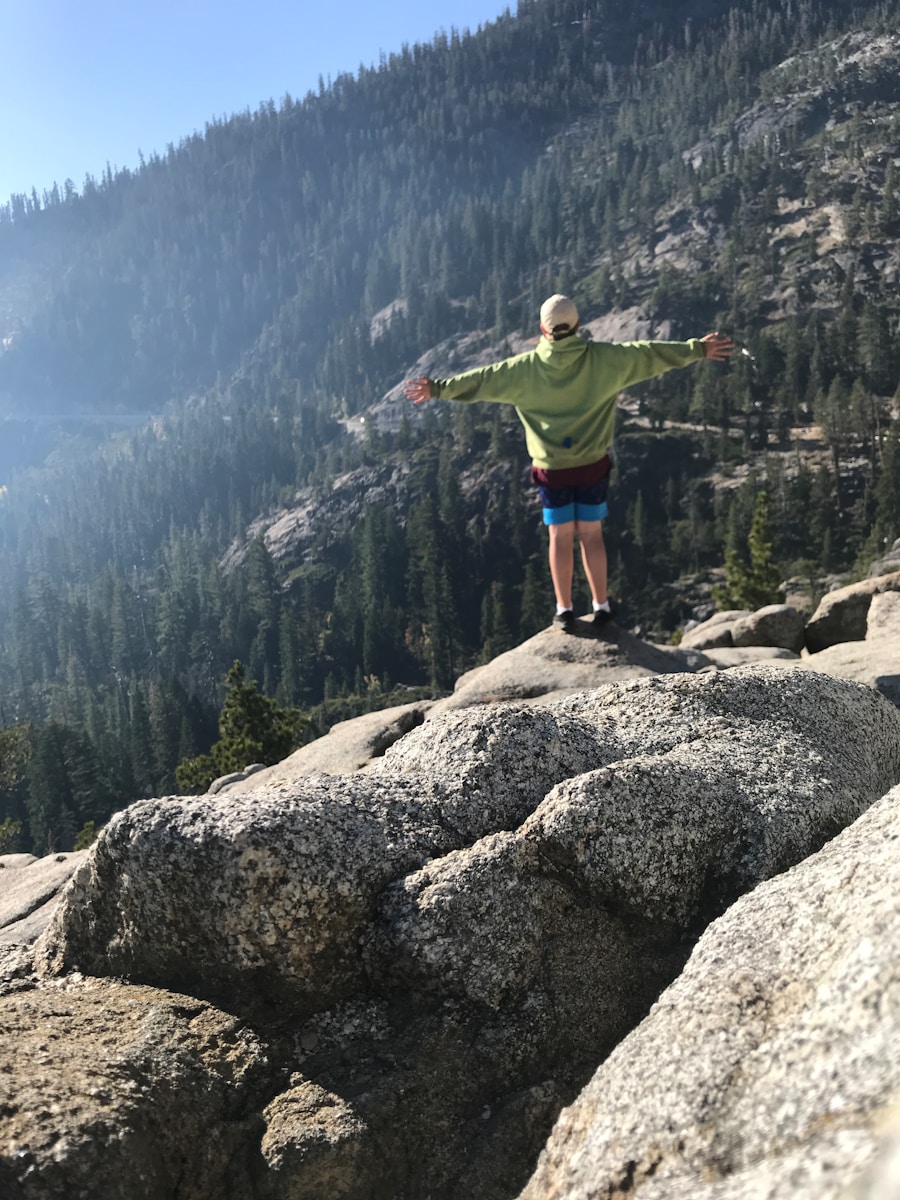
Last Updated on September 10, 2026 by Daniel Globe
Starting hiking does not require expensive equipment or expert-level fitness. Your first goal is simply to choose a trail that matches your current ability, prepare for the conditions, carry essential safety gear, and leave enough time to turn around before weather, fatigue, or darkness becomes a problem. Start small, learn from each trip, and increase the challenge gradually.
Quick Answer
To start hiking, choose a short, well-marked trail that fits your fitness level, check current weather and trail conditions, pack the Ten Essentials, wear comfortable footwear with good traction, share your route with someone you trust, and set a turnaround time. Build distance and elevation gradually as your skills and confidence improve.
Key Takeaways
- Choose your first trail by distance, elevation gain, terrain, exposure, weather, and your current fitness—not by mileage alone.
- Carry the Ten Essentials, including navigation, water, food, layers, a headlamp, first aid, sun protection, emergency shelter, fire, and basic repair supplies.
- Check the managing agency’s current alerts, trail conditions, closures, permits, and weather before leaving home.
- Share a trip plan, keep a navigation backup, and turn around when conditions exceed your skills, equipment, or available daylight.
- Follow trail etiquette and Leave No Trace practices so other visitors, wildlife, and the landscape are protected.
At a Glance
| Time Required | Varies by trail; beginners should start with a short day hike and leave a generous daylight buffer. |
| Difficulty | Beginner to moderate for a first hike; choose a route comfortably below your maximum ability. |
| Tools Needed | Ten Essentials, suitable footwear, route information, and a charged phone or other communication device where appropriate. |
| Cost | Often low if you already own basic clothing and a backpack; parking, entrance, reservation, or permit fees vary by location. |
Disclosure: As an Amazon Associate I earn from qualifying purchases. Some links on this page are affiliate links, at no extra cost to you.
Choose the Right Trail for Your First Hike
Selecting an appropriate trail is one of the most important parts of planning a good first hike. Do not judge a route only by distance. A three-mile hike with steep climbing, loose rock, exposed ledges, deep sand, or high altitude may be much harder than a longer walk on a nearly level path.
Before choosing a trail, compare its distance, elevation gain, terrain, route type, estimated time, exposure to sun or weather, available water, trail markings, and distance from help. The National Park Service recommends choosing a trail that everyone in the group can complete safely and checking the park or land manager for current difficulty and condition information.
Beginners are usually better served by a well-marked local loop or out-and-back route with modest elevation gain. Some individual sections of long trails, including parts of the Appalachian Trail in Virginia, can be suitable for beginners, but difficulty varies greatly from section to section. Never assume an entire named trail has one difficulty level.
More experienced hikers may eventually work toward routes such as Half Dome in Yosemite National Park or the Inca Trail to Machu Picchu. Trips like these involve much more than physical fitness. Access rules, permits, seasonal conditions, altitude, navigation, and logistics can all affect whether a trip is appropriate.
Pro Tip: For your first few hikes, choose a route that looks slightly easier than you think you can handle. Finishing with energy left over is a better way to build confidence than struggling through an overly ambitious trail.
Examples of Trail Scale and Difficulty
Long-distance trail names are useful for perspective, but their total length should not be confused with the difficulty of an individual section. Mileage also changes over time as trails are rerouted and mapping improves.
| Trail | Approx. Length | Terrain / Elevation Note | Overall Challenge | Beginner Planning Note |
|---|---|---|---|---|
| Appalachian Trail | 2,197.9 miles in 2026 | Terrain and climbing vary enormously across the route. | Major long-distance trail; individual sections range widely. | Choose a specific short section based on current conditions, not the trail’s overall reputation. |
| Pacific Crest Trail | 2,655.84 miles, PCTA’s January 2026 best estimate | Crosses desert, high Sierra, forests, and major mountain passes. | Major long-distance trail; individual sections vary. | Use a carefully selected day-hike section rather than treating the PCT as one uniform route. |
| John Muir Trail | About 211 miles | High-elevation Sierra Nevada terrain and major mountain passes. | Strenuous multi-day wilderness route. | Not a typical first hike; shorter nearby day hikes are a better introduction. |
| Grand Canyon Rim-to-Rim | About 21 miles | Roughly a one-mile vertical descent followed by a one-mile climb. | Very strenuous. | Not a beginner hike; heat, water, elevation change, access, and current closures require careful planning. |
What to Check Before You Leave Home
A safe hike begins before you reach the trailhead. Check the official website for the park, forest, preserve, or other land manager rather than relying only on an app or an old trip report. Trail apps such as AllTrails can help with route discovery, but official alerts should be your source for closures, regulations, fires, washed-out roads, permit requirements, and other current restrictions.
- Trail conditions: Look for snow, ice, mud, flooding, damaged bridges, wildfire impacts, or temporary closures.
- Weather: Check the forecast for the trail area and elevation, not only the nearest town.
- Permits and reservations: Confirm whether the trail, parking area, shuttle, campground, or wilderness requires one.
- Daylight: Know sunset time and leave enough time to finish well before dark.
- Access: Confirm road conditions, trailhead parking, seasonal gates, and transportation.
- Trip plan: Tell a trusted person where you are going, your route, who is with you, your vehicle information when useful, and when they should expect you back.
- Backup plan: Pick an easier alternative in case weather, closures, fatigue, or crowded parking makes the original plan a bad choice.
Note: Trail conditions can change after an app review or map was published. Recheck official alerts close to departure and be willing to change plans.
Essential Gear and Clothing
You do not need the most expensive outdoor gear to start hiking. Comfort, fit, traction, weather protection, and emergency preparedness matter more than brand names. Companies such as Merrell and Salomon make popular hiking footwear, but no single brand or boot style is best for everyone.
The Ten Essentials
The National Park Service Hike Smart guidance recommends carrying the Ten Essentials. The exact items can be adjusted for the route, season, and environment, but the ten systems are:
- Navigation: map, compass, GPS, or another route-finding system.
- Sun protection: sunglasses, sunscreen, a hat, and protective clothing as conditions require.
- Insulation: extra layers and weather protection appropriate for the forecast and elevation.
- Illumination: a headlamp or flashlight with adequate power.
- First aid: supplies you know how to use, including personal medications.
- Fire: an appropriate emergency fire-starting method where fires are legal and safe.
- Repair kit and tools: simple items suitable for your gear and trip.
- Food: enough for the planned hike plus an emergency margin.
- Hydration: sufficient water and, when needed, a reliable treatment method.
- Emergency shelter: an emergency blanket, bivy, tarp, or other trip-appropriate shelter.
Hiking Shoes or Boots?
Footwear should fit comfortably, grip the terrain, and protect your feet. Some hikers prefer lightweight hiking shoes or trail-running shoes, while others prefer boots with more structure or ankle coverage. Rocky terrain does not automatically require a heavy boot. Fit, tread, experience, pack weight, conditions, and personal support needs all matter.
Wear socks that fit without bunching and manage moisture well. Moisture-wicking synthetic or wool socks can help keep feet more comfortable, but blister prevention also depends on reducing friction and fixing footwear hot spots early.
Dress in Layers
Layering lets you respond to changing temperature, wind, and precipitation. A moisture-managing base layer helps move sweat away from the skin. An insulating layer adds warmth when needed, and a wind- or waterproof outer shell protects against changing conditions.
A hat, sunglasses, gloves, or additional sun protection may also be appropriate. Pack for the conditions you could reasonably encounter rather than only the temperature at the trailhead.
Safety Tips for Hiking
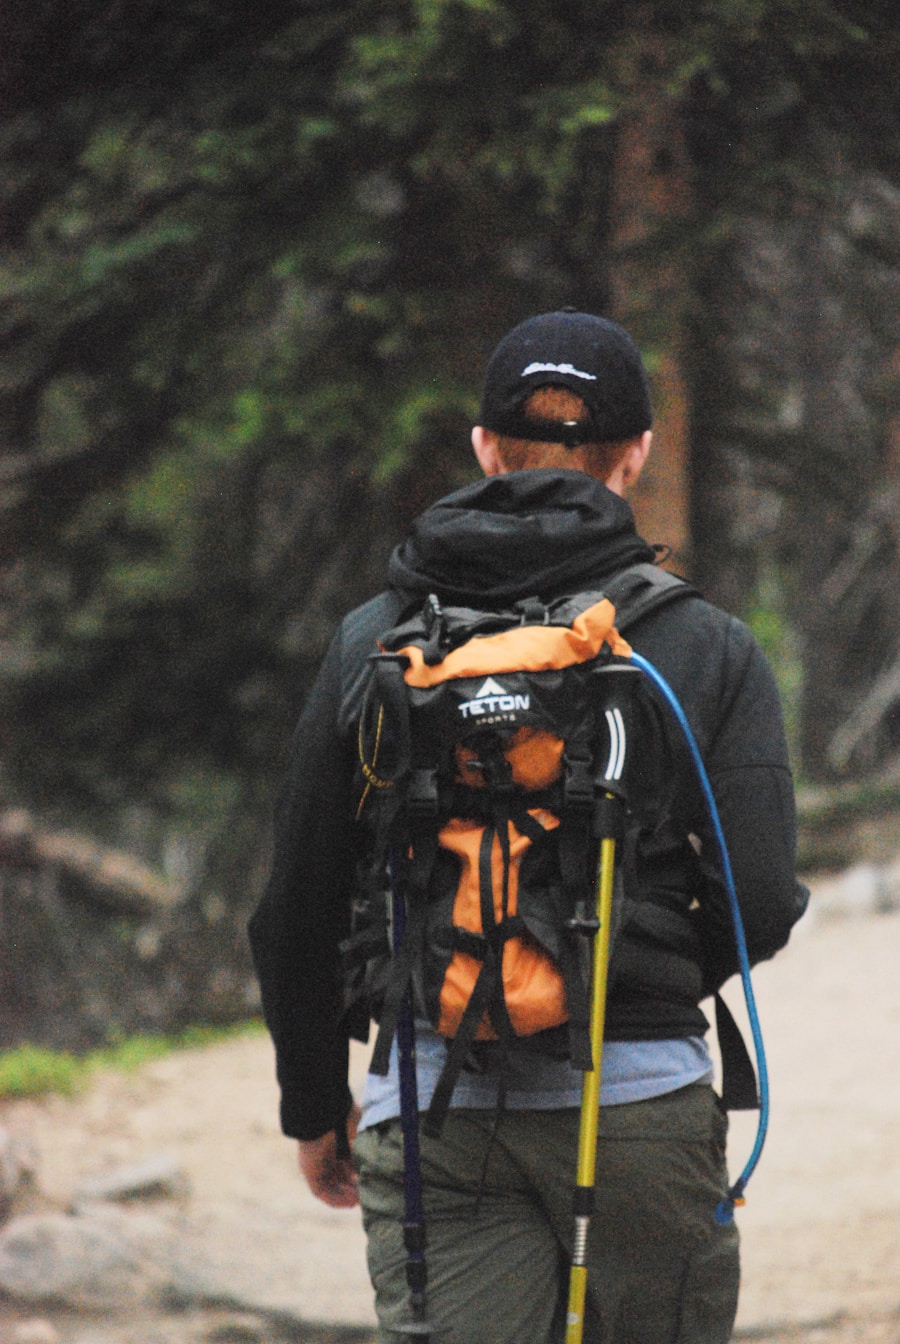
Share your hiking plan with someone who is not joining you. Give that person enough information to know where to look if you fail to return, and remember to contact them when you are safely back.
A fully charged mobile phone is useful for maps and communication, but do not assume there will be service. Download maps before leaving coverage, conserve battery when appropriate, and carry a navigation method that does not depend entirely on your phone.
Plan Water and Food for the Conditions
There is no single amount of water that is correct for every hiker and every trail. Heat, humidity, altitude, pace, body size, distance, shade, and access to reliable water all change your needs. Check route-specific guidance, carry an emergency margin, and never assume an untreated stream is safe to drink.
Bring food that is easy to carry and eat, such as trail mix, sandwiches, dried fruit, jerky, or energy bars. Longer or more remote hikes deserve a larger emergency food margin than a short walk close to a visitor center.
Set a Turnaround Time
Decide before the hike when you need to turn around to finish with daylight to spare. Reaching a summit, waterfall, or viewpoint is optional; getting back safely is not. Turn around early if the route takes longer than expected, weather deteriorates, a group member becomes exhausted, water runs low, or the terrain exceeds your comfort level.
Warning: Never continue only because you feel committed to reaching the destination. Severe heat, lightning, rising water, ice, wildfire, injury, exhaustion, or loss of daylight are valid reasons to turn back immediately.
Learning basic first aid is also worthwhile. A small kit is most useful when you understand how to manage common problems such as minor cuts, blisters, strains, and exposure while recognizing when an injury requires emergency help.
Basic Navigation and Trail Etiquette
Learn the route before leaving the trailhead. Many trails use signs, colored blazes, cairns, junction markers, or other systems, but markings vary by location. Do not assume that a trail will be obvious at every junction.
A GPS device or smartphone app can make navigation easier, especially when maps are downloaded for offline use. Electronics can fail, batteries can drain, and phones can be damaged, so a physical map and basic compass skills are valuable backups on routes where navigation matters.
Pro Tip: At an uncertain junction, stop and confirm your route before walking farther. A few seconds checking a map can prevent a small mistake from becoming a long detour.
Follow Trail Etiquette
On ordinary hiking trails, downhill hikers commonly step aside for hikers climbing uphill because uphill hikers may be working to maintain their pace. However, shared-use trails can have different right-of-way rules. Horses or other stock may receive priority, and local signs or land-manager instructions always take precedence.
Move aside in a safe, durable place when letting others pass. Keep groups together without blocking the full trail, keep music and conversation at a considerate volume, and avoid cutting switchbacks.
Follow the Leave No Trace principles: plan ahead, travel on durable surfaces, dispose of waste properly, leave natural and cultural objects where you find them, minimize campfire impacts, respect wildlife, and be considerate of other visitors.
Pack out all trash, including food scraps. Observe wildlife from a safe distance and never feed animals. Where bears or other food-conditioned wildlife are present, follow the area’s current food-storage requirements.
Building Physical Endurance
Hiking becomes more comfortable as your walking endurance, leg strength, balance, and ability to climb improve. You do not need to be an athlete before your first hike, but your first route should match what you can comfortably do now.
Walking regularly is a simple place to begin. Gradually add hills, stairs, or longer distances rather than making a large jump all at once. Strength exercises such as squats, lunges, step-ups, bridges, and core work can also help with climbing, descending, and carrying a pack.
As you progress, make some training walks resemble your planned hike. Wear the footwear you intend to use and carry a similar pack. Start with shorter hikes, then increase distance or elevation gradually instead of increasing everything at once.
If you have a health condition, significant pain, or concerns about whether a strenuous hike is appropriate for you, consider discussing the plan with a qualified healthcare professional before increasing intensity.
Preparing for Weather and Terrain
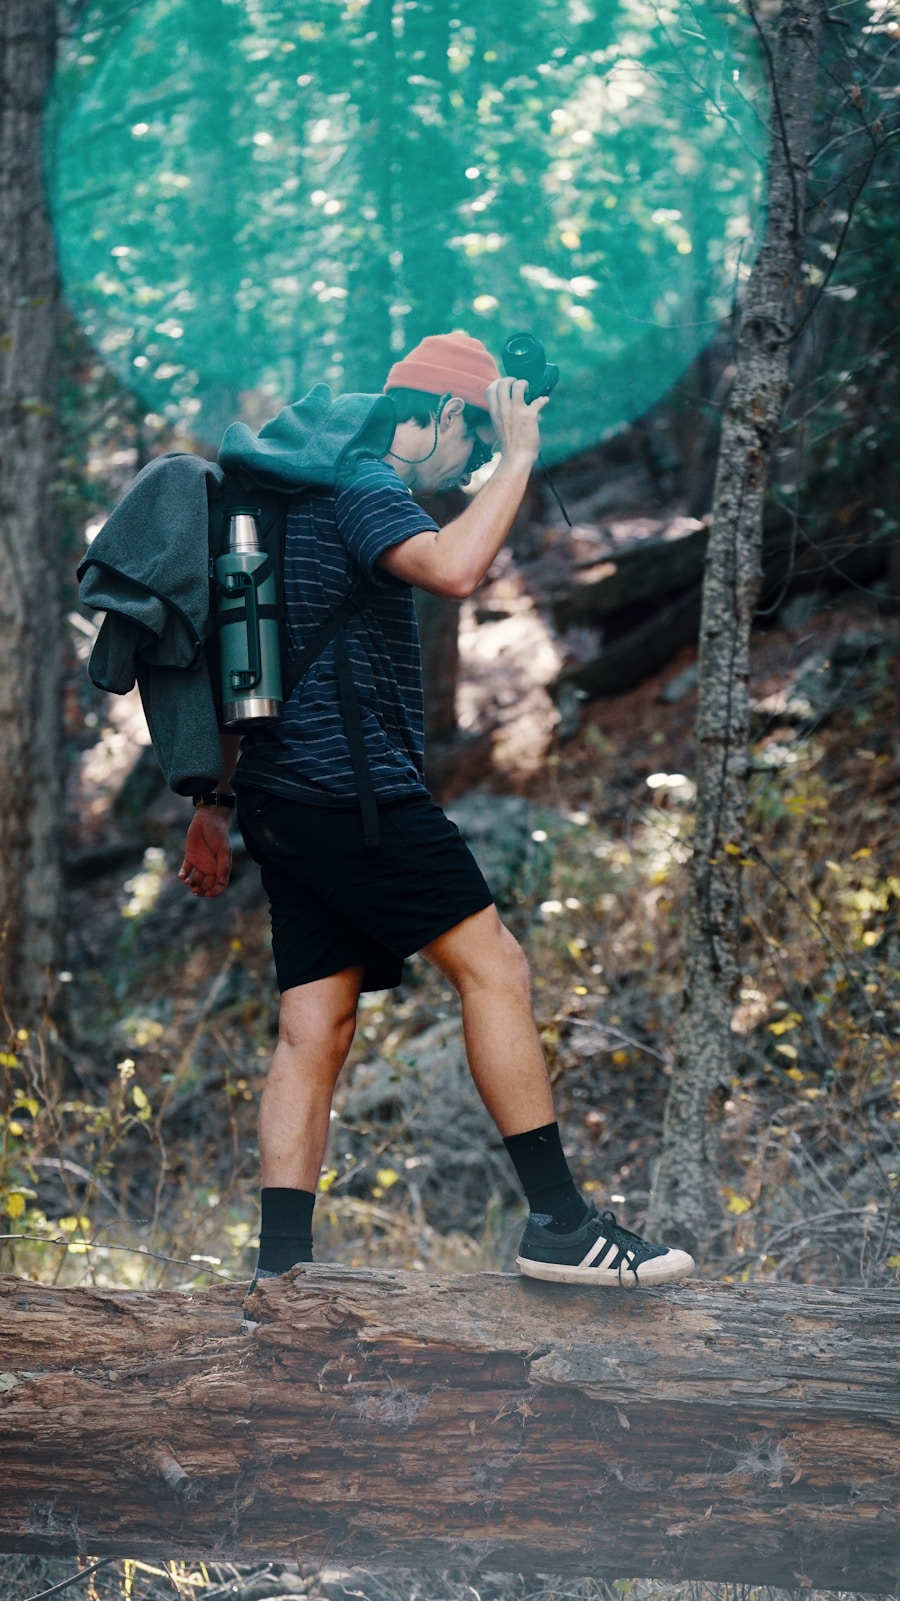
Weather in mountains, deserts, and other exposed areas can change much faster than conditions in town. Check the forecast before leaving, then stay alert to what the sky, wind, temperature, and trail are actually doing.
Carry layers so you can add or remove insulation as conditions change. Rain protection may be necessary even when the day starts dry. Hot-weather hikes require special attention to shade, water, pace, and signs of heat illness.
Lightning and Storms
If thunderstorms threaten, getting off exposed ridges, summits, and other high terrain before the storm arrives is safer than trying to wait it out in an exposed position. Build enough time into mountain hikes to retreat before forecast storms.
Rock, Mud, Snow, and Water
Rocky routes call for secure footing and good traction. Mud may make a trail much more slippery and can damage the trail when hikers widen the path to avoid puddles. Snow or ice can change an otherwise simple trail into a trip requiring skills and equipment a beginner may not have.
Never assume a stream crossing is safe because another hiker crossed it earlier. Water depth and speed can change quickly after rain or snowmelt. If a crossing looks beyond your ability, turn around rather than improvising.
Trekking poles can improve balance on uneven ground and reduce some of the load felt during descents, but they do not replace careful foot placement or sound judgment.
Wildlife and Insects
Research the wildlife found along your route. Keep your distance, never feed wild animals, secure food where required, and follow the land manager’s specific instructions for bears or other potentially dangerous wildlife.
In tick or mosquito country, consider suitable clothing and an appropriate insect repellent used according to its label. Check yourself and your clothing for ticks after hiking in brushy, grassy, or wooded areas.
Packing the Perfect Hiking Backpack
A well-packed backpack keeps important gear easy to reach without making the load uncomfortable. For a short day hike, you usually do not need a large overnight pack. Use a pack that holds your safety gear, food, water, layers, and personal items without forcing you to leave essentials behind.
Keep frequently used items—water, snacks, map, sun protection, rain shell, and first-aid supplies—where you can reach them without unpacking everything. A waterproof liner or dry bags can protect items that must stay dry.
Place denser or heavier items close to your back so the load feels stable. Avoid hanging unnecessary objects from the outside where they can swing, snag branches, or affect your balance.
Sleeping bags, stoves, substantial food storage, and other overnight equipment belong to backpacking trips rather than ordinary beginner day hikes. Multi-day travel requires additional planning beyond the basic day-hiking setup covered here.
Finding Hiking Buddies and Groups
Hiking with other people can add companionship and provide extra support when something goes wrong. Local outdoor clubs, community recreation programs, guided hikes, and organized park events are useful places to meet hikers with similar goals.
Social platforms and services such as Meetup can also help you find hiking groups. Before joining an unfamiliar group, read the route description carefully, confirm the expected pace and difficulty, understand who is leading the trip, and make sure the plan matches your experience.
Outdoor retailers sometimes organize group hikes, classes, navigation workshops, or community events. These can be useful for learning skills while meeting people who already know local trails.
Note: Hiking with a group does not replace personal preparation. Carry your own essential gear, know the route, and understand how you would respond if the group became separated.
After the Hike
When you return, let the person holding your trip plan know you are safely back. Drink and eat as needed, check your feet for hot spots or blisters, and inspect yourself for ticks where they are common.
It also helps to make a quick mental note of what worked. Did you carry too much? Run low on water? Wish you had started earlier? Was the elevation harder than expected? Those observations make the next hike easier to plan.
Conclusion
Starting hiking is mostly about making sensible choices, not buying a long list of premium gear. Choose an appropriate trail, check current conditions, carry the Ten Essentials, know where you are going, and be willing to turn around when the plan no longer makes sense. With regular walking and progressively harder outings, your endurance, navigation skills, and confidence will grow naturally.
Good hikers also protect the places they visit. Stay on durable routes, pack out waste, respect wildlife, follow local regulations, and leave enough space for other people to enjoy the trail. Hiking with friends, clubs, or experienced partners can make that learning process even more enjoyable.
If you’re also planning outdoor trips with young children, you may be interested in this article on the best double stroller for travel. The equipment needed for family travel is different from hiking gear, so match each setup to the activity and terrain.
Love travel? Join Our Facebook Community For More Tips.
Frequently Asked Questions
What is hiking?
Hiking is walking outdoors on trails or other established routes in natural areas. It can range from an easy local nature walk lasting an hour to a strenuous mountain day hike or a multi-day backpacking trip.
Why should I start hiking?
Hiking provides a flexible way to spend time outdoors while building walking endurance, leg strength, and confidence on varied terrain. It can also be a social activity or a quiet way to explore natural areas.
How do I prepare for a hike?
Research the route, check current trail conditions and weather, confirm permits or closures, pack the Ten Essentials, download or carry a map, tell someone your trip plan, and choose a turnaround time that leaves a daylight buffer.
What are some beginner-friendly hiking trails?
A good beginner trail is usually well marked, relatively short, modest in elevation gain, and appropriate for the day’s weather and trail conditions. Local parks and land-management websites are good places to find current route information.
What gear do I need for hiking?
Bring the Ten Essentials: navigation, sun protection, insulation, illumination, first aid, fire, repair supplies and tools, food, hydration, and emergency shelter. Add comfortable footwear and any route-specific equipment required by the terrain or weather.
How do I stay safe while hiking?
Choose a route within your ability, check current conditions, share a trip plan, carry essential gear, stay aware of weather and wildlife, keep track of time and water, and turn around when conditions become unsafe. Follow current instructions from the agency managing the trail.
Do beginners need hiking boots?
Not always. A well-fitting hiking shoe or trail-running shoe with suitable traction can work for many maintained trails. Boots may be preferred for additional structure, protection, certain terrain, heavier packs, or personal support needs.
How much water should I carry hiking?
There is no universal amount. Water needs rise with heat, sun exposure, altitude, exertion, distance, and individual factors. Check route-specific guidance, know whether reliable treated water is available, and carry an emergency margin rather than depending on an inflexible liters-per-hour rule.
Sources
- National Park Service — Hike Smart — trail selection, trip planning, Ten Essentials, turnaround planning, navigation, and trail etiquette.
- Grand Canyon National Park — Basic Information — current rim-to-rim distance, elevation context, and difficulty considerations.
- Leave No Trace — The 7 Principles — low-impact travel, waste, wildlife, and consideration of other visitors.
- Appalachian Trail Conservancy — 2026 Official Mileage — official 2026 Appalachian Trail length.
- Pacific Crest Trail Association — PCT Data — January 2026 best-estimate Pacific Crest Trail mileage.
- Pacific Crest Trail Association — John Muir Trail — John Muir Trail length, location, and planning context.
