
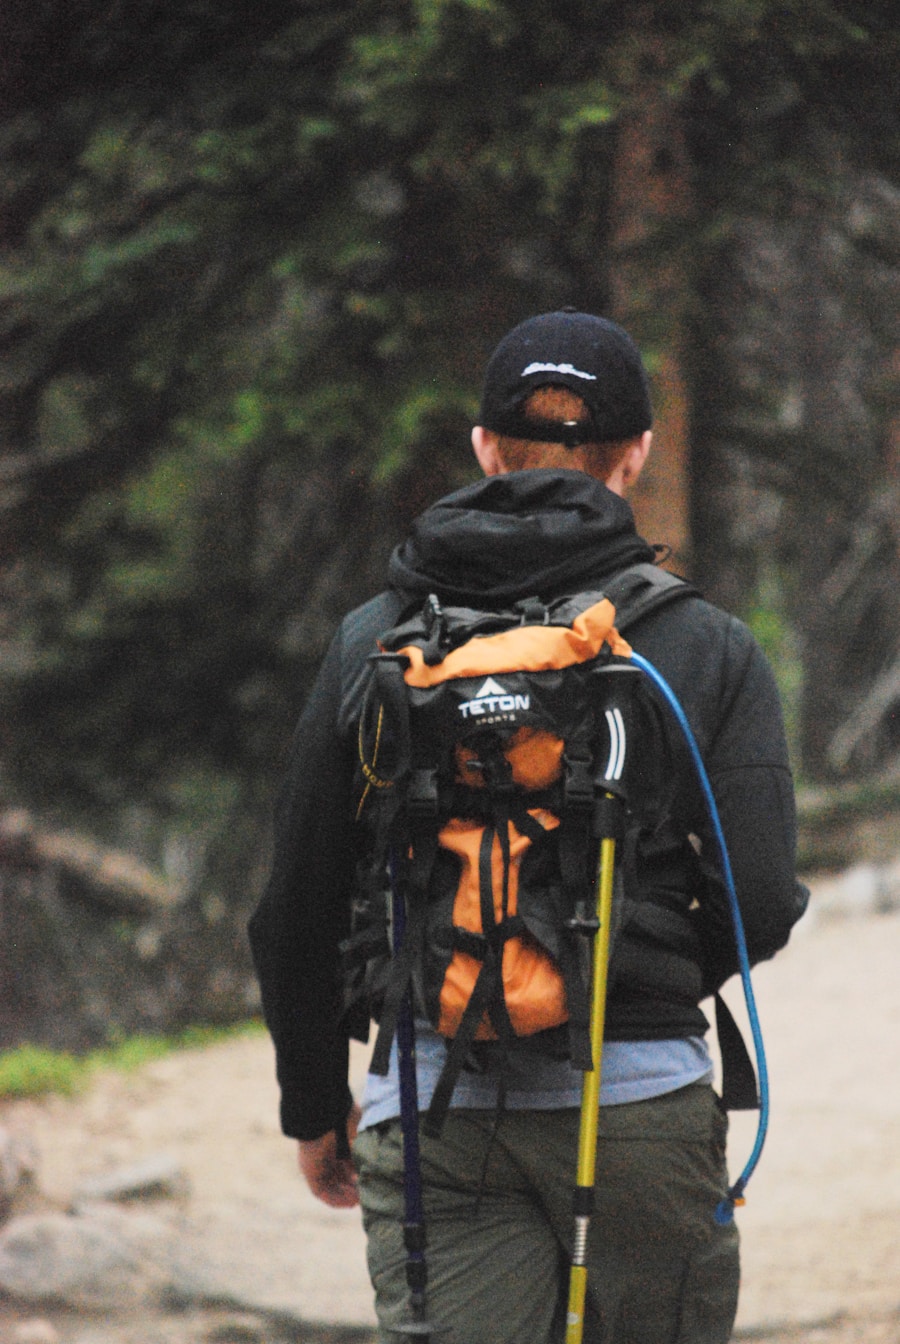
Last Updated on July 27, 2026 by Daniel Globe
Preparing for a hike is about more than choosing a scenic trail and filling a backpack. A good plan matches the route to your ability, accounts for weather and current trail conditions, covers basic emergency needs, and gives you enough flexibility to turn around when conditions change. Even a short day hike deserves a few minutes of careful preparation.
Quick Answer
Prepare for a hike by choosing a route that matches your fitness and experience, checking current trail and weather conditions, packing the Ten Essentials, wearing trail-appropriate footwear and layers, carrying enough food and water, and leaving your itinerary with someone you trust. Build in a turnaround time and be ready to change plans.
Key Takeaways
- Choose a trail that matches your fitness, experience, available daylight, and comfort with the terrain.
- Check official trail conditions, closures, permits, weather, and seasonal hazards before leaving.
- Carry the Ten Essentials, including navigation, first aid, extra food and water, layers, illumination, and emergency shelter.
- Wear comfortable footwear with traction suited to the route rather than assuming heavy hiking boots are always required.
- Leave a detailed trip plan with someone who will notice if you are overdue, especially when hiking beyond reliable cell coverage.
- Respect wildlife, posted regulations, and Leave No Trace principles throughout the hike.
At a Glance
| Time Required | About 30–60 minutes for route, weather, gear, and safety planning; additional physical preparation may be needed for strenuous hikes. |
| Difficulty | Easy to moderate for basic preparation; route-specific skills may be required for snow, scrambling, high altitude, river crossings, or exposed terrain. |
| Tools Needed | Route map, current weather and trail information, backpack, Ten Essentials, appropriate footwear, food, water, and communication plan. |
| Cost | $0 if you already own suitable gear and the trail is free; permits, parking, transportation, equipment, and park entrance fees vary by destination. |
Warning: General hiking advice cannot account for every trail. Follow current instructions from the park, forest, land manager, or local authorities. Closures, extreme heat, wildfire, flooding, lightning, avalanche danger, technical terrain, or deteriorating conditions are valid reasons to postpone the hike or turn around.
Disclosure: As an Amazon Associate I earn from qualifying purchases. Some links on this page are affiliate links, at no extra cost to you.
Choose a Trail That Matches Your Ability
Selecting the right trail is the first major decision. Look beyond mileage. Review elevation gain, expected hiking time, trail surface, exposure, route-finding difficulty, water crossings, altitude, and how far you will be from help. A short route with steep climbing or rough footing can demand more effort than a longer, flatter trail.
Beginners are usually better served by a well-marked route with moderate mileage, manageable elevation gain, and easy access back to the trailhead. More experienced hikers may intentionally choose strenuous routes that demand greater endurance, navigation, or technical skill.
Half Dome in Yosemite is one example of a demanding objective. Hikers planning to reach the summit should know that Yosemite National Park requires a Half Dome permit when the cables are up. International routes such as the Inca Trail to Machu Picchu also operate under destination-specific visitor and conservation rules, so reservations and access requirements should be researched well before travel.
Before leaving home, check the official website for the park, forest, preserve, or other land manager. Confirm current trail conditions, temporary closures, permit or reservation requirements, fire restrictions, road access, seasonal hazards, and trailhead parking. Crowd-sourced trail apps can be useful for trip ideas, but official information should take priority when rules or conditions conflict.
Pro Tip: Choose a turnaround time before you start. If you have not reached your planned destination by that time, turn around even if you feel capable of continuing. This protects your daylight margin and gives you room for slower travel on the return.
Packing the Essentials
A daypack should carry more than the items you expect to use under normal conditions. It should also help you handle a delay, minor injury, sudden weather change, navigation problem, or unexpected night outside.
The National Park Service Ten Essentials provide a practical framework:
- Navigation: a map, compass, GPS device, offline map, or an appropriate combination for the route.
- Illumination: a headlamp or flashlight, preferably with spare power.
- Sun protection: sunglasses, sunscreen, a hat, and protective clothing as conditions require.
- First aid: supplies appropriate to the group and enough knowledge to use them.
- Repair tools: a knife or multi-tool and basic gear-repair supplies.
- Fire: a suitable emergency fire-starting method where fires are legal and appropriate.
- Emergency shelter: a lightweight bivy, space blanket, tarp, or other protection from exposure.
- Extra food: more than you expect to need for the planned hiking time.
- Extra water: additional capacity or a safe treatment plan where appropriate.
- Extra clothing: layers beyond the minimum required for the expected conditions.
Personal medications, identification, a whistle, insect repellent, hygiene supplies, and destination-specific equipment may also belong in your pack. A short hike near a busy visitor center will not require exactly the same setup as a long backcountry route, but the underlying emergency systems still deserve consideration.
Note: The Ten Essentials are best treated as systems rather than a rigid shopping list. Tailor the exact equipment to the trail, weather, remoteness, group needs, and consequences of an unexpected delay.
Checking the Weather
Check the forecast shortly before leaving, but also consider how the weather will affect the specific terrain. Rain can turn dirt, roots, rock, and stream crossings into hazards. Snow or ice can hide a trail and may require winter traction, snowshoes, or technical equipment that you already know how to use. Strong wind can make exposed ridges unsafe, while extreme heat can make an otherwise ordinary route far more demanding.
For hikes in the United States, the National Weather Service is a useful starting point for forecasts and watches or warnings. Mountain conditions can vary greatly with elevation, so also check the land manager’s current-conditions page when available.
Take Lightning Seriously
Thunderstorms deserve special attention on exposed trails. According to National Weather Service lightning guidance, there is no safe place outdoors when a thunderstorm is in the area. If thunderstorms are forecast, plan conservatively and avoid being on summits, open ridges, or other exposed terrain when storms are likely.
If you hear thunder, stop treating the storm as a distant possibility. Turn away from exposed terrain and move toward substantial shelter or a hard-topped vehicle when that can be done safely. In storm-prone mountain areas, an early start and firm turnaround time can reduce the chance of being caught high on the route later in the day.
Hearing thunder is your cue to leave exposed terrain and move toward safer shelter rather than waiting to see whether the storm gets closer.
Wearing the Right Gear
| Gear | What to Look For |
|---|---|
| Footwear | Comfortable fit, dependable traction, and enough protection for the trail surface, weather, and load. |
| Backpack | Enough capacity for water, food, layers, emergency gear, and personal items without being unnecessarily bulky. |
| Trekking poles | Optional support for balance on loose, uneven, steep, or slippery terrain. |
| Gaiters | Optional protection from mud, snow, sand, water, or trail debris when conditions justify them. |
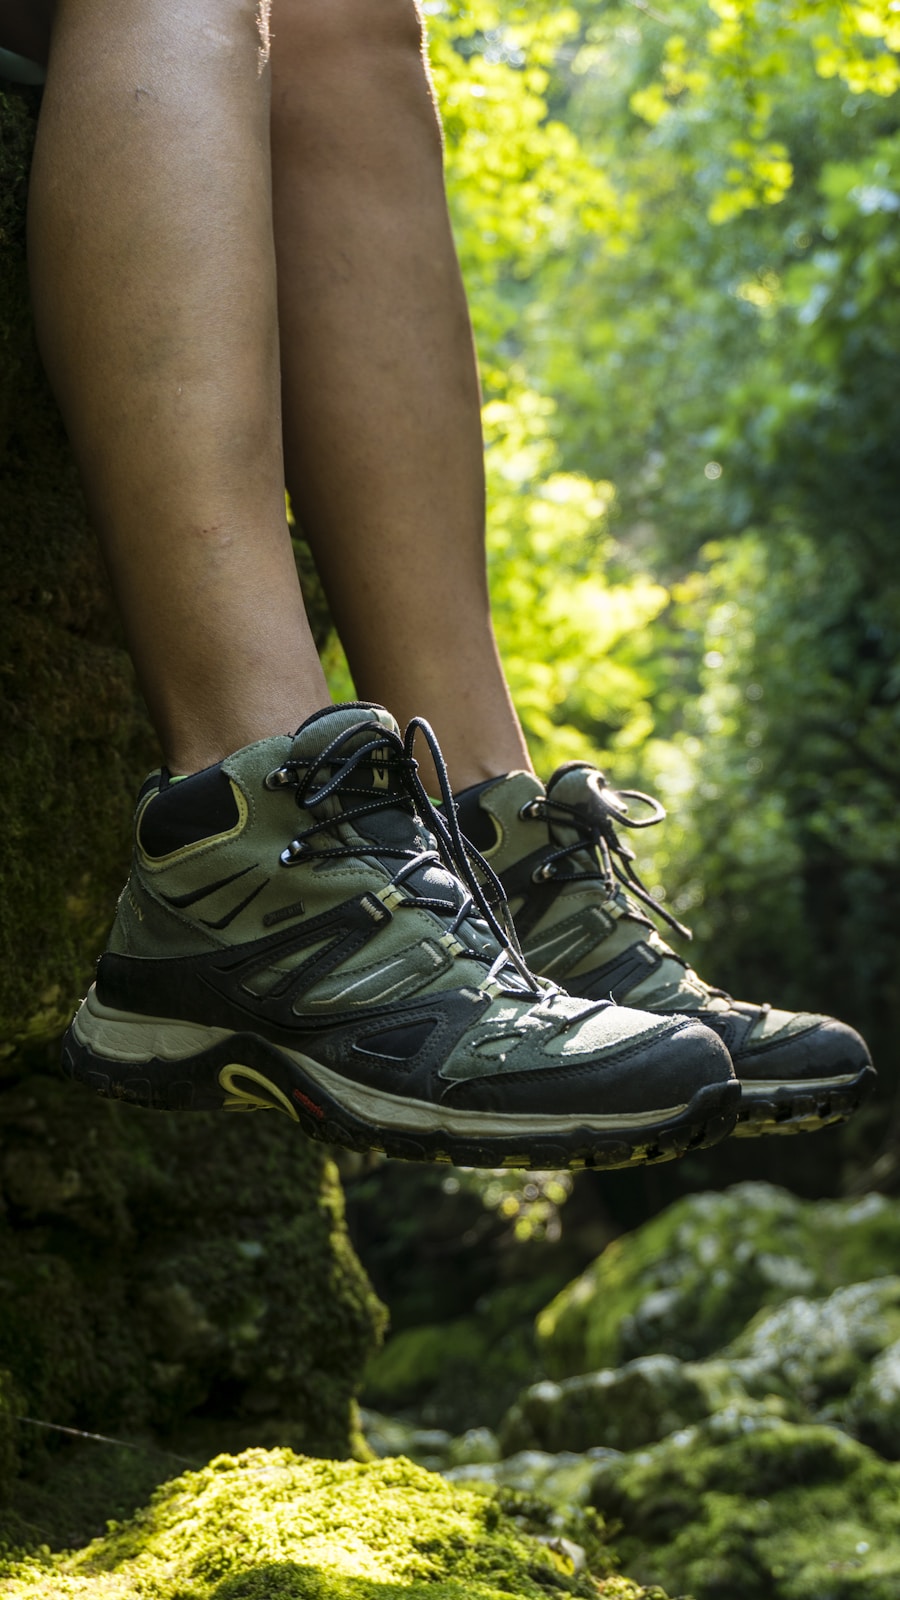
Your footwear does not have to be a heavy hiking boot for every trail. Hiking shoes, trail-running shoes, or boots can all be reasonable choices when they fit well and match the terrain. Rough routes, cold or wet conditions, and heavier loads may call for more protection, while a maintained trail in mild weather may not.
Try footwear with the socks you expect to wear and test it before committing to a long hike. New footwear that rubs during a short walk can become a major problem after several hours.
For clothing, favor layers that let you respond to changing temperatures and exertion. A moisture-managing base layer, insulating layer when needed, and rain or wind protection give you more flexibility than one heavy garment. Pack sun protection even on cool days when exposure is high.
Trekking poles can provide additional points of contact on uneven ground and may improve confidence during steep climbs or descents. Adjust them correctly and practice before relying on them on difficult terrain.
Bringing Enough Water and Snacks
Do not rely on a single universal water-per-hour formula. Your needs can change with temperature, humidity, altitude, pace, body size, sweat rate, route length, and access to reliable water. Start well hydrated, carry enough for the planned route plus a reasonable margin, and drink regularly during exertion.
Hot conditions require especially conservative planning. If anyone develops dizziness, unusual weakness, confusion, severe headache, or other signs of heat illness, stop pushing forward and move toward a safer, cooler situation.
Treat Natural Water Before Drinking
Do not assume a clear stream, spring, or alpine lake is safe to drink. The CDC recommends treating water when you are not sure it is safe. Boiling is the most reliable method for killing germs; another option is to use an appropriate filter and then disinfect the filtered water according to product instructions.
If your route depends on backcountry water, confirm that the source is currently flowing before leaving and carry the equipment and knowledge needed to treat it. Seasonal streams and springs can dry up.
Food should be simple, portable, and easy to eat when you are tired. Trail mix, nuts, energy bars, jerky, sandwiches, wraps, and durable fruit are common choices. Pack enough for the planned outing plus extra food in case the hike takes longer than expected.
Pro Tip: Keep one snack and part of your water reserve untouched until the return leg. It is easy to eat or drink most of your supply early when the hardest part of the hike may still be ahead.
Informing Someone of Your Plans
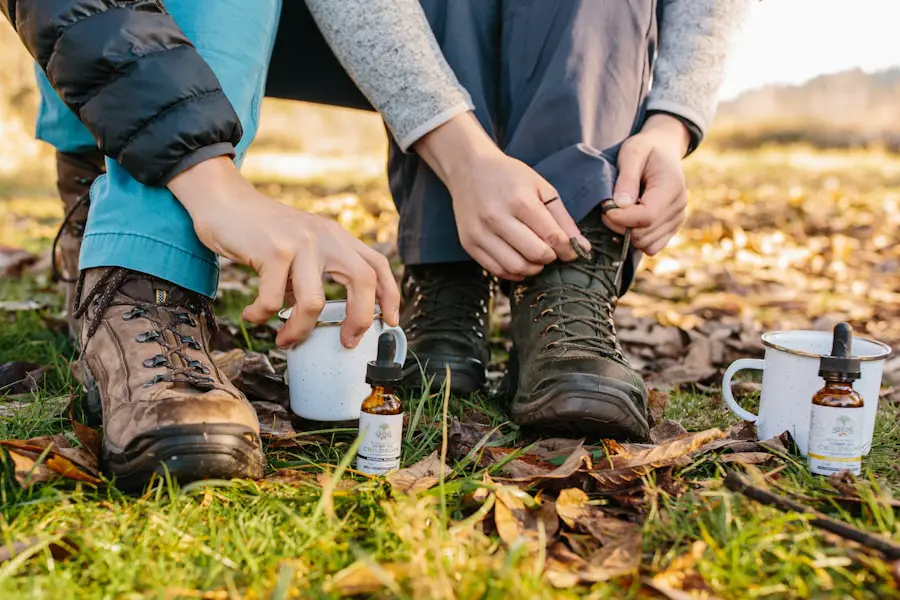
Before you leave, give a responsible person enough information to recognize when something is wrong. At minimum, share the trail or route, trailhead, destination, expected start and return times, names of the people in your group, and any planned alternate route.
Also agree on what the person should do if you miss your check-in time. An itinerary is much more useful when the person holding it knows when you should be considered overdue and which park, ranger district, sheriff, or emergency service covers the area.
Follow any permit or registration rules required by the destination, but do not assume signing a trail register replaces your personal trip plan.
Do Not Depend on Cell Service
Remote parks and backcountry areas can have weak or nonexistent cellular coverage. Download maps for offline use before leaving and conserve battery power. For longer or more remote trips, a satellite communicator or personal locator beacon may provide an additional emergency option, but you should know how the device works before depending on it.
A phone-based map can be convenient, yet batteries fail and electronics can be damaged. When the consequences of getting lost are serious, carry an appropriate backup navigation method and know how to use it.
Note: Navigation apps may continue displaying downloaded maps without cell service because GPS reception and mobile-data service are different systems. However, route updates, messaging, calls, and online map downloads may not work without connectivity.
Knowing Your Limits
Choose a hike based on the condition you are in now, not the fitness level you hope to have by the trip date. Recent activity, injuries, heat tolerance, altitude experience, pack weight, terrain, and sleep can all affect performance.
New hikers can build capacity with progressively longer walks, hills or stairs, and practice hikes carrying the pack they expect to use. Increase difficulty gradually rather than making the first serious outing dramatically longer or steeper than previous efforts.
During the hike, pay attention to pace and group condition. Frequent stumbling, worsening pain, unusual exhaustion, dehydration symptoms, deteriorating weather, fading daylight, or slower-than-planned progress are reasons to reassess the plan.
Turning around is not a failed hike. It is one of the most useful safety decisions an experienced hiker can make.
Prepare for Navigation Problems and Emergencies
Before the hike, identify major junctions, water crossings, exposed sections, likely turnaround points, and the direction of the trailhead. Knowing what the route should look like makes it easier to recognize a navigation mistake early.
If you become unsure of your location, stop before wandering farther. Check your map, landmarks, GPS position, and the route you just traveled. If returning to the last known point would create additional danger, remain in a safer location while working through your options.
In a true emergency, call 911 when service is available or use your emergency communication device according to its instructions. Do not assume rescue will be immediate. Weather, darkness, terrain, distance, and responder access can delay assistance, which is one reason emergency shelter, extra clothing, food, and water belong in a hiking pack.
Being Mindful of Wildlife and Nature
Wildlife rules are destination-specific. Never approach animals for a closer photograph, feed them, surround them, or block their travel path. The National Park Service recommends checking the rules for the park you are visiting because required viewing distances and food-storage practices vary.
If an animal changes its behavior because of your presence, increase your distance. Bears, moose, elk, bison, snakes, and other animals require different responses during an encounter, so review species-specific guidance for the destination before hiking in wildlife habitat.
Food storage also matters. In bear country or other areas with wildlife restrictions, follow the land manager’s rules for bear-resistant containers, lockers, food hangs, scented items, and campsite storage.
Follow Leave No Trace Principles
The Leave No Trace principles provide a useful framework for reducing your impact. Plan ahead, travel on durable surfaces, dispose of waste properly, leave natural and cultural objects where you find them, minimize fire impacts, respect wildlife, and be considerate of other visitors.
Stay on designated trails where required, avoid widening muddy trails by trampling vegetation, pack out trash and food scraps, and follow local rules for human and pet waste. Regulations vary by environment, so posted instructions should take priority over generalized advice.
Practice Basic Trail Etiquette
Give other hikers room to pass without stepping unnecessarily onto fragile vegetation. Follow posted right-of-way rules for horses, bicycles, and other trail users. Keep music and voices at a level that does not dominate the experience for everyone around you.
If your hiking trip includes an overnight backpacking component, you may also want to review this guide to the best sleeping bags for backpacking travel. Travelers flying or driving to a distant trailhead can compare these hardside carry-on luggage with spinner wheels for transporting travel gear. If fishing is part of the trip and local regulations allow it, this guide to the best travel fishing poles may also be useful.
Love travel? Join Our Facebook Community For More Tips.
Frequently Asked Questions
What should I wear for hiking?
Wear comfortable, moisture-managing clothing and footwear suited to the trail surface and weather. Carry layers so you can adjust as conditions change. Depending on the route, sun protection, rainwear, an insulating layer, hat, gloves, or gaiters may also be appropriate.
What gear do I need for hiking?
Use the Ten Essentials as your starting point: navigation, illumination, sun protection, first aid, repair tools, fire, emergency shelter, extra food, extra water, and extra clothing. Add destination-specific items such as insect repellent, water treatment, trekking poles, or satellite communication when the route calls for them.
How should I prepare physically for a hike?
Build up gradually with regular walking or hiking, then add hills, stairs, and practice carrying your expected pack. Choose early hikes that match your current ability and increase distance and elevation as your endurance improves.
How much water should I bring on a hike?
There is no single amount that fits every hiker. Plan around route length, heat, humidity, altitude, effort, individual sweat rate, and dependable water sources. Carry a reserve rather than planning to finish your last sip at the trailhead. If you depend on streams or lakes, confirm the source is available and treat the water before drinking it.
What food should I bring on a hike?
Bring portable foods you will actually eat, such as trail mix, nuts, energy bars, jerky, sandwiches, wraps, or durable fruit. Longer hikes may require a full meal. Pack extra food in case the trip takes longer than expected.
Can I rely on my phone or GPS while hiking?
Do not assume you will have mobile service. Download maps before leaving, keep your phone charged, and conserve battery. For remote or complex routes, carry an appropriate backup navigation method. A satellite communicator or personal locator beacon can provide an additional emergency option in some areas.
How can I stay safe while hiking?
Choose a route within your ability, check current weather and trail conditions, carry the Ten Essentials, leave a trip plan, stay oriented, follow wildlife and land-management rules, and turn around when conditions deteriorate. Do not let reaching a summit or destination become more important than returning safely.
When should I turn around on a hike?
Turn around when you reach your predetermined turnaround time or when worsening weather, fading daylight, route uncertainty, injury, unusual fatigue, insufficient food or water, rising streams, unsafe snow or ice, wildfire conditions, or another hazard makes continuing a poor decision.
Sources
- National Park Service — Ten Essentials — hiking emergency-preparedness systems and recommended equipment.
- National Park Service — Hike Smart — pacing, hydration, trail safety, and preparation guidance.
- National Weather Service — Lightning Safety — thunderstorm and lightning risk outdoors.
- Centers for Disease Control and Prevention — Water Treatment While Hiking and Camping — treating water from uncertain or natural sources.
- National Park Service — Safely Watching Wildlife — viewing distance and destination-specific wildlife rules.
- Leave No Trace — Seven Principles — responsible travel, waste disposal, wildlife respect, and minimizing outdoor impacts.
