
Last Updated on September 11, 2026 by Daniel Globe
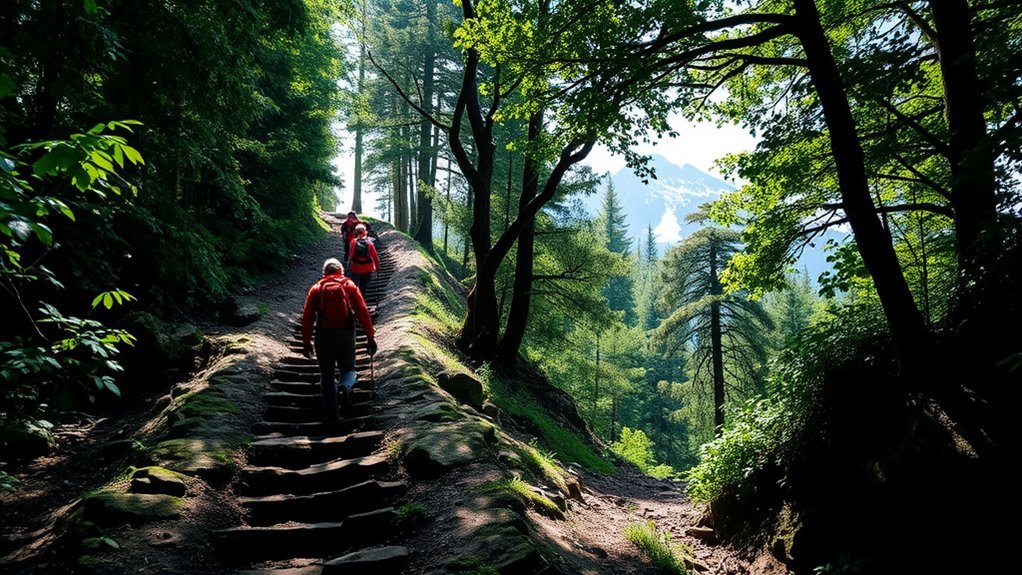
A 0.6 km route with 111 m (364 ft) of elevation gain is short, but it is not flat or automatically easy. The average climb is roughly 18.5%, so many beginners will notice the effort in their breathing, calves, and thighs. Actual difficulty also depends on the trail surface, weather, exposure, altitude, pack weight, and whether 0.6 km is the one-way or total distance.
Quick Answer
A 0.6 km hike with 111 m of elevation gain is a short but steep climb. Its average grade is about 18.5%, which can feel moderate to hard for a beginner. Plan a slow pace, wear footwear with reliable traction, carry water, and check the actual trail conditions before starting.
Key Takeaways
- The route gains about 185 m per kilometer, so the climb is much steeper than its short distance suggests.
- For many beginners, the ascent will feel moderate to hard, but the trail surface and weather can change the difficulty greatly.
- A rough planning estimate is 20 to 40 minutes uphill, with extra time for breaks and a careful descent.
- Traction, water, navigation, weather protection, and a realistic turnaround plan matter more than carrying heavy or specialized gear.
At a Glance
| Time Required | About 20 to 40 minutes uphill for many hikers; roughly 35 to 70 minutes round trip if 0.6 km is one-way |
| Difficulty | Short but steep; usually moderate to hard for an unconditioned beginner |
| Tools Needed | Grippy footwear, water, route information, a charged phone or navigation device, weather layer, and basic first-aid supplies; trekking poles are optional |
| Cost | Often $0 if you already own the gear; parking, permits, transport, or entry fees depend on the location |
Disclosure: As an Amazon Associate I earn from qualifying purchases. Some links on this page are affiliate links, at no extra cost to you.
What Does a 0.6 km Hike With 111 m Elevation Gain Entail?
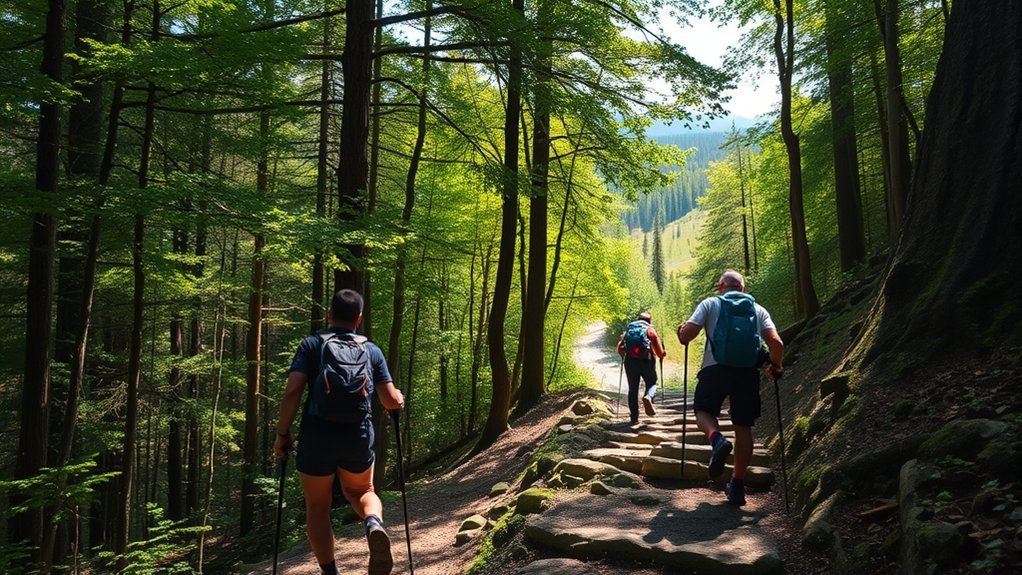
The basic math explains why this route can feel demanding. A grade is commonly described as vertical rise divided by horizontal distance. Using the stated figures, 111 m divided by 600 m gives an approximate average grade of 18.5%, or about 185 m of climbing per kilometer. The Federal Highway Administration’s explanation of grade uses the same rise-over-run idea.
This is an average, not a promise that every section has the same slope. A route can include flatter areas and much steeper pitches. Also, trail apps often report distance along the ground rather than a perfectly horizontal run, so 18.5% should be treated as a useful estimate instead of a survey measurement.
The elevation figures alone do not reveal whether the route contains rocks, roots, mud, stairs, loose gravel, scrambling, cliff exposure, or a smooth paved path. They also do not prove that there is a summit or a view. Check an official trail page, current map, ranger update, or recent condition report before deciding what skills and gear you need.
The route climbs about 1 meter for every 5.4 meters of horizontal travel, which is why 0.6 km can feel much harder than a flat walk of the same length.
Why Elevation Gain Matters in Hiking Difficulty
Elevation gain increases the work your body must do against gravity. Research on graded walking shows that slope is an important part of estimating walking energy demand. However, elevation gain is only one part of trail difficulty. Surface condition, obstacles, exposure, temperature, altitude, pack weight, and your fitness can make the same numbers feel very different from one route to another.
Impact on Endurance Levels
A short, steep ascent raises your effort quickly because you must keep lifting your body uphill. You may notice faster breathing, a higher heart rate, and greater use of the calves, quadriceps, glutes, and core. Slow down before you become breathless, and use a pace that still lets you speak a short sentence.
| Factor | Likely Effect |
|---|---|
| Elevation gain and grade | Increase the muscular and cardiovascular work required |
| Loose, wet, or uneven footing | Slows progress and raises slip or trip risk |
| Pacing and conditioning | Help you manage fatigue and keep your movement controlled |
Do not race the first part of the climb. Short steps and an even rhythm usually feel more sustainable than long, forceful strides.
Technical Terrain Challenges
A steep grade can become more technical when the trail is narrow, eroded, wet, icy, rocky, or exposed. On the other hand, a maintained staircase or firm path with handrails may feel easier even with the same elevation gain. This is why a difficulty rating cannot be based on distance and elevation alone.
Note: Elevation gain describes how much you climb. It does not describe the trail surface, maximum grade, drop-offs, water crossings, navigation difficulty, or current hazards.
How Long Will the Hike Take?
A traditional planning guide called Naismith’s Rule allows about 4 km per hour plus 1 minute for every 10 m of ascent. That gives a baseline of about 20 minutes for a 0.6 km climb with 111 m of gain.
That number is not a deadline. A beginner may need 25 to 40 minutes for the ascent, especially on rough ground or in hot weather. The descent may take 15 to 30 minutes because steep downhill travel requires careful foot placement. Add time for rests, photos, route-finding, and congestion.
- If 0.6 km is one-way: expect about 35 to 70 minutes for the out-and-back hike, excluding long breaks.
- If 0.6 km is the full round trip: the total may be closer to 25 to 50 minutes.
- If the trail includes scrambling, mud, snow, or exposure: allow more time or choose another route.
How Challenging Is This Climb for Beginners?
For a healthy beginner, this route is best described as short but moderately hard to hard. It may be manageable because the distance is limited, but the sustained grade can cause rapid fatigue. A regular walker who is comfortable with hills may find it challenging but reasonable. Someone who is inactive, carrying a child or heavy pack, recovering from illness or injury, or sensitive to heat may find it much harder.
Before attempting it, test yourself on a smaller hill or several flights of stairs. You should be able to climb steadily, recover after a short rest, and descend without knee pain or loss of balance. Turn back if you develop chest pain, faintness, unusual shortness of breath, confusion, severe weakness, or worsening joint pain.
Warning: Do not use the short distance as proof that the hike is safe. Wet rock, loose soil, heat, darkness, lightning, poor visibility, or a steep exposed descent can make a brief trail dangerous.
Essential Gear for Steep Hiking
Match your equipment to the actual route and conditions. The National Park Service Ten Essentials provide a strong planning framework, even for a short hike that could be delayed by weather, injury, or a wrong turn.
Recommended Footwear Choices
Choose footwear that fits well and has reliable traction. Trail-running shoes can work on a dry, maintained route, while hiking shoes or boots may be better on loose, wet, cold, or rough ground. Ankle support can feel helpful, but no single boot style prevents every injury. Fit, grip, comfort, and control matter most.
- Break in new footwear before the hike.
- Wear synthetic or wool socks that manage moisture.
- Use waterproof footwear only when conditions justify it, because waterproof shoes can feel warmer and may dry slowly once water gets inside.
- Consider gaiters for mud, snow, or loose debris, not as a requirement for every short climb.
Hydration Strategies
There is no perfect hourly water number for every hiker. Needs change with heat, humidity, body size, effort, clothing, altitude, and trip length. For a short outing in mild weather, many hikers start with about 0.5 liter of water and adjust for the conditions. Carry more when it is hot, when the approach adds distance, or when no safe refill is available.
The CDC advises people exercising in heat to start slowly, schedule activity for cooler times when possible, and drink more water than usual. Electrolyte drinks are not automatically required for a short hike, but they may be useful during prolonged heat exposure or heavy sweating.
Pro Tip: Take small drinks during breaks instead of waiting until the top. Keep some water for the descent, when slips and heat stress can still occur.
Essential Safety Gear
A short list of well-chosen essentials is more useful than an overloaded pack. The exact kit should reflect the location, weather, remoteness, and available phone service.
| Gear | Purpose | When It Matters Most |
|---|---|---|
| Grippy footwear | Traction and stable footing | Steep, loose, wet, or uneven surfaces |
| Trekking poles | Optional balance support | Long steps, loose descents, or hikers who already know how to use them |
| Basic first-aid kit | Treats minor cuts, blisters, and scrapes | Any route where help is not immediate |
| Water and snack | Supports hydration and energy | Heat, delays, or a longer approach |
| Navigation, light, and weather layer | Helps with route-finding, delays, and changing weather | Poor signage, late starts, remote areas, or unstable forecasts |
Preparing Physically and Mentally for Steep Hikes
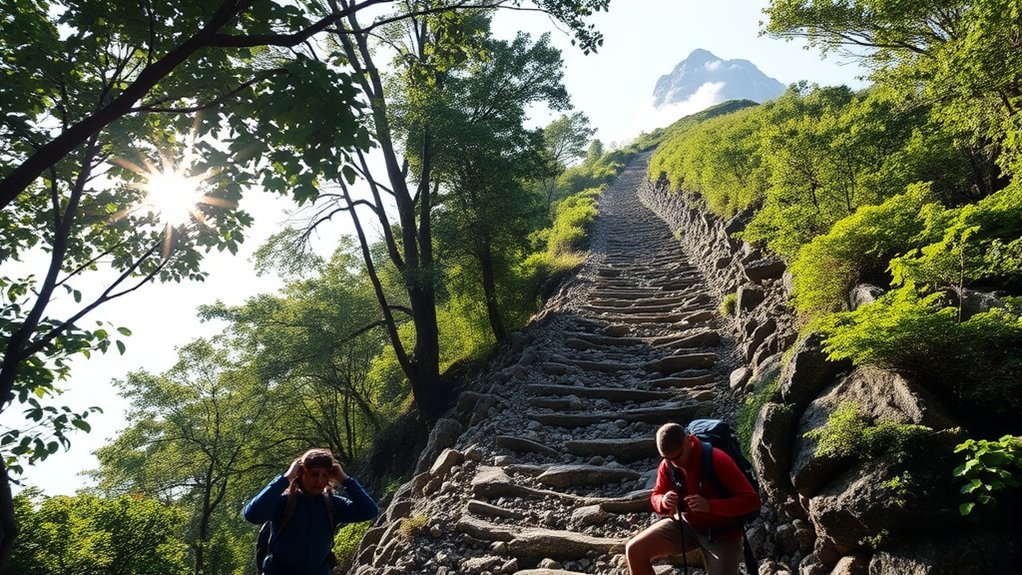
You do not need an advanced training plan for one short climb, but a little preparation can make it safer and more enjoyable. In the days or weeks before the hike, practice brisk walking, stairs, or gentle hills. Add simple strength work such as controlled step-ups, calf raises, squats to a comfortable depth, and balance exercises.
During the hike, use small goals. Walk to the next bend or marker, pause, check your breathing, and continue only when you feel steady. Avoid carrying a heavy training pack unless you already use one safely. For this route, a light pack with the necessary supplies is usually more practical.
- Warm up: Walk easily for 5 to 10 minutes before the steepest section.
- Shorten your stride: Small steps reduce the urge to lunge uphill.
- Use rest steps: Pause briefly with a straight supporting leg when the grade feels sustained.
- Control the descent: Keep your knees soft, avoid running, and step on stable surfaces.
- Set a turnaround rule: Stop if weather worsens, daylight is running out, or anyone in the group is no longer moving safely.
What Are the Benefits of Hiking Steep Trails?
Steep hiking can provide vigorous physical activity in a short distance. It challenges the heart and lungs, engages the legs and core, and requires balance and coordination. The CDC notes that physical activity can provide immediate and long-term health benefits, including better sleep, less anxiety, and improved heart health when activity is performed regularly.
- Cardiovascular challenge: Uphill movement raises effort faster than level walking.
- Lower-body strength and endurance: The climb uses the calves, quadriceps, hamstrings, and glutes.
- Balance and coordination: Careful foot placement can improve movement control on uneven ground.
- Confidence: Completing a suitable challenge can build experience for longer hikes.
The goal is not to push through warning signs. You gain more from a controlled hike that you can recover from than from an unsafe attempt made only to reach the top.
How to Plan Travel to the Trailhead
The distance and elevation numbers do not identify the trail, so they cannot tell you whether public transport, parking, cycling access, permits, or guided tours are available. Use the official website of the park, forest, municipality, or land manager as your main source.
Before leaving, confirm the trailhead location, road conditions, opening hours, fees, parking rules, seasonal closures, and the last return service if you are using public transport. Download the route for offline use, but do not rely on a phone as your only navigation or emergency tool in an area with weak service.
| Travel Option | Potential Benefit | What to Confirm |
|---|---|---|
| Public transport or shuttle | Avoids parking pressure | Operating dates, last departure, and walking distance from the stop |
| Driving or carpooling | Flexible arrival and return time | Parking capacity, road surface, fees, and closure gates |
| Biking | Low-impact access where permitted | Bike restrictions, secure parking, traffic, and the added physical effort |
| Guided trip | Local route and safety knowledge | Guide credentials, included transport, group pace, and cancellation terms |
How Can You Safely Enjoy This Hiking Experience?

The National Park Service Hike Smart guidance recommends choosing a route that matches your ability, checking weather and alerts, leaving a trip plan, carrying essentials, and watching your time and footing. Apply those principles even when the trail is less than a kilometer.
- Confirm the route details: Check whether 0.6 km is one-way or total, and review the maximum grade, surface, exposure, closures, and recent conditions.
- Start with enough daylight: Give yourself more time than the fastest estimate, especially if you are new to steep descents.
- Use a controlled pace: Let the slowest person set the speed, take short breaks, and keep the group together.
- Watch the weather: Turn around before rain, lightning, heat, ice, or poor visibility removes your safe margin.
- Protect the descent: Save energy and water for the return. Many slips happen when hikers are tired and moving downhill.
- Tell someone your plan: Share the trail, start time, expected return, and what to do if you do not check in.
Leave the trail if you can do so safely when you experience worsening dizziness, confusion, faintness, chest pain, severe breathing trouble, or loss of coordination. In an emergency, contact the local emergency service or land manager and provide your location as precisely as possible.
Sources
- U.S. National Park Service: Hike Smart — route planning, pacing, weather, footwear, trip plans, and hiking safety
- U.S. National Park Service: Ten Essentials — basic emergency and day-hike equipment
- CDC: Heat and Athletes — pacing, hydration, and heat-illness precautions
- Mountaineering Scotland: Planning and Following a Route — Naismith’s Rule for estimating walking time
- PubMed: Estimating Energy Expenditure During Graded Walking — evidence that grade affects walking energy demand
- CDC: Health Benefits of Physical Activity for Adults — immediate and long-term benefits of regular physical activity
Frequently Asked Questions
How much elevation gain is required for a walk to count as a hike?
There is no universal minimum elevation gain that turns a walk into a hike. A hike may be flat, rolling, or steep. The term usually describes recreational walking on a trail or natural route, while difficulty depends on distance, grade, terrain, exposure, conditions, and the hiker.
Is 111 m of elevation gain over 0.6 km steep?
Yes. The average grade is about 18.5%, which is steep enough to feel demanding for many beginners. The route can feel easier on a firm staircase or harder on mud, loose rock, snow, or exposed ground.
What is a difficult elevation gain for a hike?
No single number defines a difficult hike. A large gain spread over many kilometers may feel steady, while a smaller gain packed into a short route may feel very steep. Judge the combination of total gain, average and maximum grade, surface, altitude, weather, exposure, and your fitness.
Is 500 m of elevation gain a lot?
For many casual hikers, 500 m (1,640 ft) is a substantial day-hike climb. Its difficulty still depends on the distance, altitude, terrain, pack weight, and pace. Five hundred meters over 15 km is a different challenge from the same gain over 3 km.
How much elevation gain is too much?
It is too much when the route exceeds your fitness, health, skills, daylight, equipment, or safe weather window. Choose a smaller climb if you cannot maintain a controlled pace, descend confidently, or carry the supplies required for the route.
How long does a 0.6 km hike with 111 m of gain take?
A planning estimate is about 20 to 40 minutes uphill. If 0.6 km is one-way, many hikers may need roughly 35 to 70 minutes for the round trip, excluding long breaks. Rough terrain, heat, crowds, and beginner pacing can add time.
Conclusion
A 0.6 km hike with 111 m of elevation gain is a compact but steep outing. The roughly 18.5% average grade makes it a real workout, particularly for beginners, but the numbers do not reveal the surface, exposure, weather, or route condition. Confirm those details, allow enough time for the descent, carry the essentials, and turn back whenever your safety margin starts to disappear.
